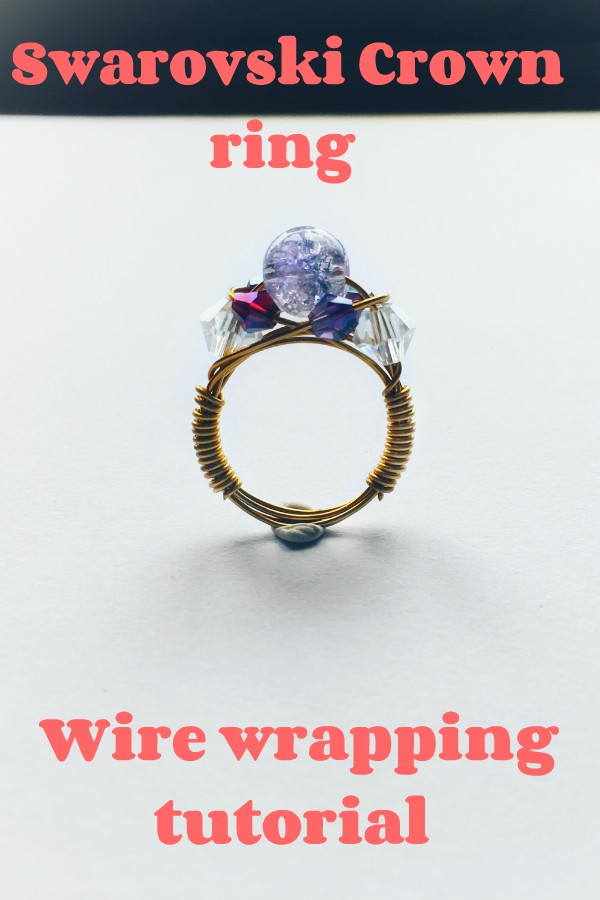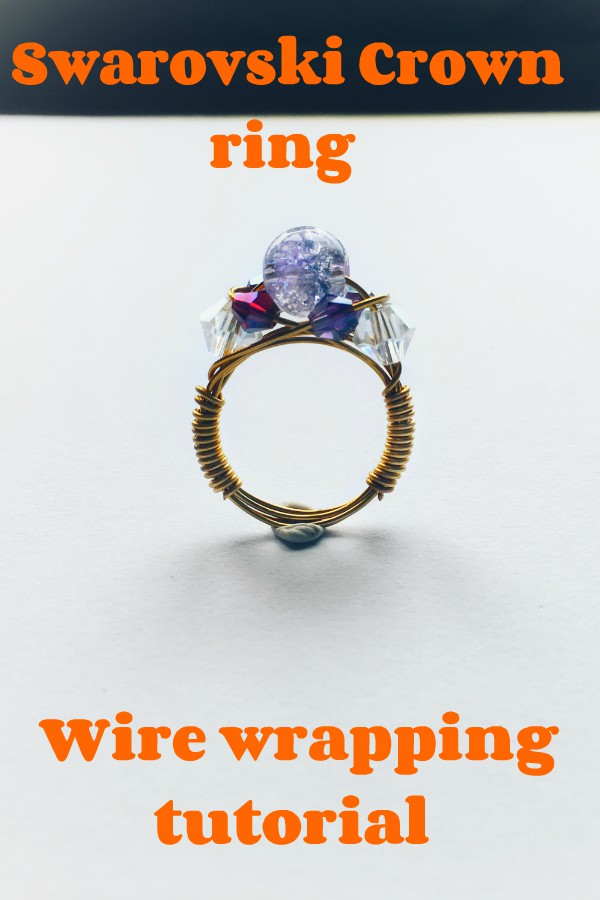
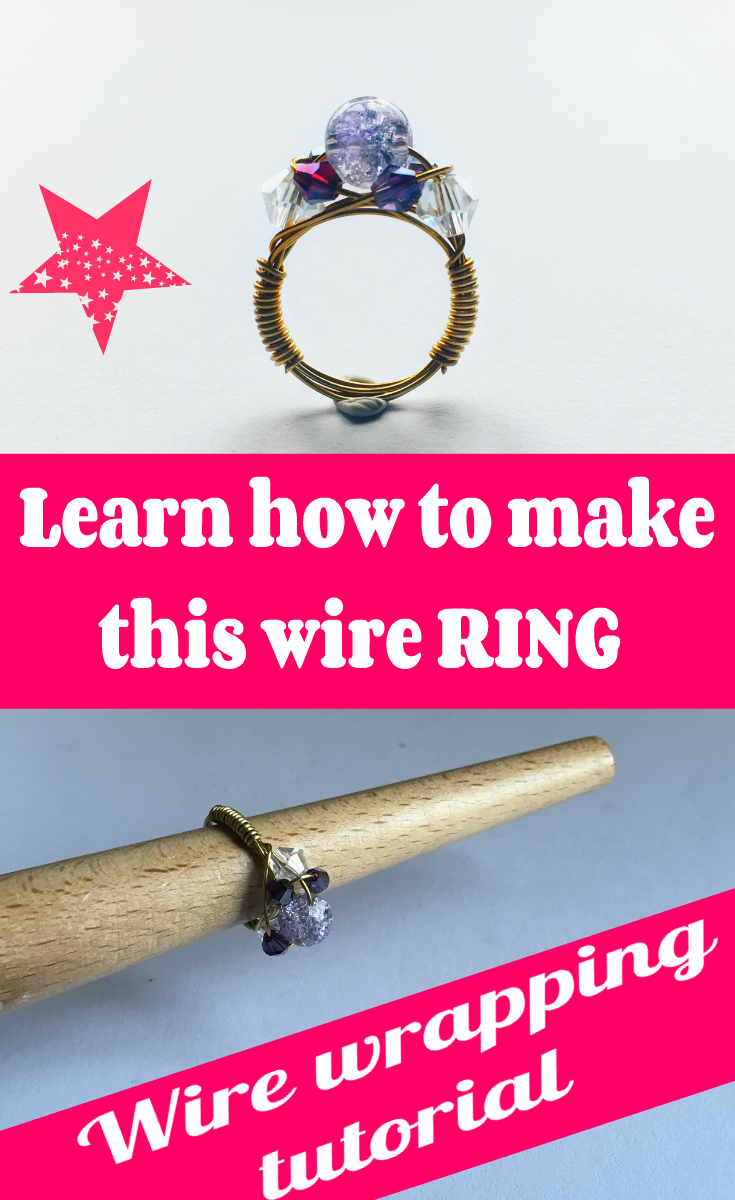
Wire wrapped ring tutorial | Amethyst Crown Ring

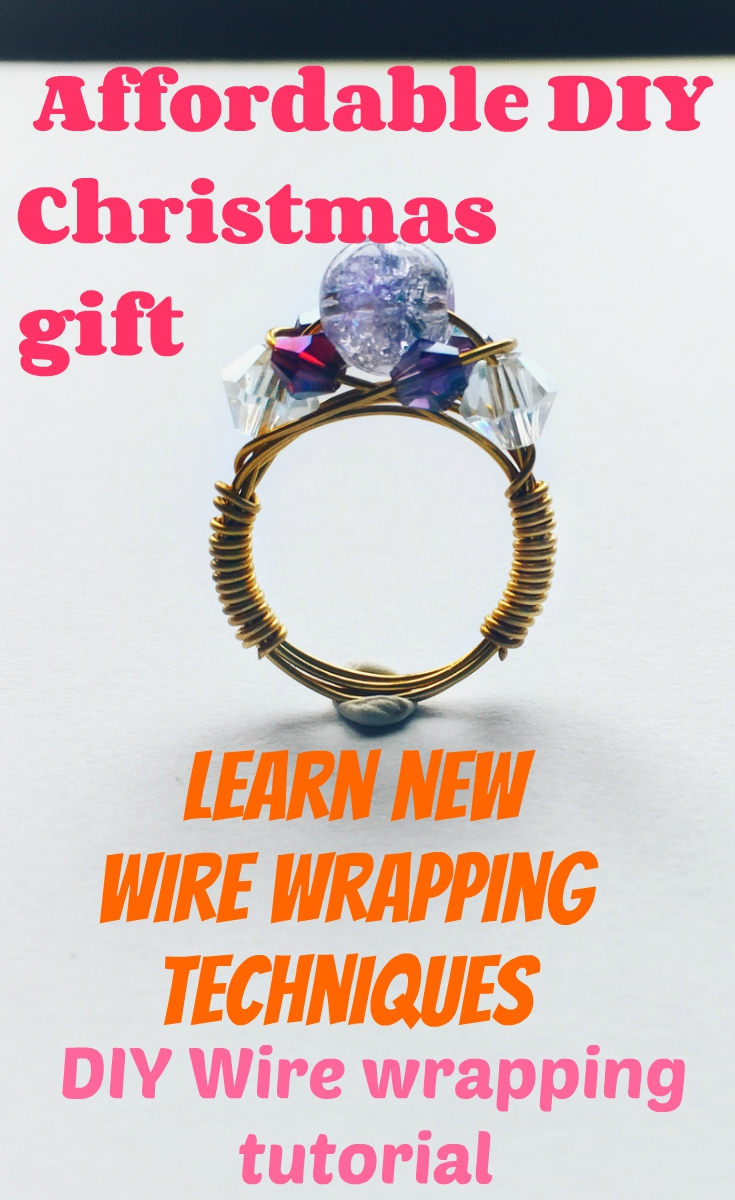
This wire wrapped ring is made using the same basic principles that I used in my Diamond trilogy wire ring DIY tutorial. If you are interested in that, click here. This ring is a bit more advanced, but still easy to make for beginners.
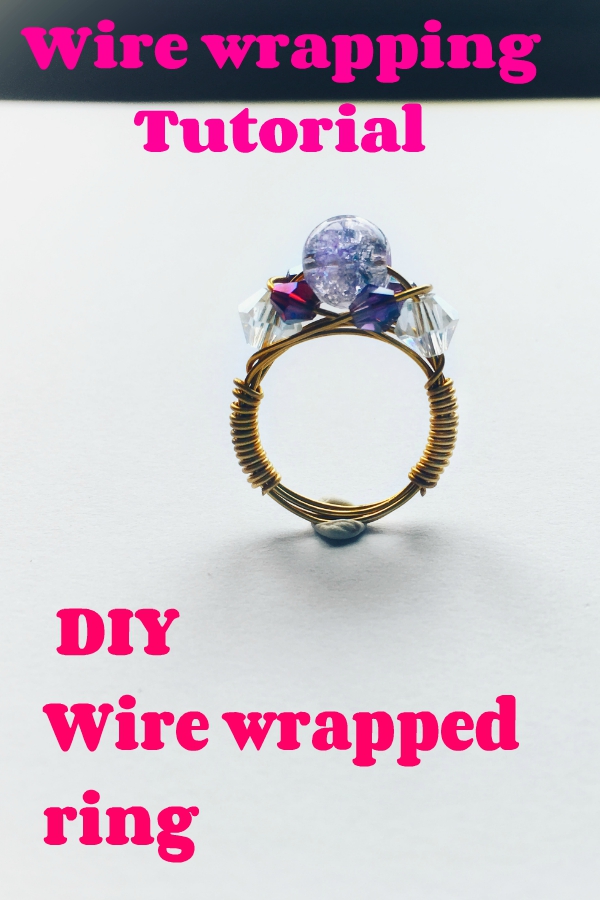
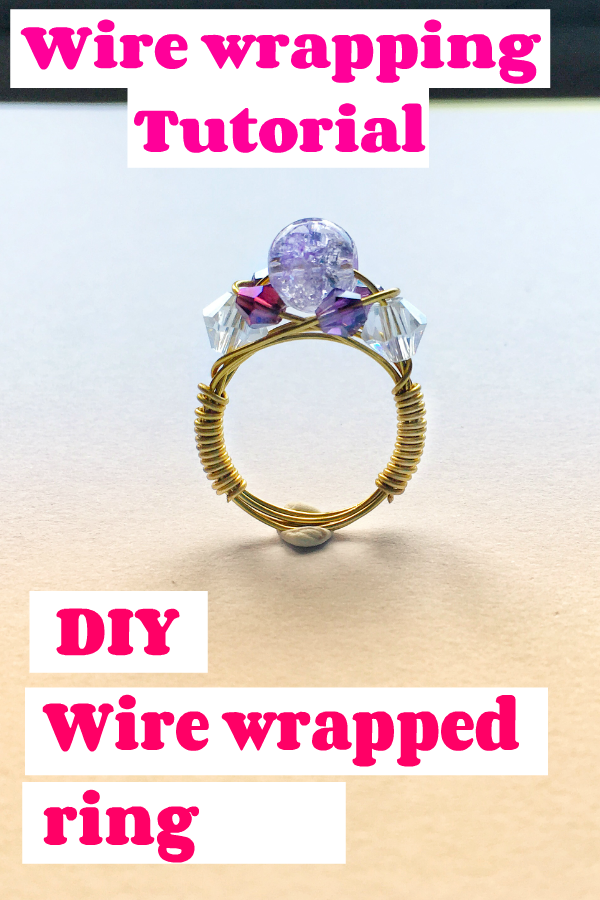

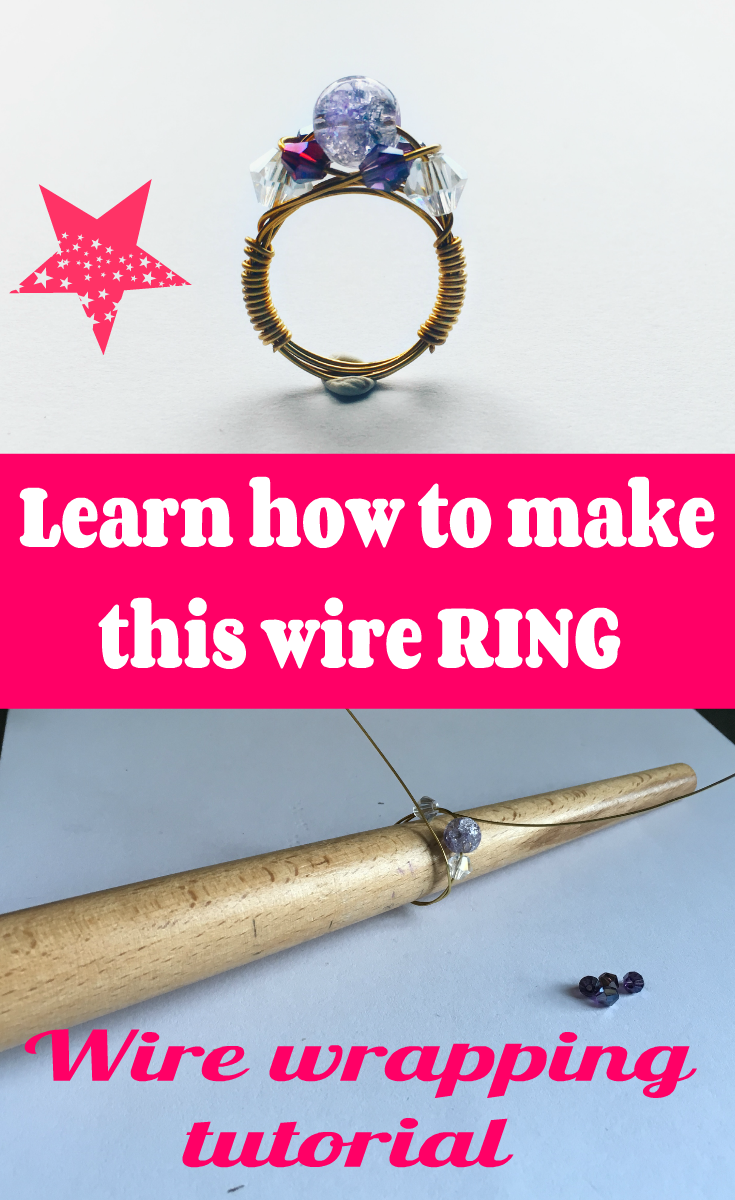
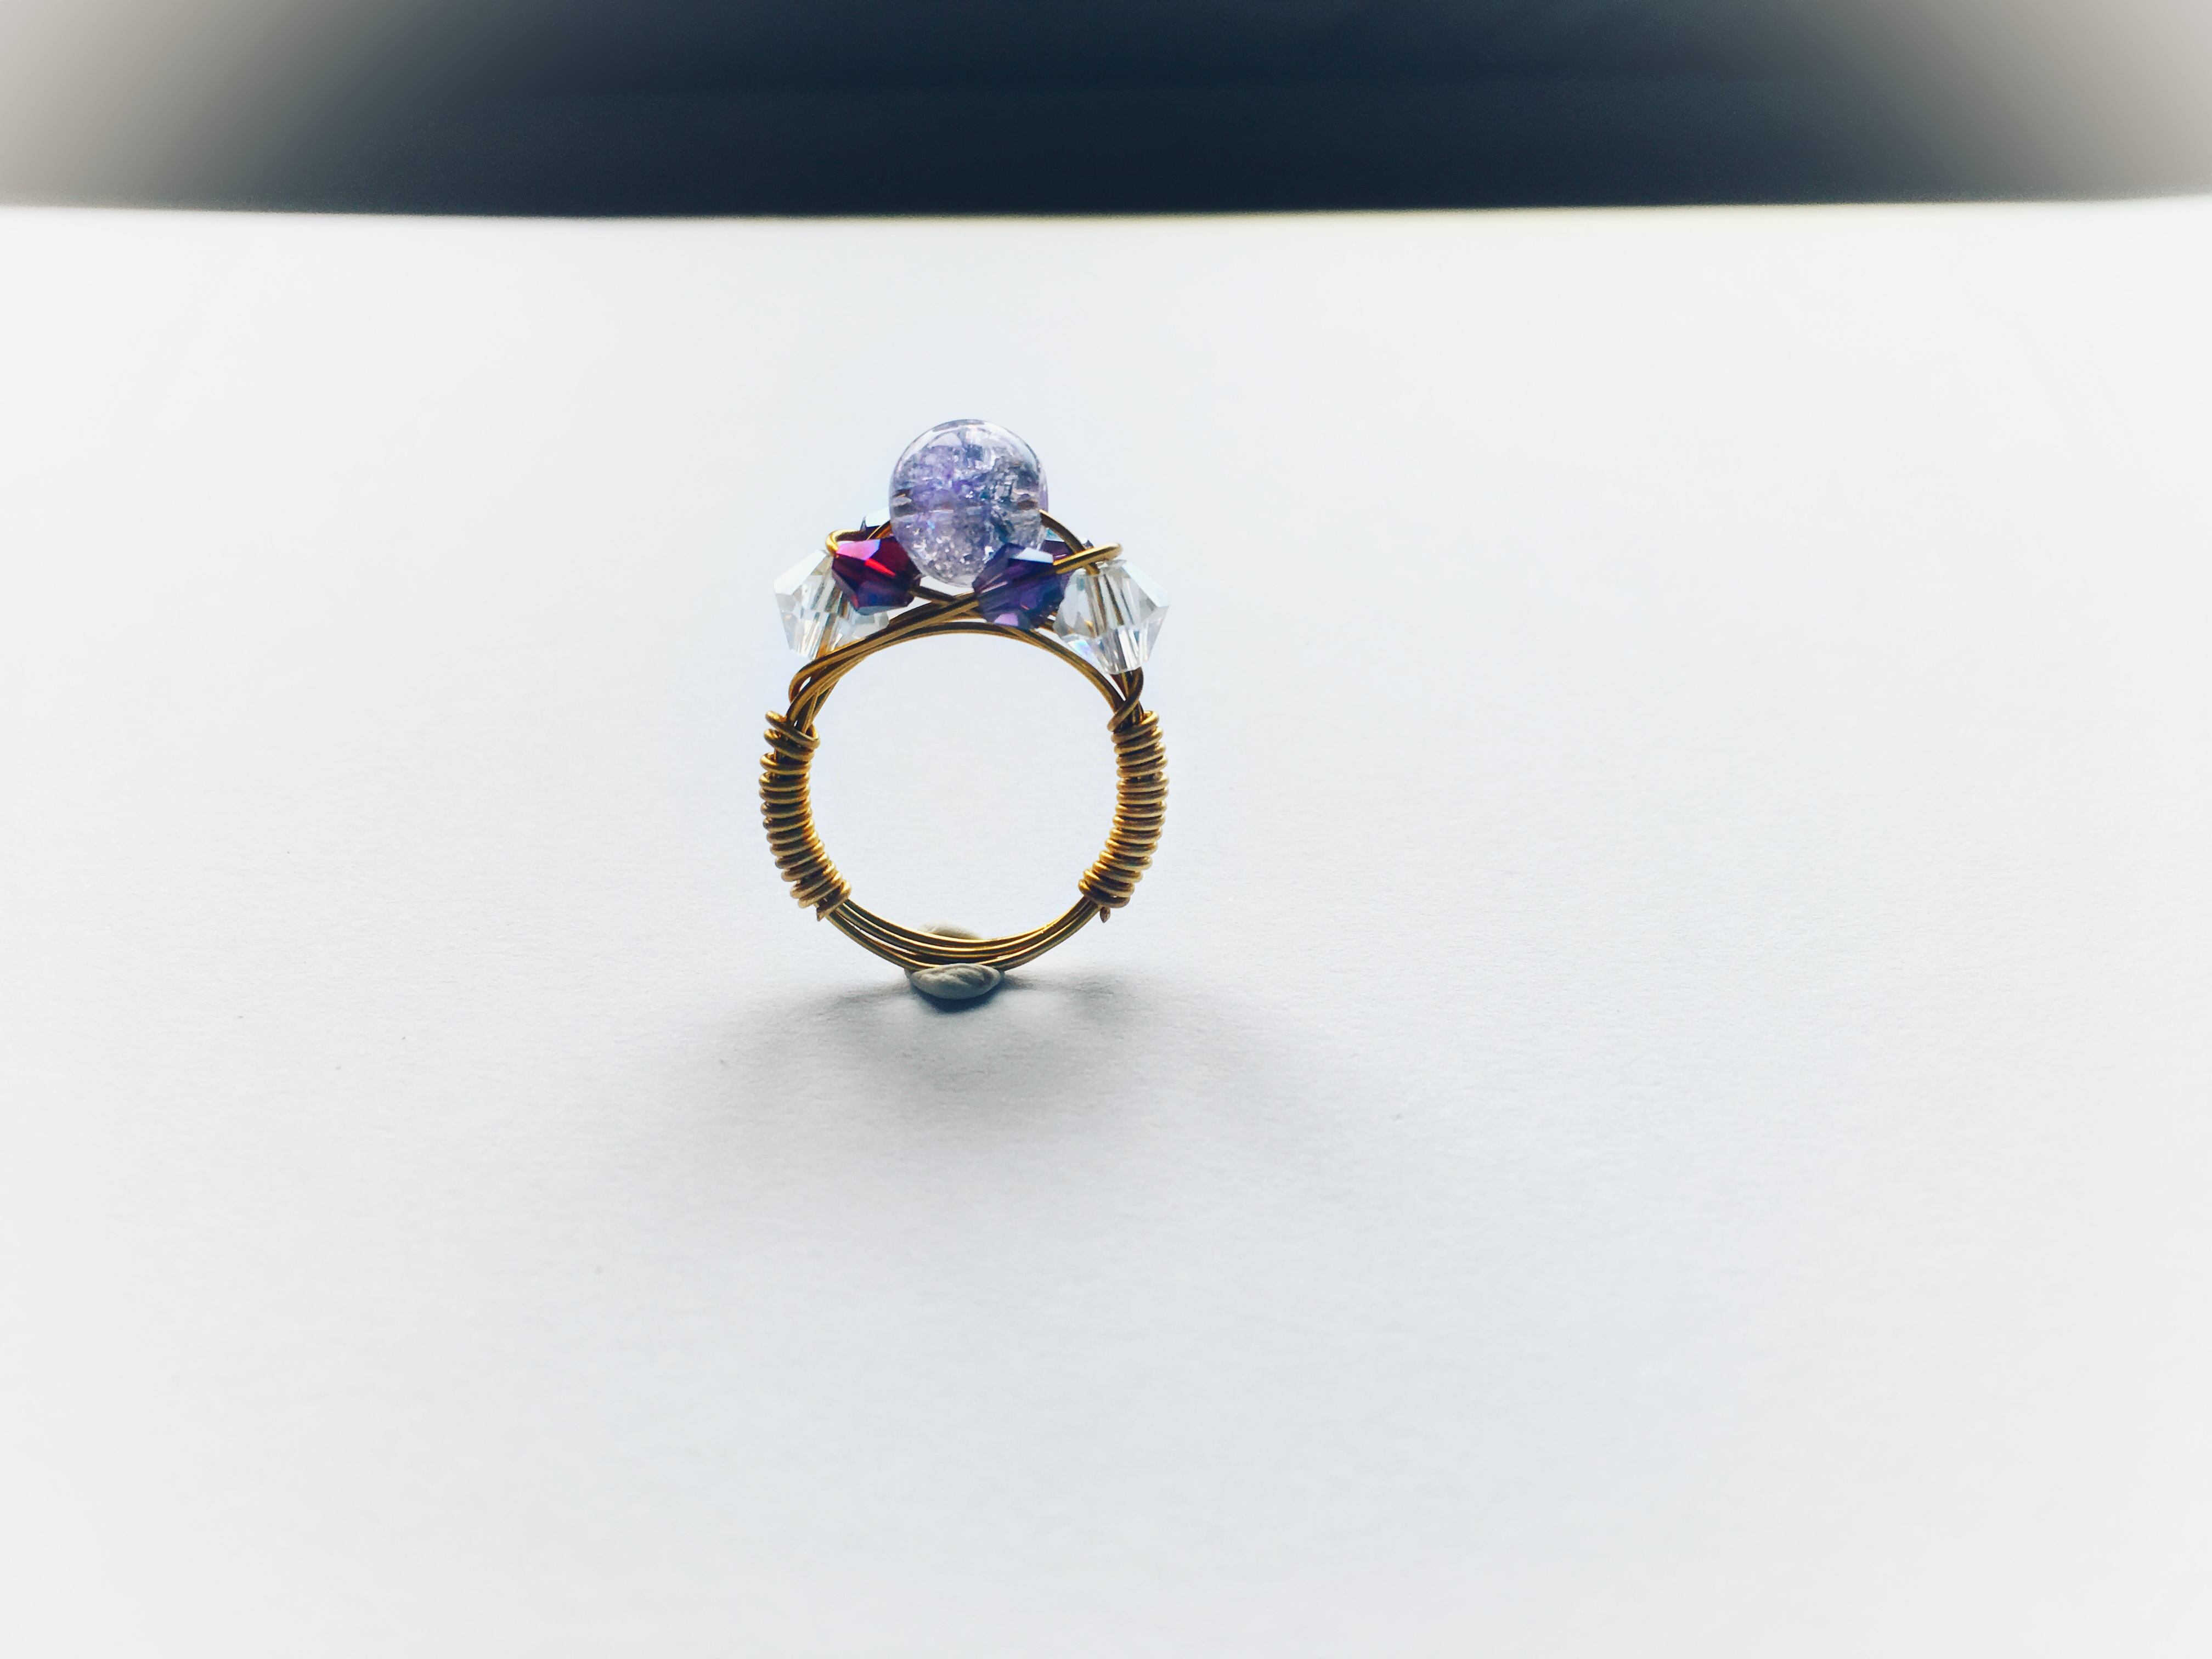
I used a cracked round bead for this because I wanted it to be more informal given that the ring itself is very opulent. I used Swarovski bicones on the side too because I still wanted that amazing shine. For more Swarovski jewelry DIY tutorials click here.
 https://mailchi.mp/90f14b6fc754/thewirefanatic
This time I used advanced wire wrapping techniques. And by advanced I mean that it is the hardest on this particular type of wire ring DIY. If you can hold everything together without it falling apart, you can make any type of ring using this technique.
Materials used in this DIY wire ring tutorial:
40cm/ 16 inches 0.6mm gold wire
Video tutorial for wire wrapped crown ring:
Written tutorial for wire wrapped crown ring:
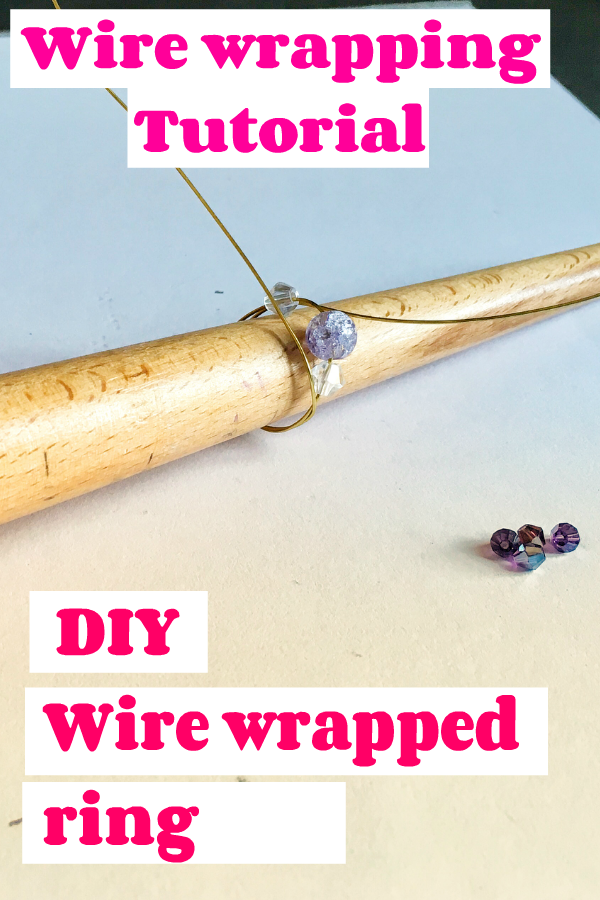
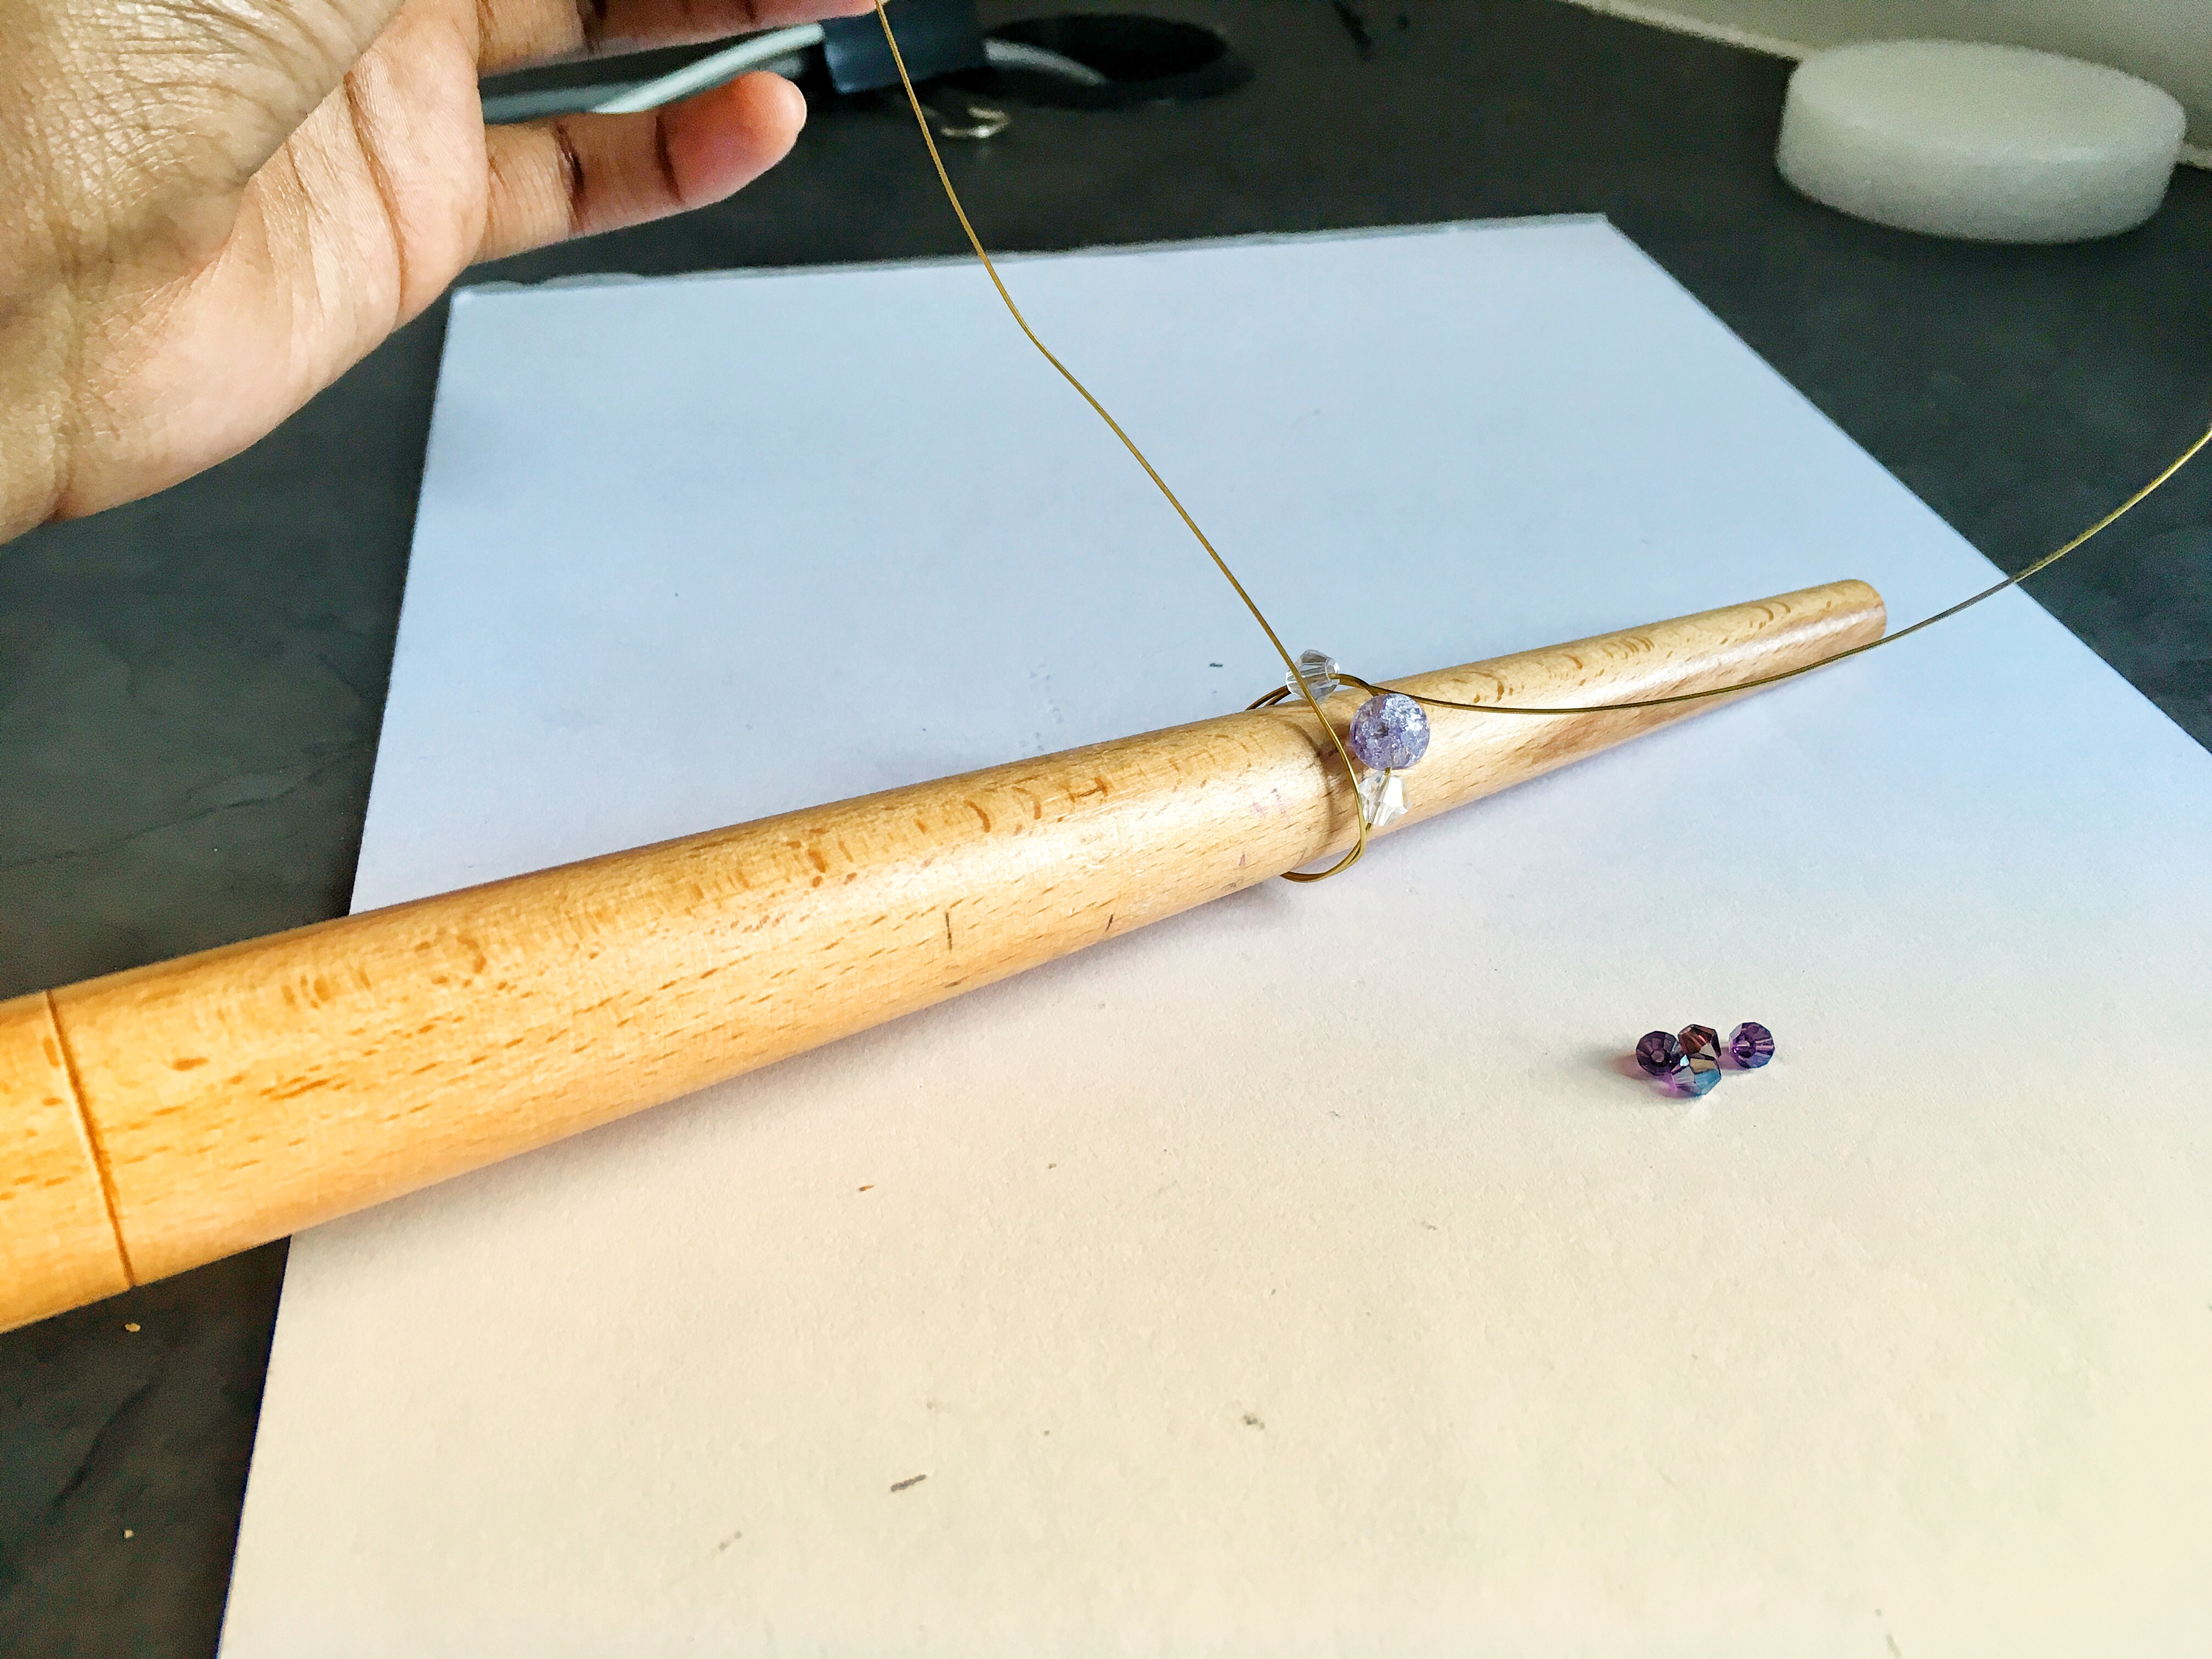
Take your 6mm beads and you 10mm bead and string them onto the base wire. Put them in the 6mm, 10mm and 6mm order.
Take your ring mandrel and place the wire around it. Place the wire about half a size bigger. Cross the wires at the back and wrap it around the mandrel. Wrap the wires around the ring mandrel twice on either side. You should have 5 rings wrapped around the mandrel.
Now take two of your 4mm beads and string the wire through them. You should have two wires on either side of the three main beads.
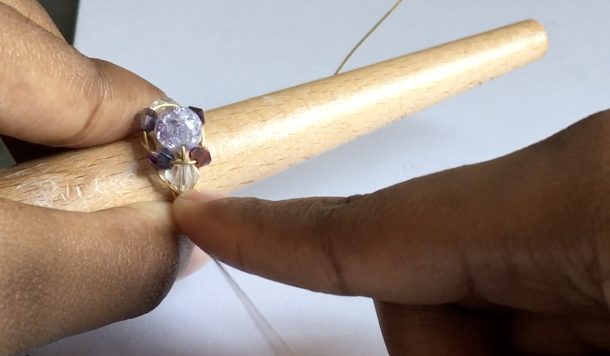
Take one of your wires and wrap it around the 10mm bead. Move your 4mm beads so that it lays in between the 10mm bead and the 6mm bead. Do the same on the opposite side.

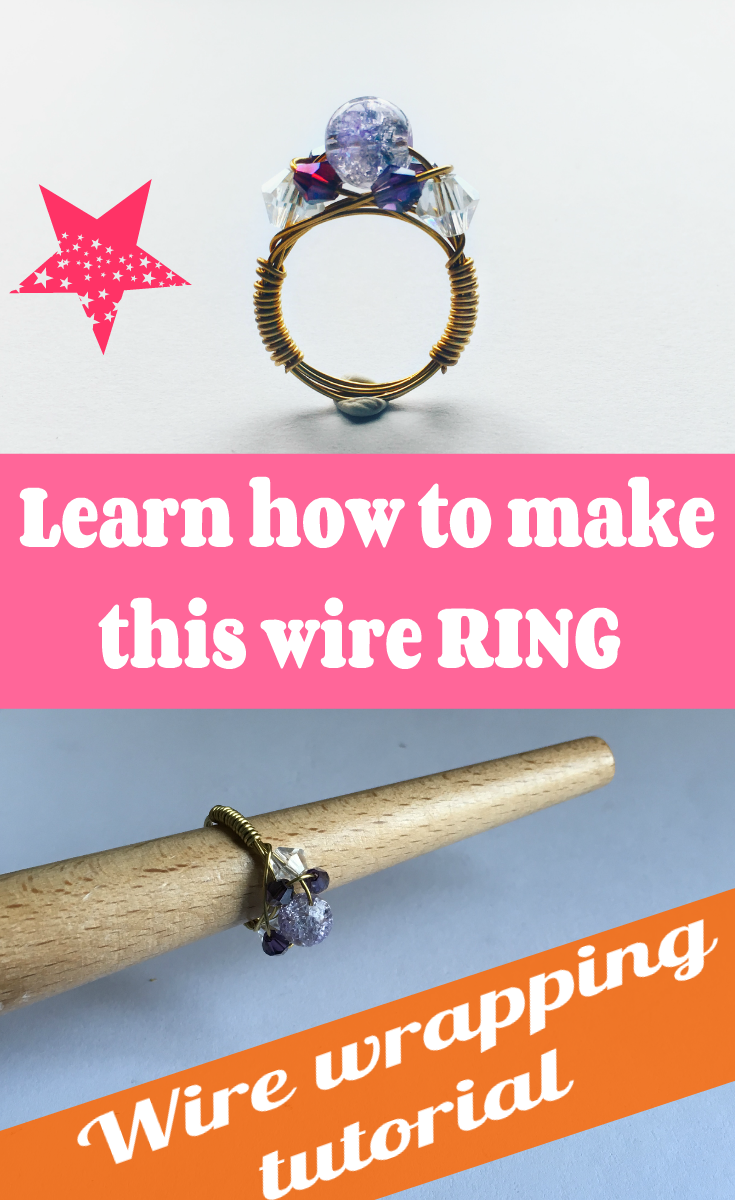
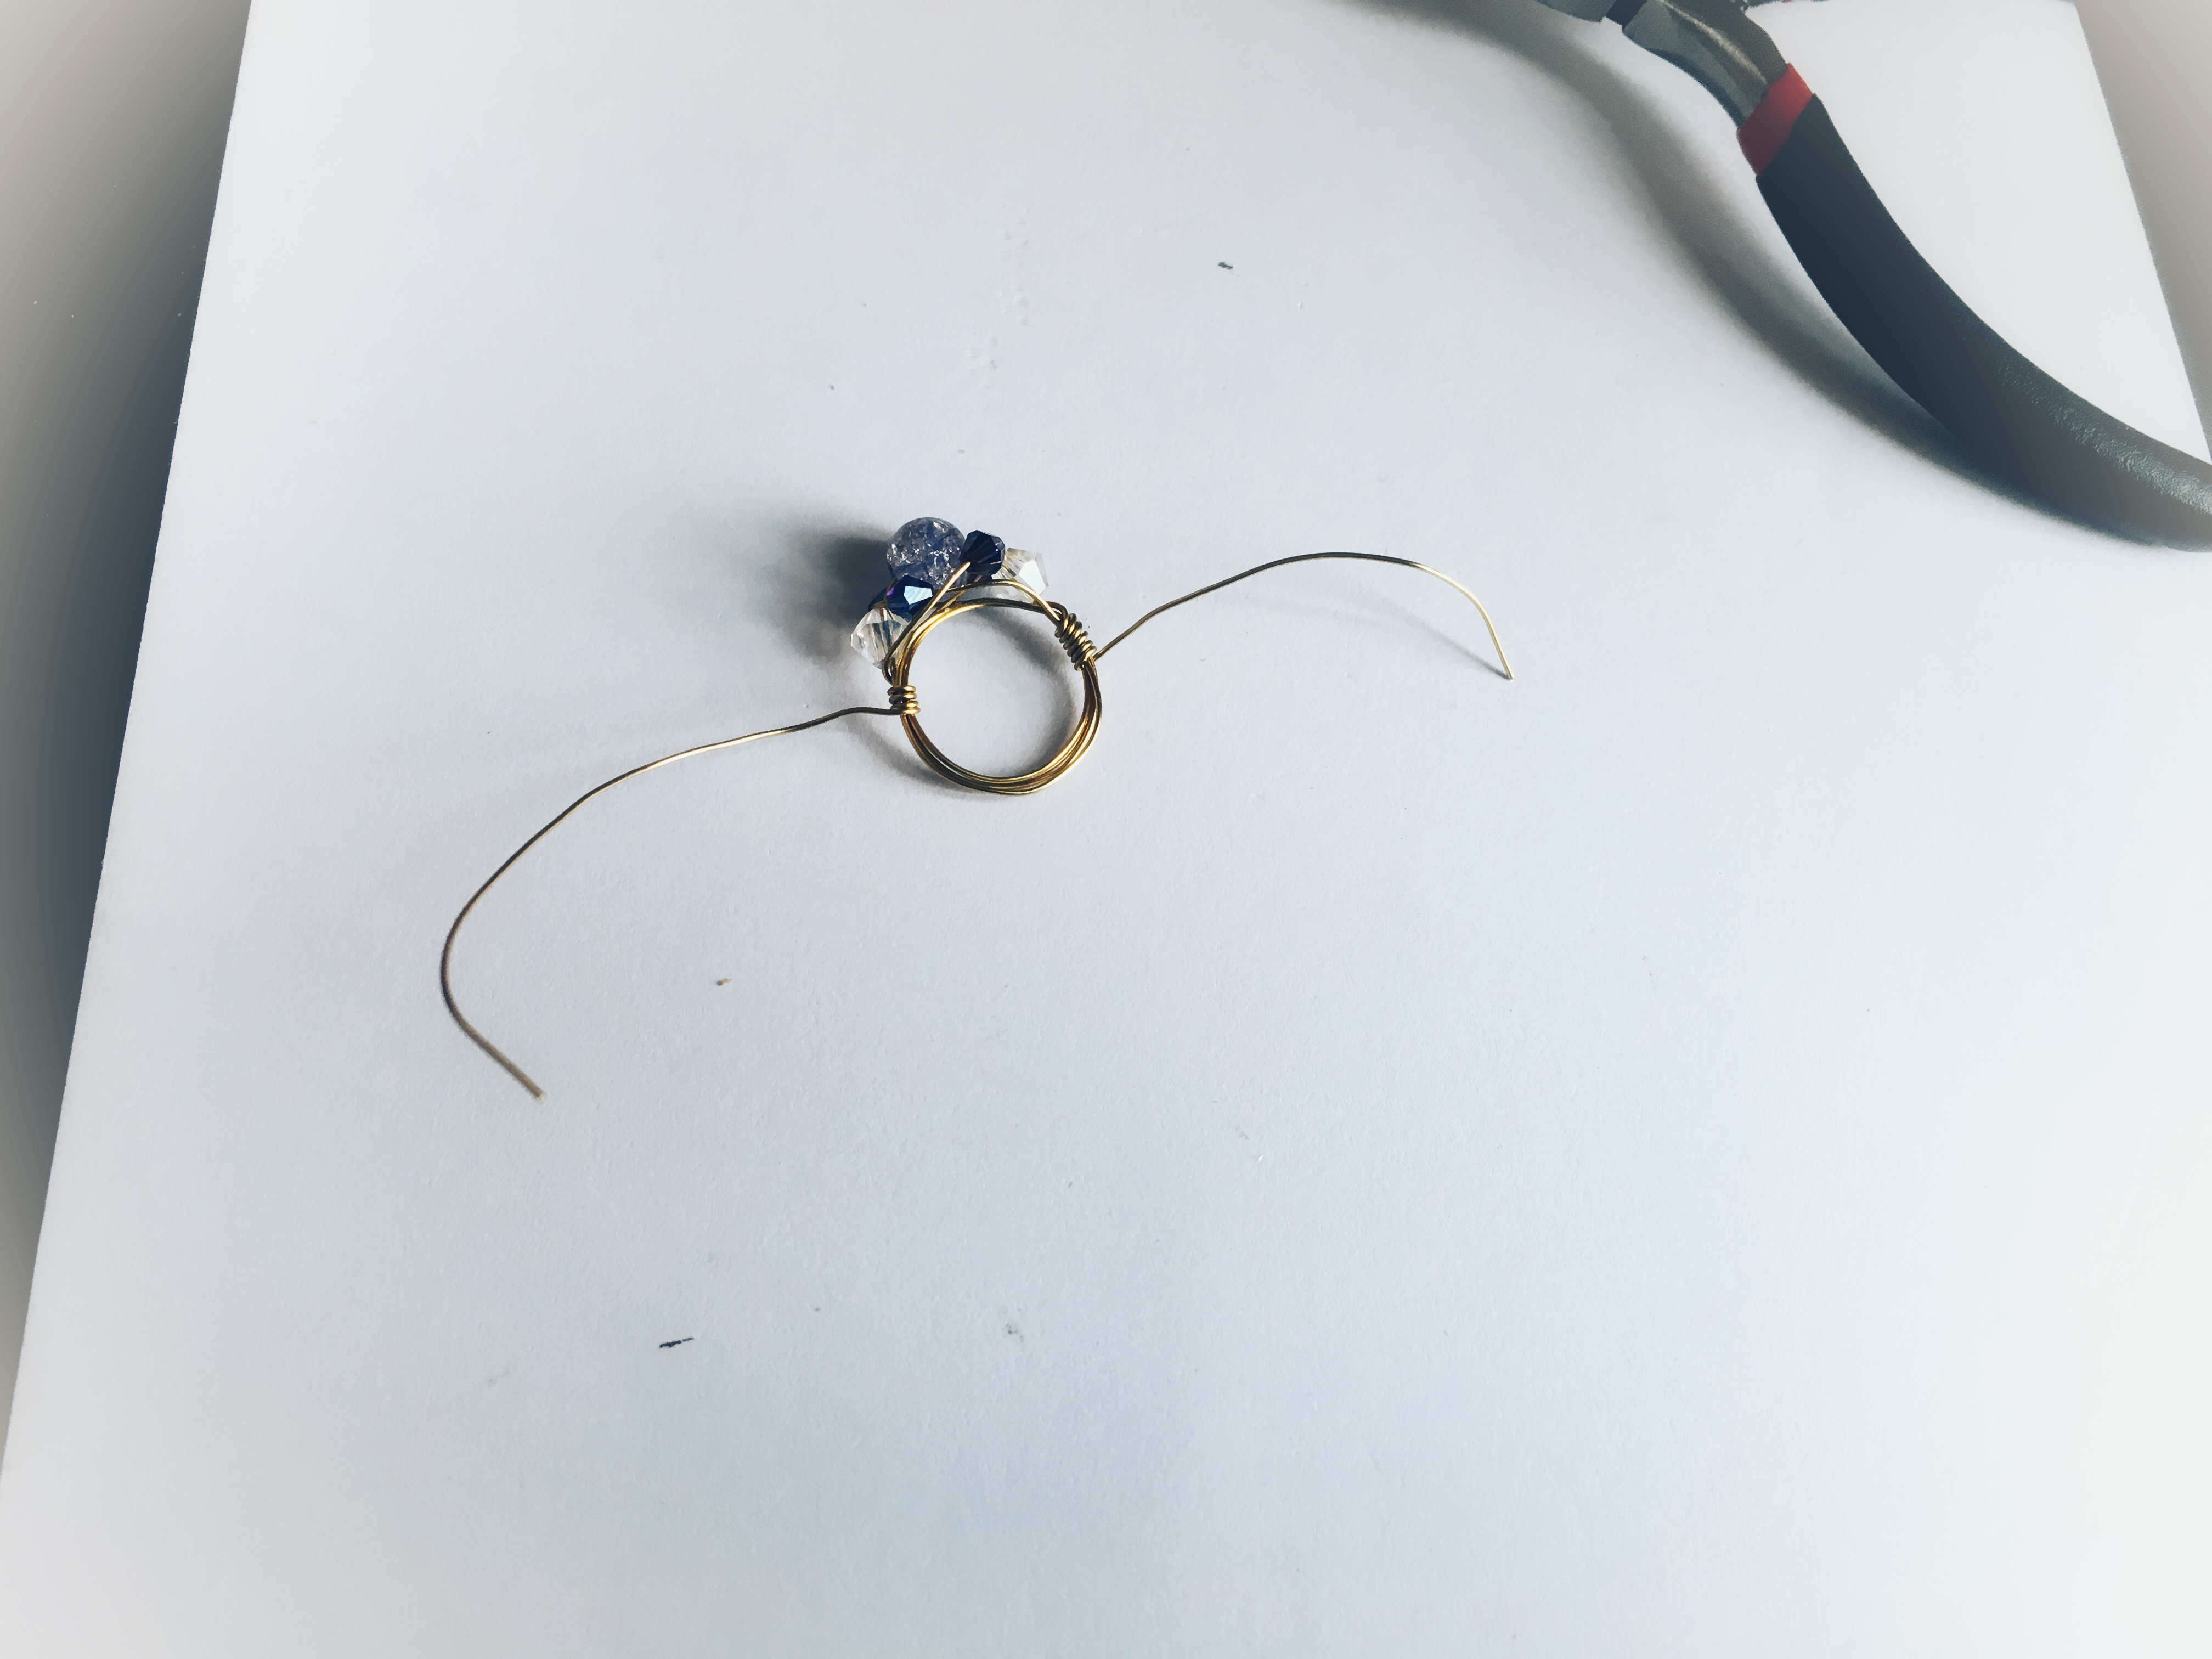
Now take your other two 4mm beads and string them. Wrap the wires around the 10mm bead again. The 4mm beads should now sit on either side of the 10mm bead. Once you have made sure that the beads are sitting correctly, take the ring off the ring mandrel.
Make sure that you hold on to band tight. You do not want it to fall apart.
Grab one wire and make a loop around the ring band. Do the same to the opposite side. Now you can handle the ring freely without worrying about it falling apart.

Use the excess wire to wrap around the band about 10 times. Use the leftover wire to do the same.
Cut off any excess and file down the sharp edge. Use your chain nose pliers to push any pieces that jut out down.
Mandisa is a participant in the Amazon Services LLC Associates Program, an affiliate advertising program designed to provide a means for sites to earn advertising fees by advertising and linking to Amazon.com.