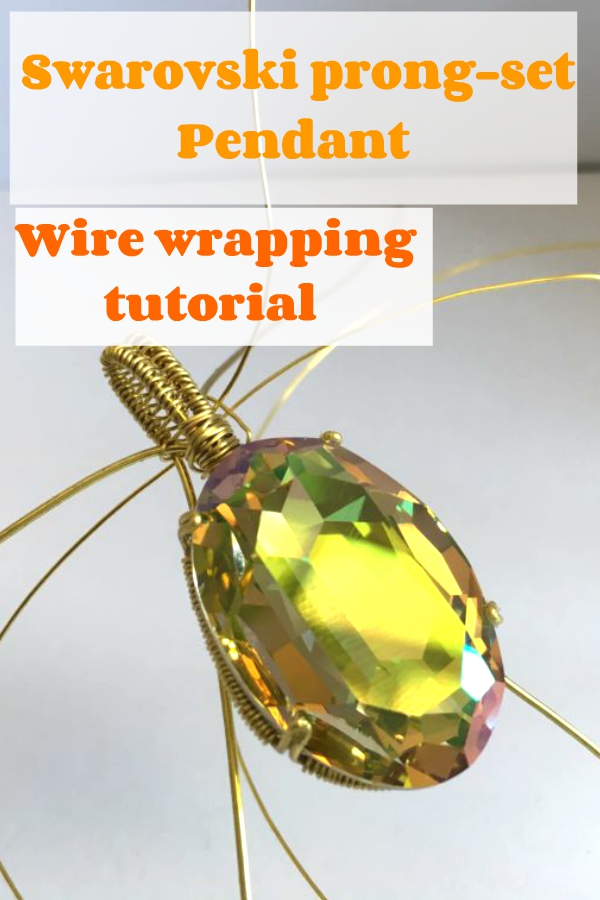
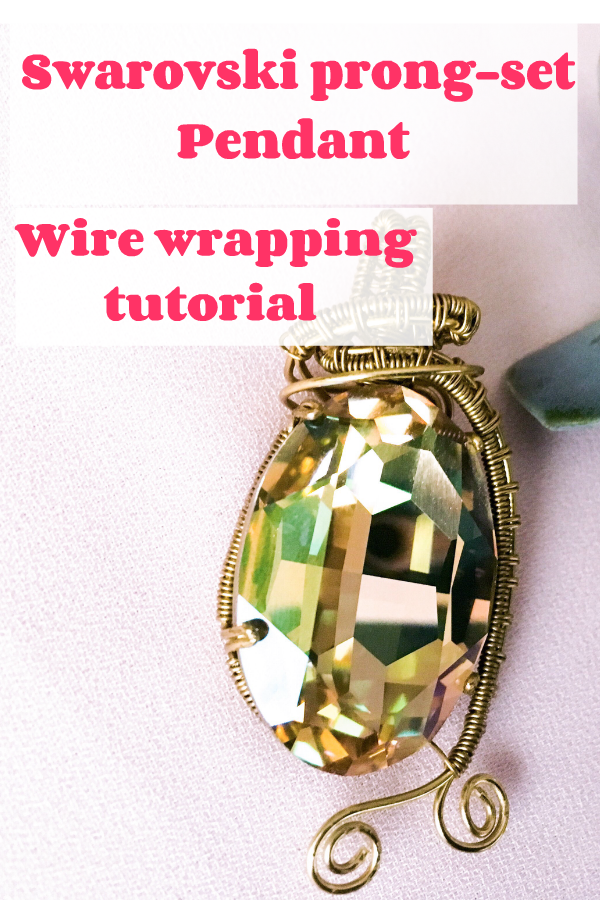
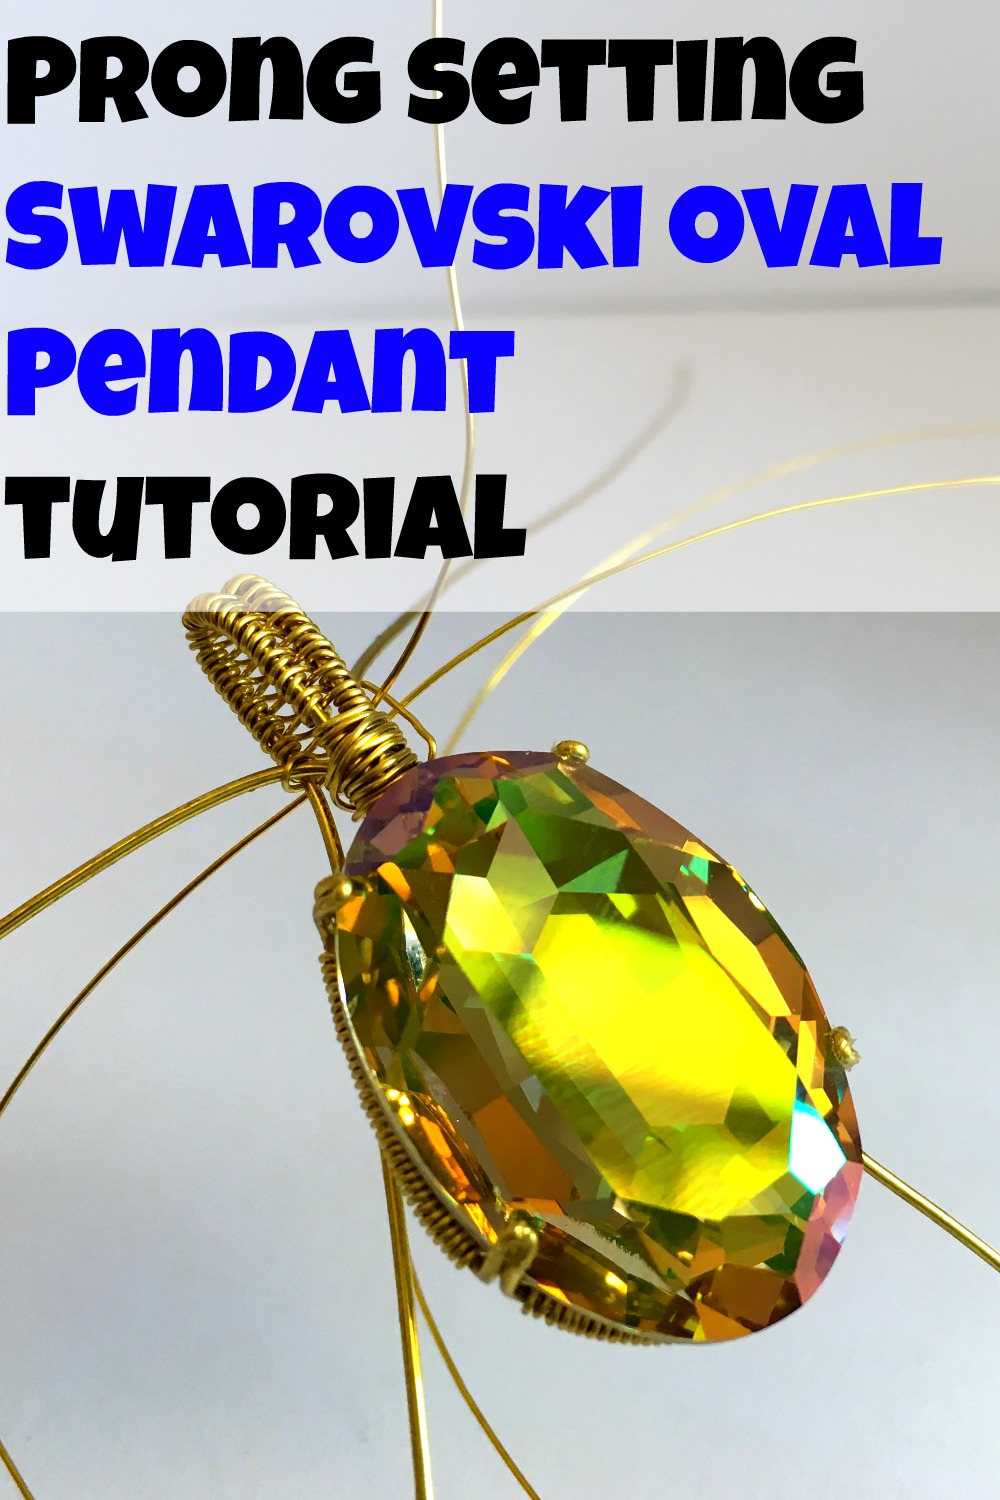
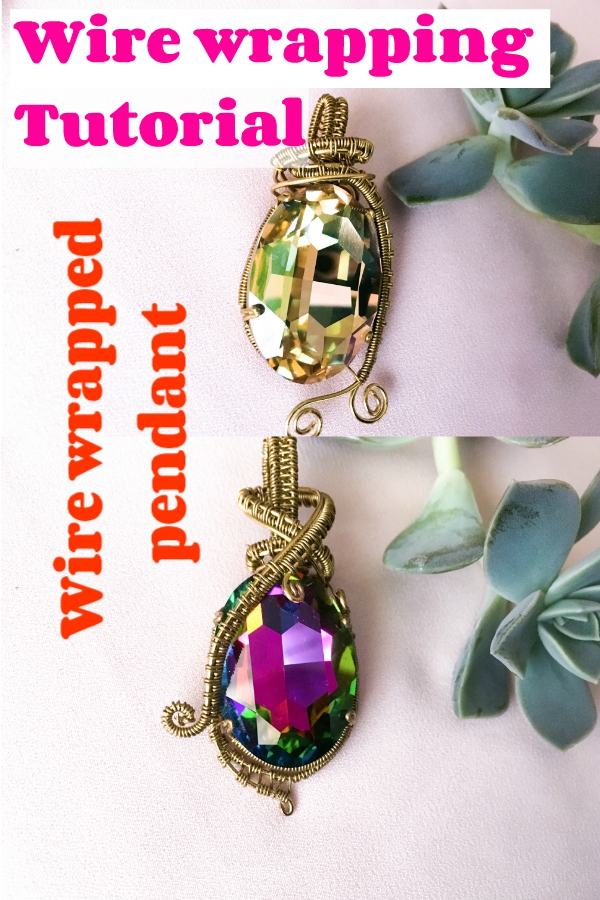
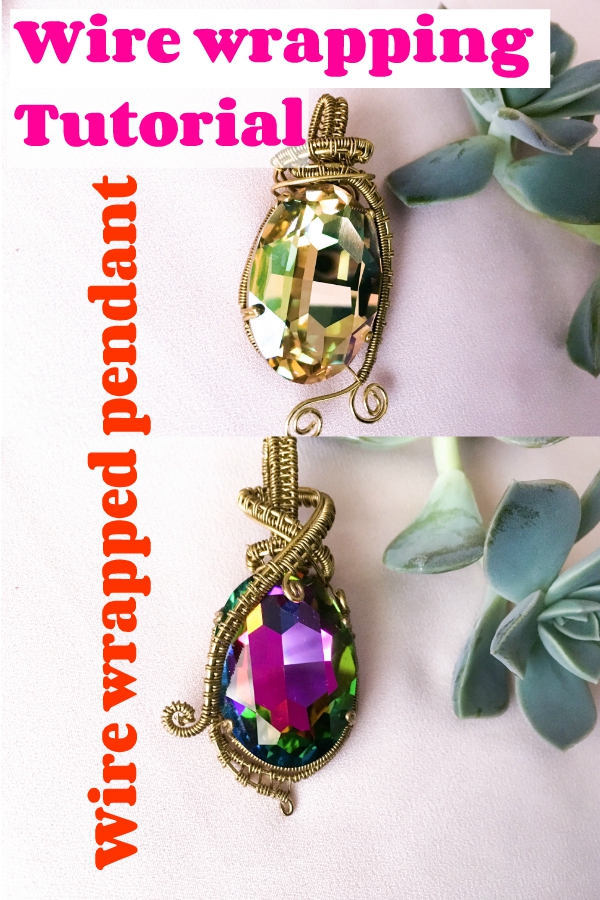
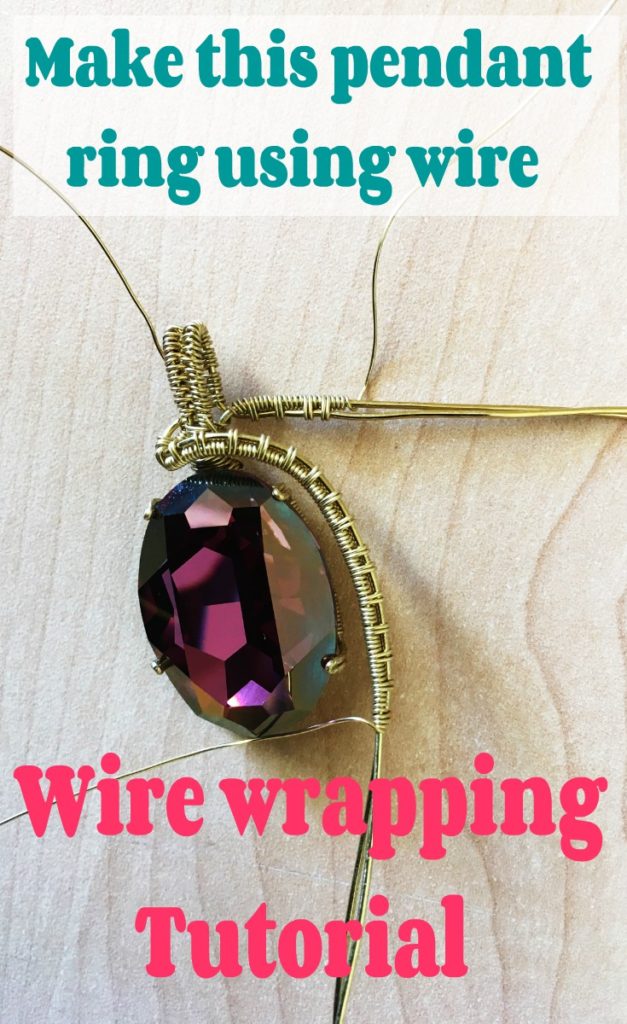
Prong set Swarovski crystal oval pendant
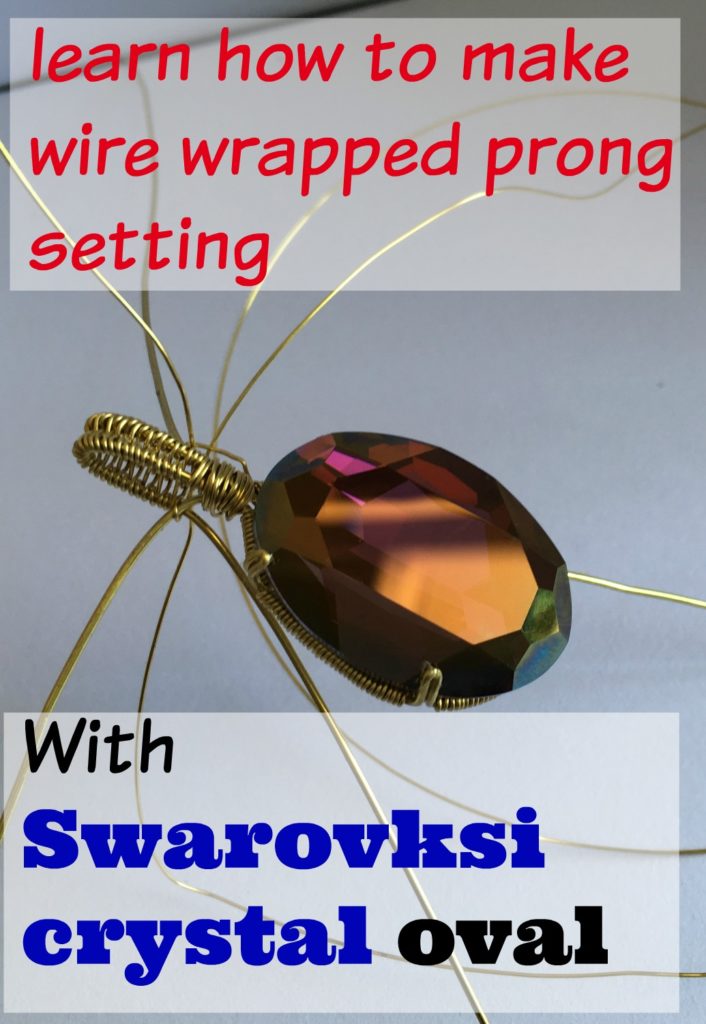
Well here I am trying to schedule enough time to do this without taking too much time from my studies.
I woke up this morning and I wanted to use this Crystal Lilac shadow oval shaped fancy stone, which I bought on sale after Swarovski discontinued it, in a pendant.
I wanted to set it in a way that would allow me to see the stone in all its glory.
Most traditional oval wire wrapping techniques and design would not allow me to do that, the stones are usually set by wrapping the wire over the front of the stone to secure it, or by wrapping over the sides, in Swarovski crystals the sides have the most details and facets so I could not do this.
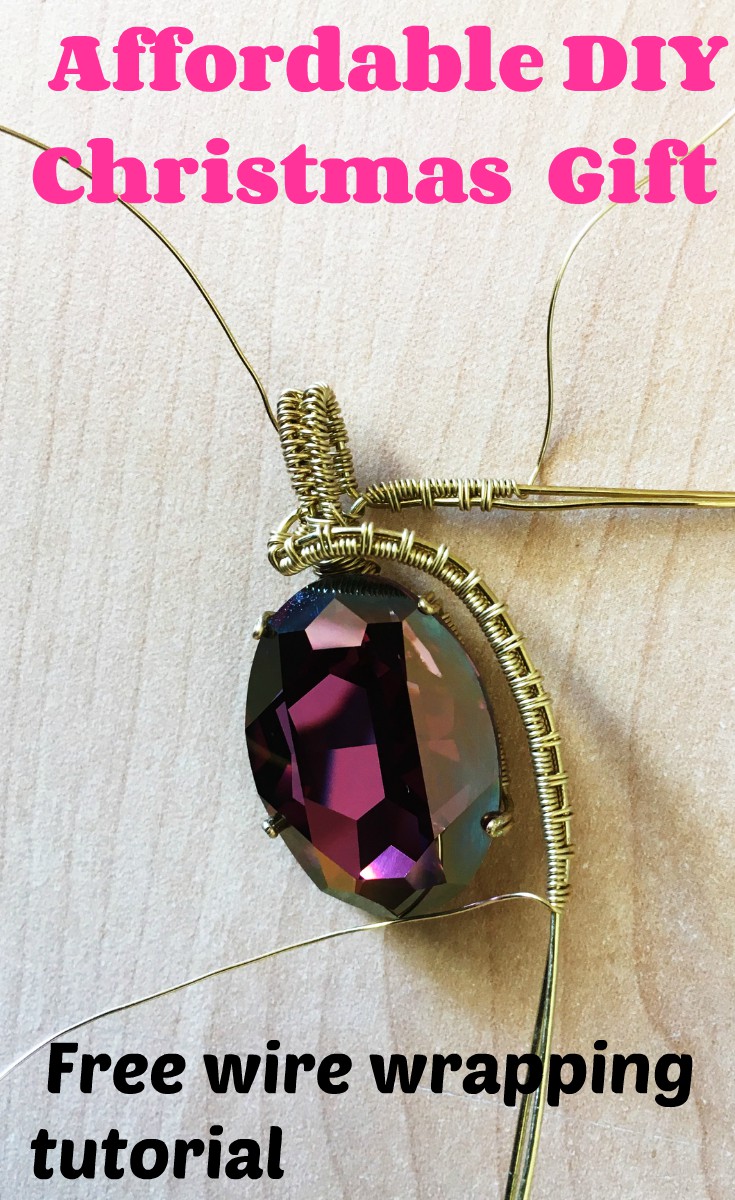
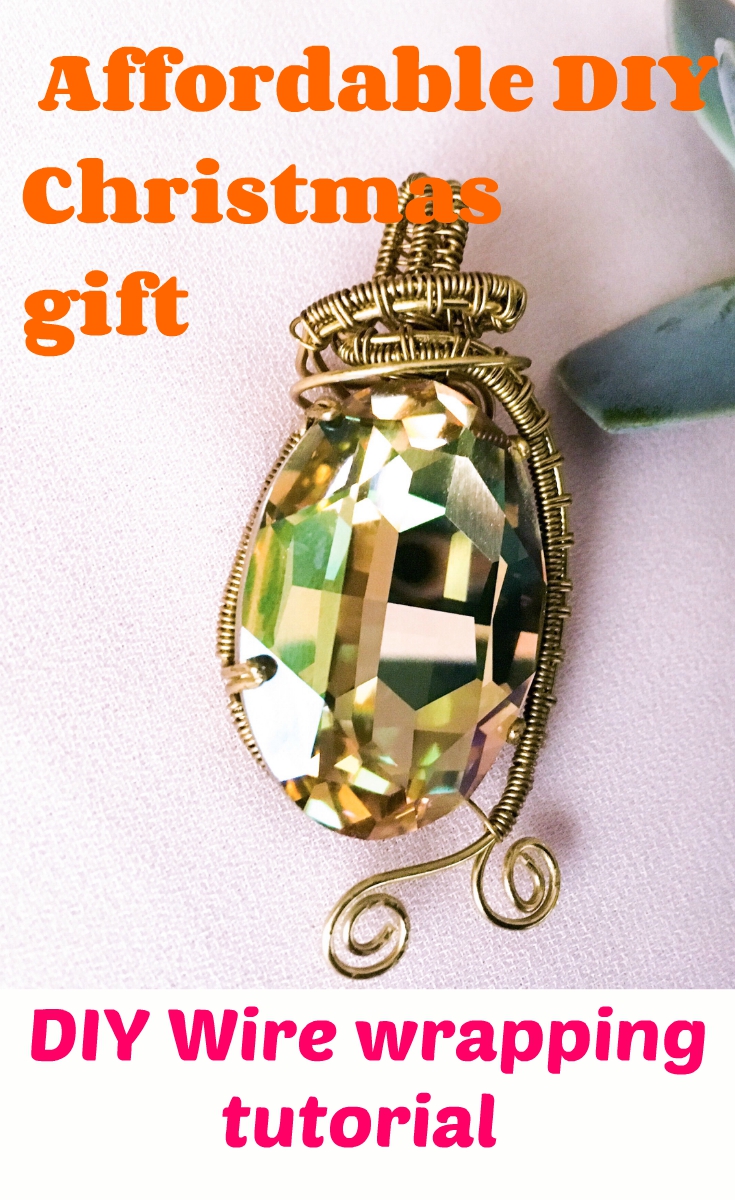
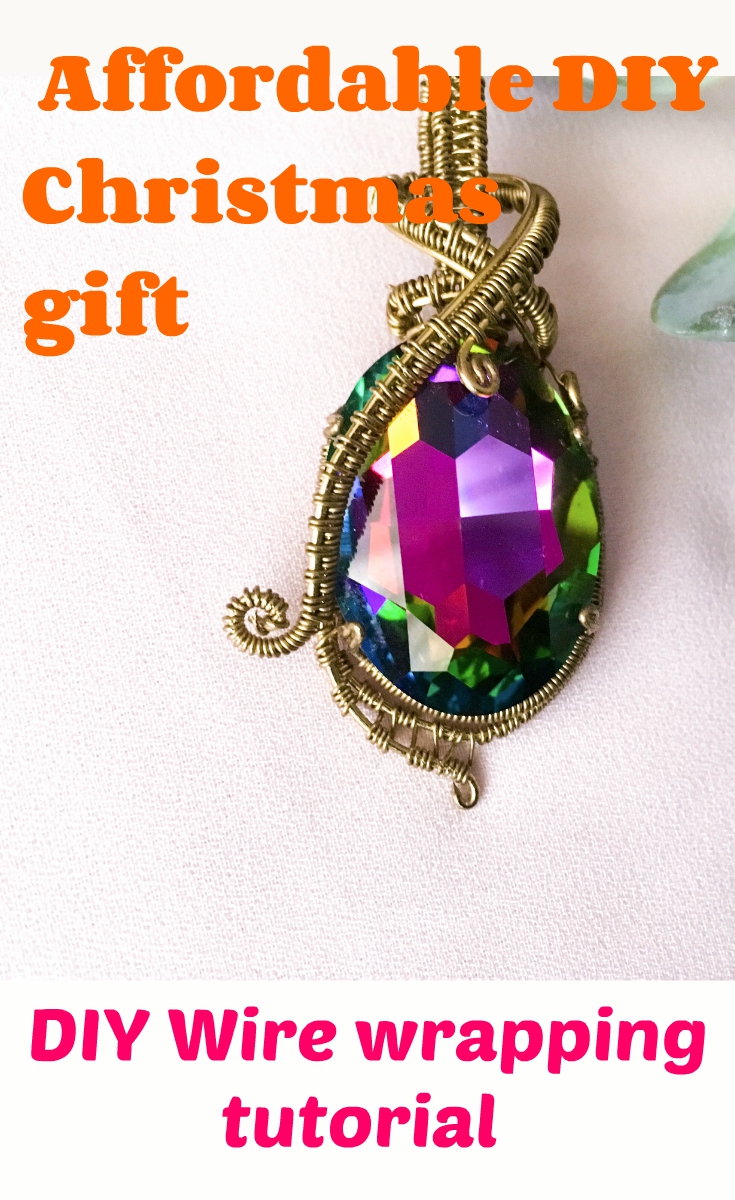
I decided to make an easy wire wrapped prong setting instead which allowed me to see the faceted sides and to not have to “see” the wire from the front of the pendant.
I used chain nose pliers, 20 gauge wire and 26 gauge wire.
You can use 18 gauge (1mm) wire too, but anything lower would be too thick for the base.
All of the wire used here was dead soft artistic wire.
You can easily use sterling silver or pure silver wire if you would like, it costs more, but it lasts longer and the piece becomes an investment.
I also ‘guesstimated’ the amount of weaving wire needed.
This is because I usually leave it on the spool to minimize wastage, especially when using silver wire.
Please note that you can also cut about 5 cm/2 inches of the base wire (20 gauge) from the required amount if you do not plan on adding details and decorations to your pendant.
Materials and tools needed:
30 cm 0.8mm/20 round gauge wire (we will use this to strengthen our setting)
35 cm 0.8mm/ 20 gauge round wire (we will use this to make our prongs)
1 metre or more of 0.4mm/ 24 gauge round wire for wrapping (leave on spool to avoid waste)
A pair of chain nose pliers
A pair of wire cutters
A pair of round nose pliers
30mm Swarovski crystal oval stone (Swarovski 4127 30mm Oval fancy stone)
How to make the setting.
Step 1:
Straighten your two base wires as much as you possibly can, try to make sure that they follow the same direction as they will be parallel to each other.
Take a piece of paper and draw an outline of your stone.
Using a piece of non-stretchy string or a strip of paper, measure the circumference of your stone if you do not know it and use a ruler to draw a straight line that is the same length as the circumference.
Make a mark in the middle of the line. This is where the base of your stone is, make a mark at the same place on the shape that you traced out.
Make a mark where you would like your bottom two prongs to sit.
Take the same piece of string and trace along from the mark at the bottom of your shape to the prong.
Measure this distance using your ruler and make a mark that is the same distance from the line that you drew on the straight line. Do this on both sides of the middle mark.
Next make marks of where you would like your top two prongs to sit. Measure the distance from the bottom prongs to the top prongs.
Mark this distance on the line too.
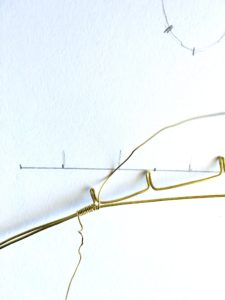
Step 2: Making the prongs
Take your longest base and position it so that its middle is in line with the middle of the line you drew.
Take your chain nose pliers and use them to grip the wire where your first prong to the right is.
Bend the wire upwards.
The wire will be sitting just below the table of your stone so you need to make a prong long enough to secure the stone but not too long.
Position the stone next to the wire and use your eyes to estimate what this length will be.
I am using the 30x22mm Swarovski pendant, so this will be about 5 mm long.
Remember to bend the wire a little bit shorter than this as it will become longer when you squeeze it together to make a prong.
Bend the wire so that it faces down that squeeze the prong using your chain nose pliers to make the prong.
Bend the wire so that it lies in line with you sketched line again.
Place it so that the prong you just created lies where the furthest prong measurement to the right is.
Place your chain nose pliers where the second prong should be. Repeat the process until all of your prongs have been made.
Step 3: Strengthening your setting
Next place your wire with the prongs parallel to the shorter wire with the prong wire on top.
Starting just a little under where your drawn line is, start weaving your wires using the 26 gauge wire.
Weave by just twisting it around both of them and use your fingers to keep the wires from moving. Leave a little tail at the end.
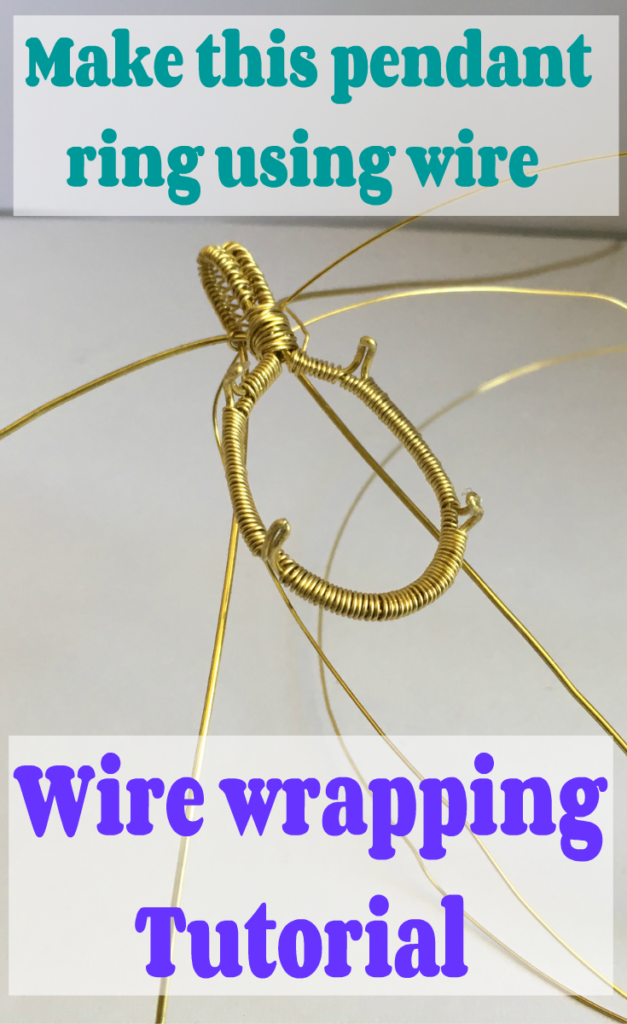
When you get to the first prong, use your wire to weave coils onto the bottom wire by putting your weaving wire in between the two wires until you get to the end of the prong then start wrapping both of them again.
End just a little bit before where the sketched line ends.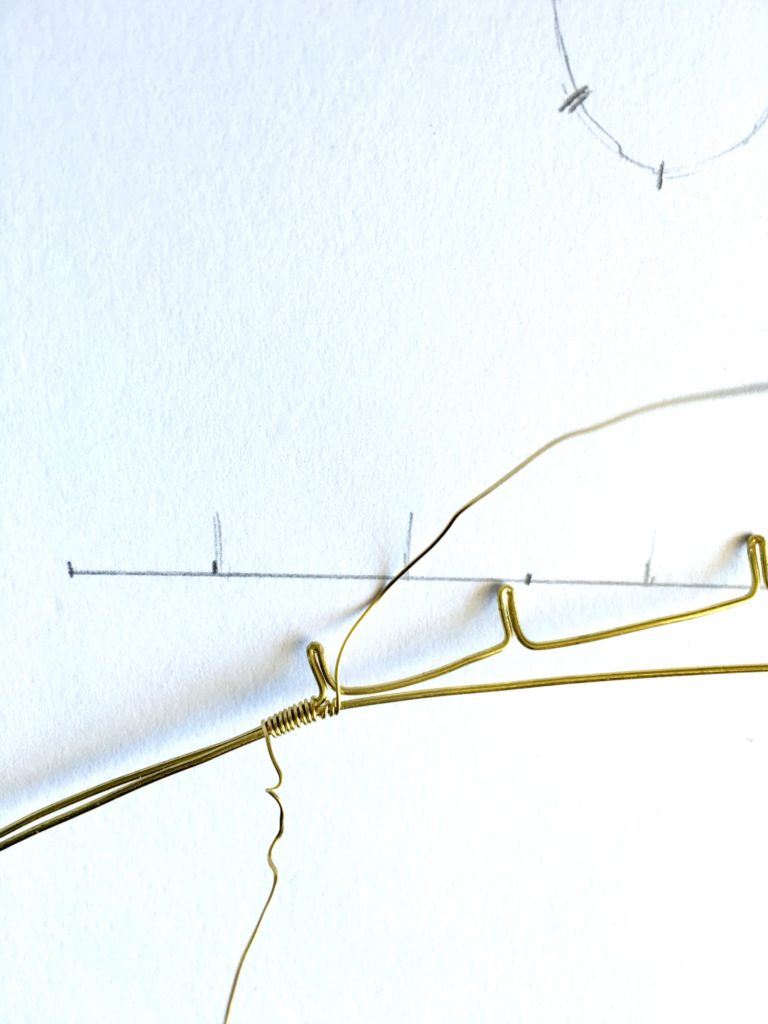
Step 4: Forming the base
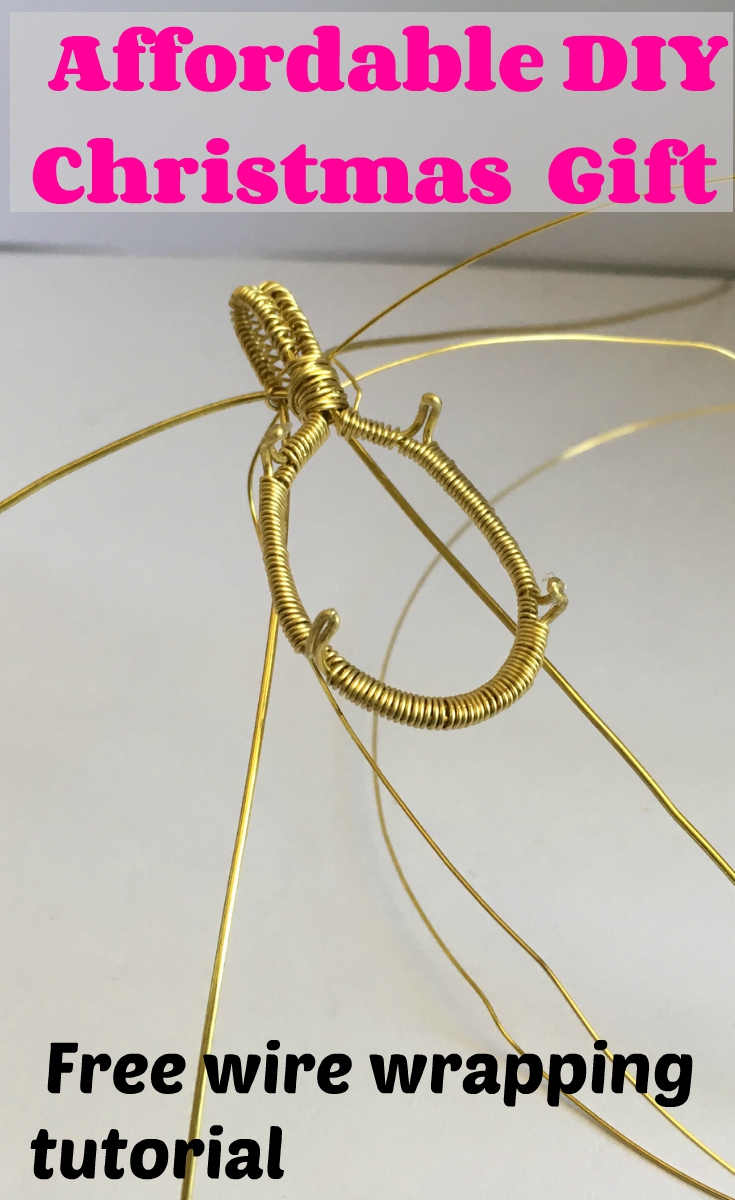
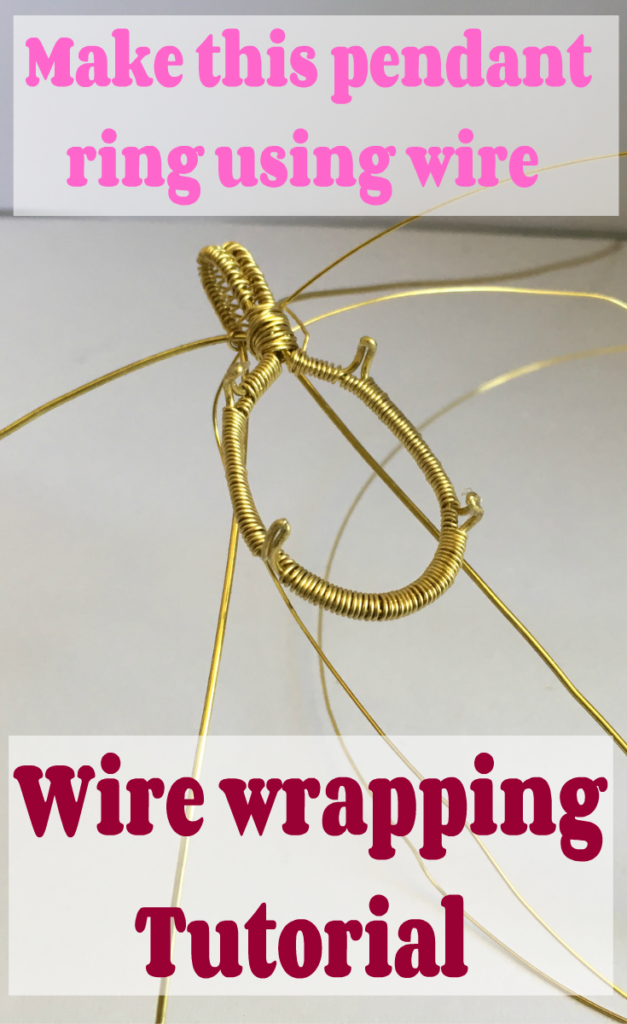
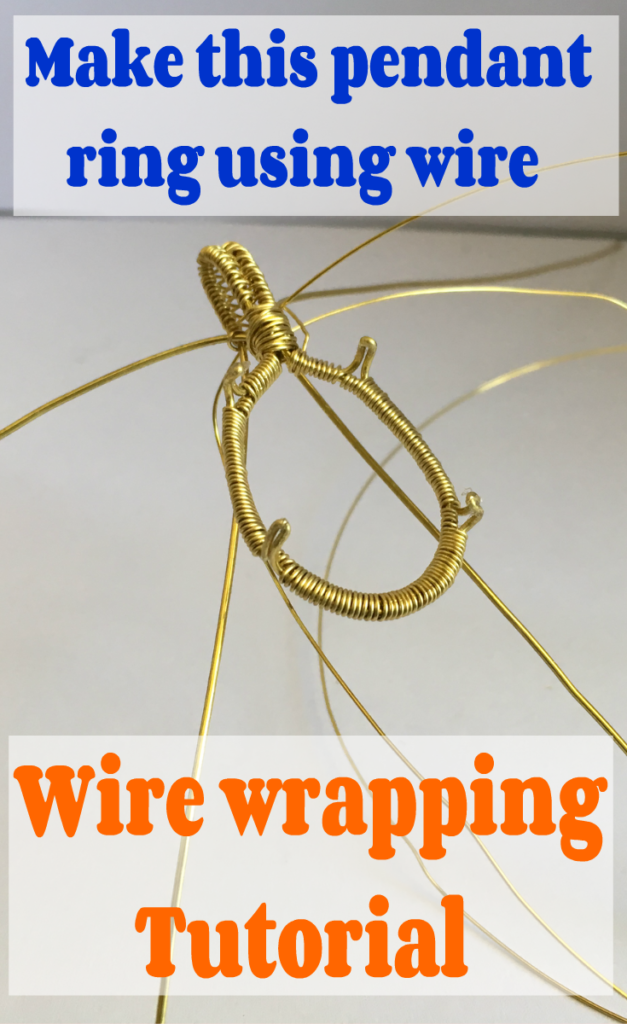
Start bending your wire to the shape of your stone with the prongs facing outwards.
Make sure to do this carefully using your stone as a guide until you get the shape.
If the shape is too small weave more on both sides.
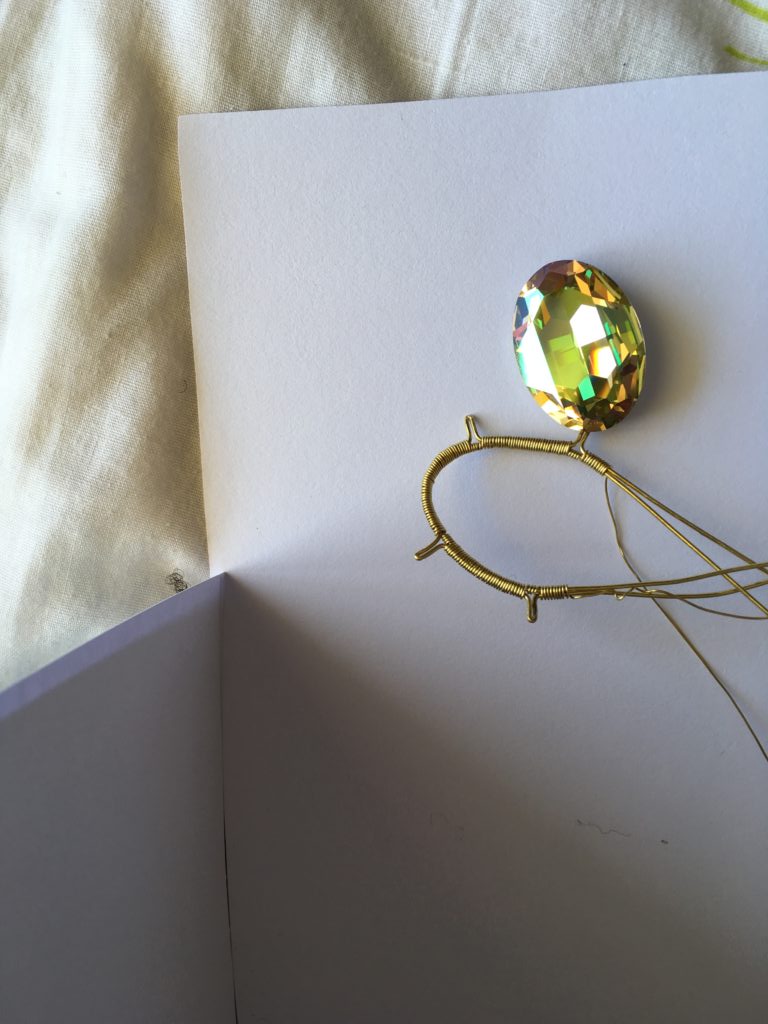
Step 5: Making the bail
Take your two front base wires and make two wraps around them to hold them together.
Start making a figure 8/basket (learn how to do this here) weave by making two coils around one wire, but instead of completing the second coil, just take it to the opposite side, so that it looks as if you are making the number 8 shape, around the second wire.
Make two coils again, and take the weaving wire to the opposite side of the first wire.
Continue until it is twice the length of the length you want your bail to be. Remember that the wire will tend to mave upwards, so hold it down with your fingers.
Use a cylinder shaped item, I used non-cylindrical scissors, and place it half-way over the wire and bend to form your bail.
Use your weaving wire to wrap around the front and the back of the wire to secure the bail. Cut off the excess wire, leaving enough on your base wires to create slight coils that will secure the bail.
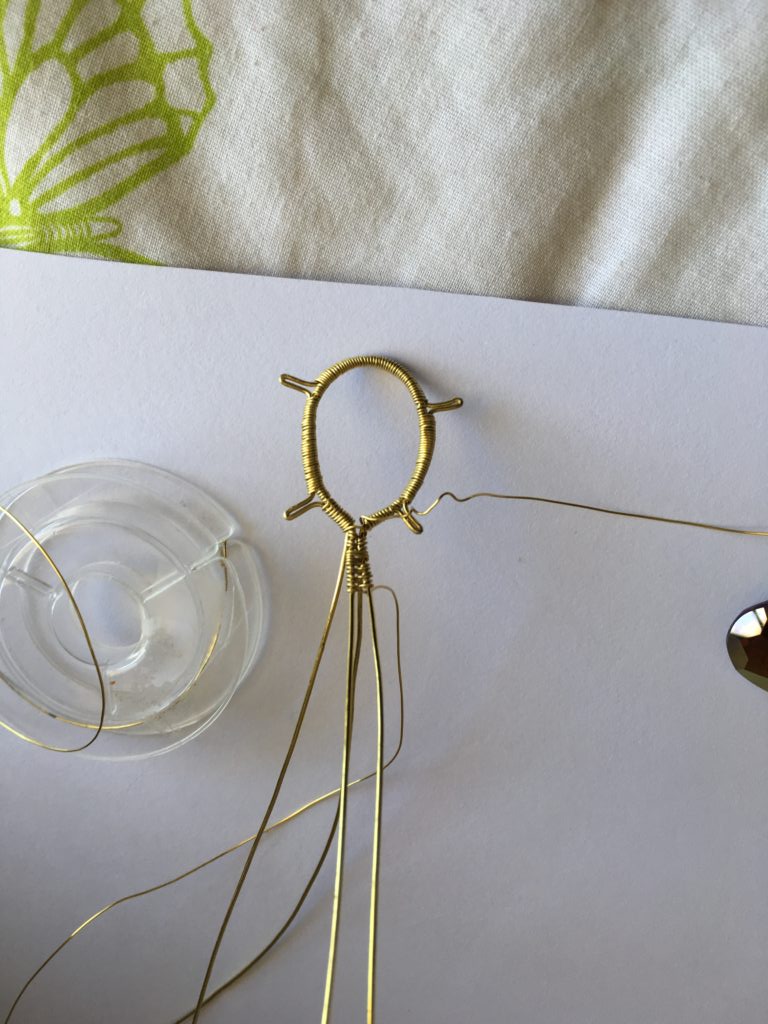
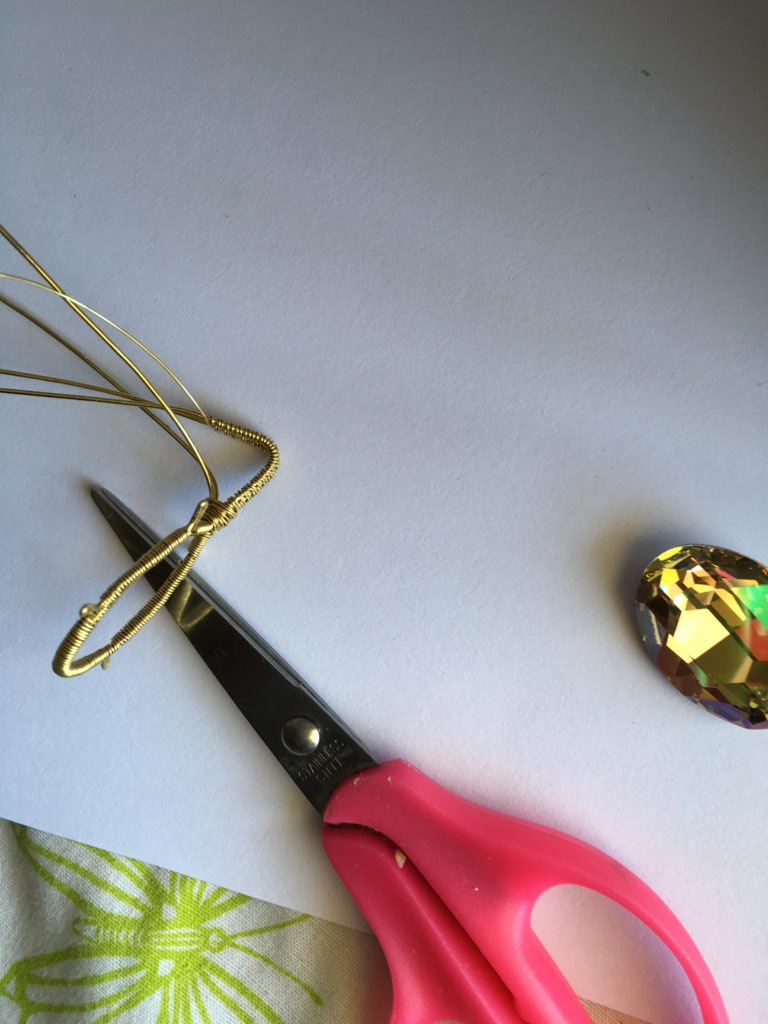
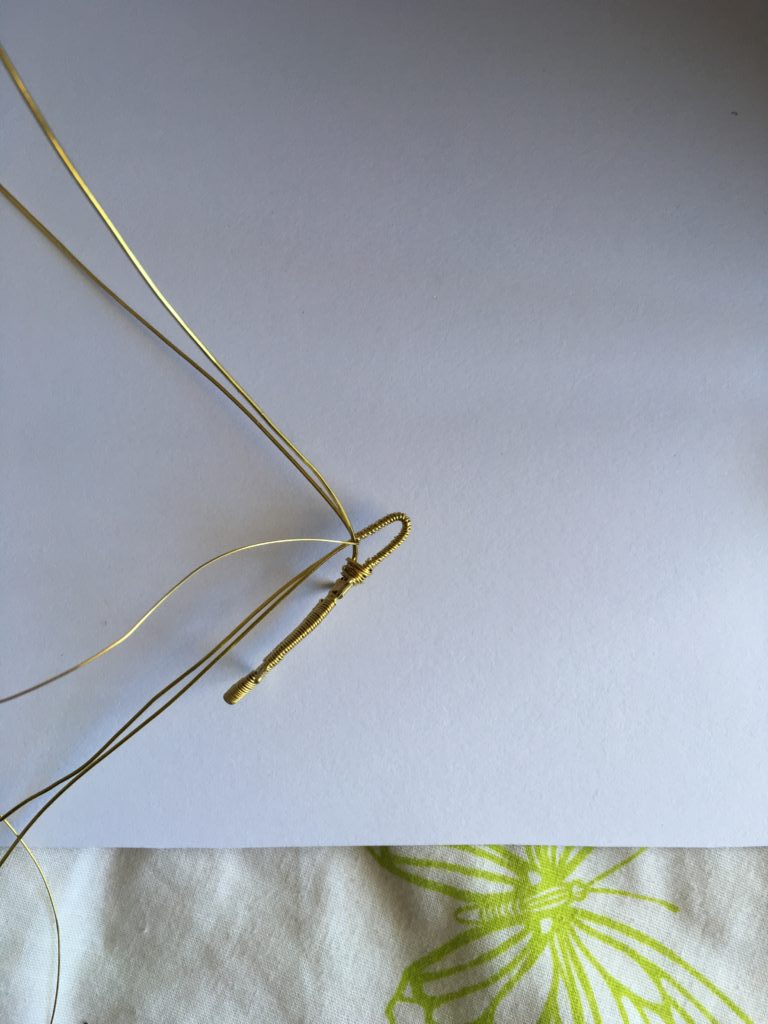
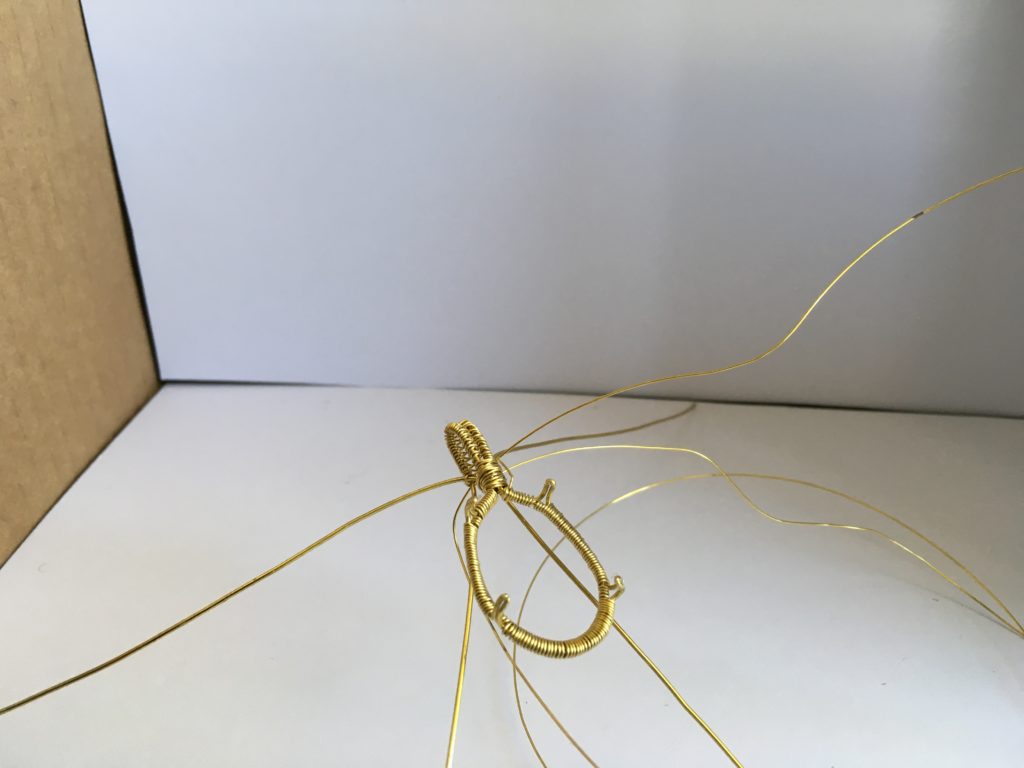
Step 6: Making the prongs
Take your chain nose pliers and bend the prongs that are facing out upwards as shown above.
After that, take your chain nose pliers and bend the prongs inwards so that they have a slight curve.
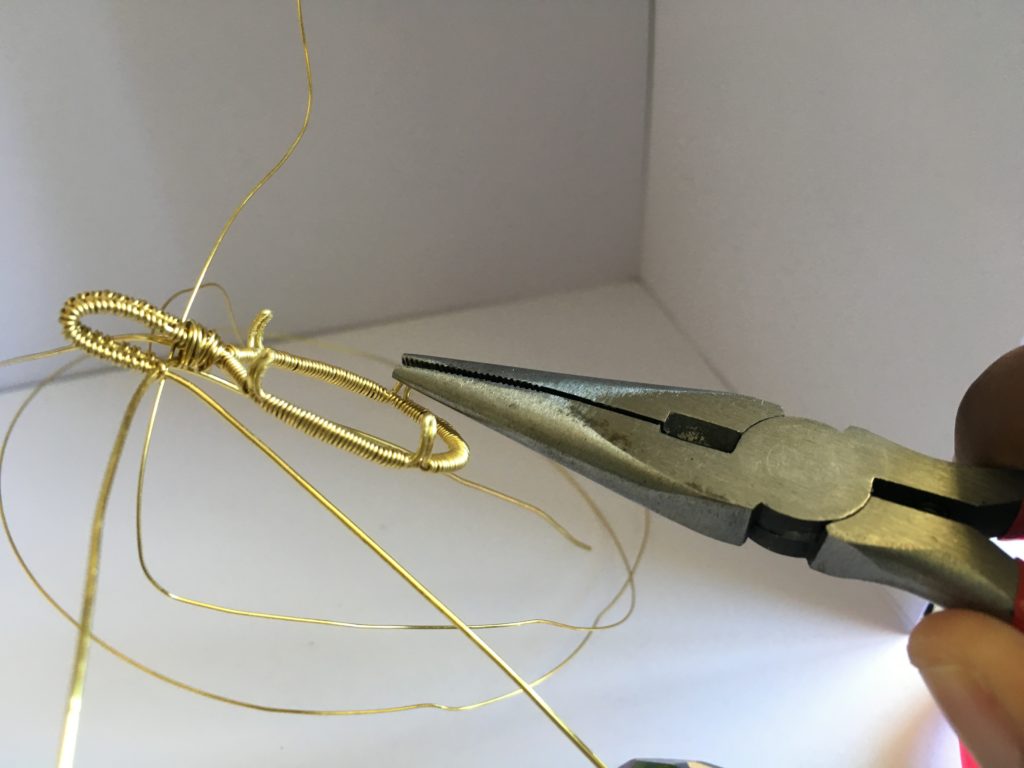
Step 7: Inserting the stone
Take the Swarovski crystal and push it in, you should hear a click.
If it is loose, take it out and use your chain nose pliers to slightly bend the prongs more inwards to make a deeper curve. Insert the stone again.
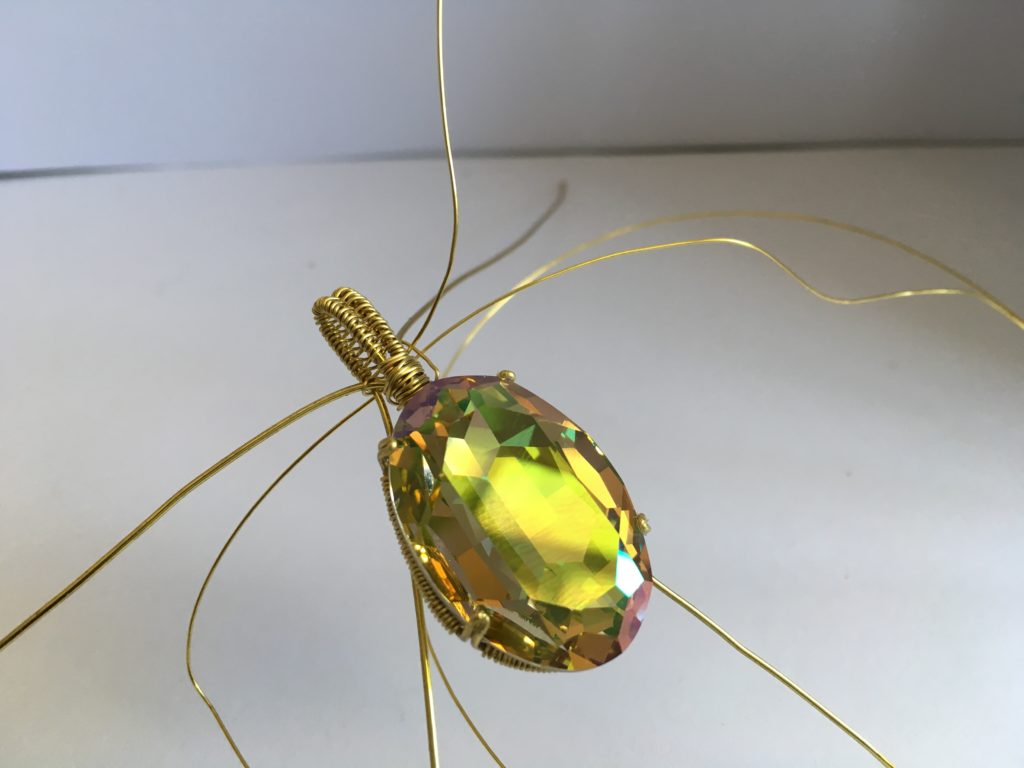
Step 8: Finishing off
This step is optional.
If you would like a simple prong set pendant, first use your 0.4mm wire to secure the bail by wrapping around the base.
Then just cut off the excess, use your round nose pliers to make spirals at the ends of the wire (to keep it from unraveling) and tuck it behind the pendant to hide it.
If you want to add more detail here’s how.
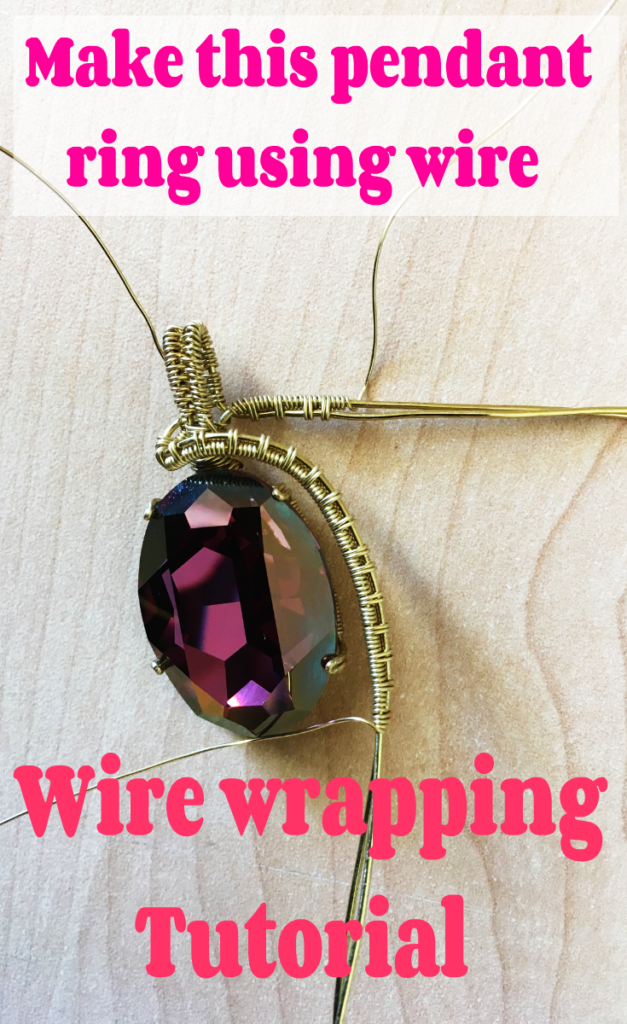
First, start by sectioning off your wire as shown below.
Take you 0.4mm wire and make four coils around the bottom wire of one side as shown below.
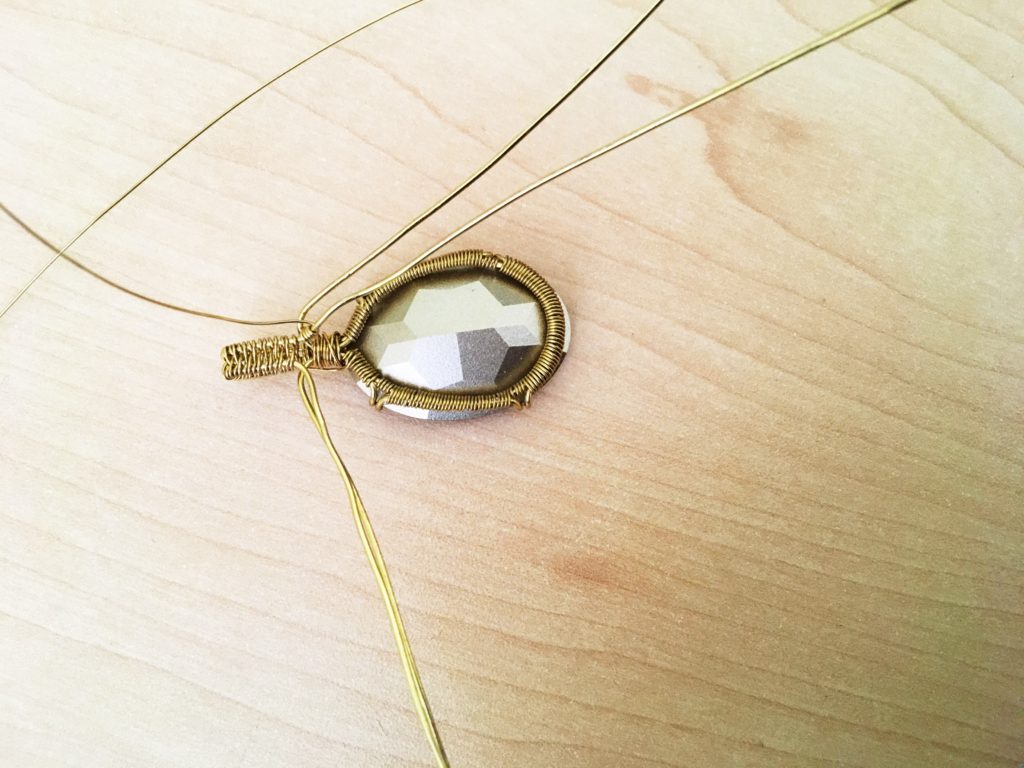
Then place the top wire flush against the bottom and make two coils around both of them. Carry on until you think its long enough, I made mine about 6cm.
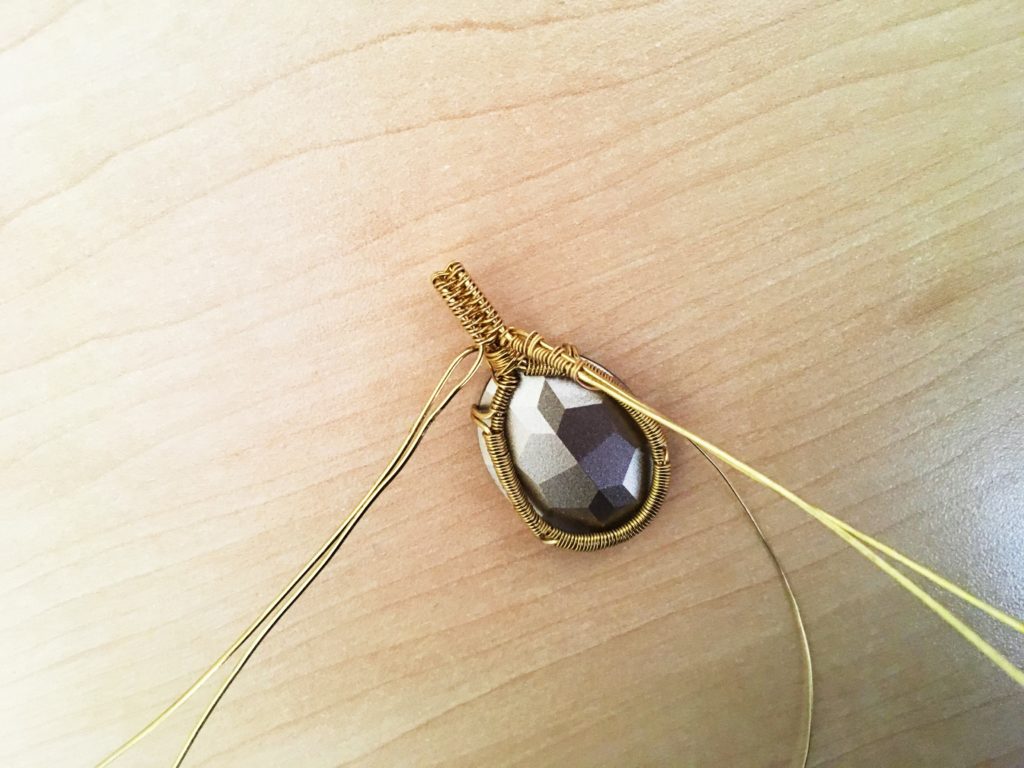
Leave a 6cm tail of the 0.4mm wire and cut it. Go to the other side and create the same or a different pattern. Make it as long as you want, I made mine 2cm.
Bring the 6cm pattern to the front by looping it around the base of the bail. Then take it and make curve around the pendant.

Take the 2cm and loop it above the other one but this time go to the back.
Once you get to the back, take the top unwrapped wire and loop it around again.
Cut off the excess of both wires, make a spiral at their ends and secure it to the pendant by wrapping it if you need to.

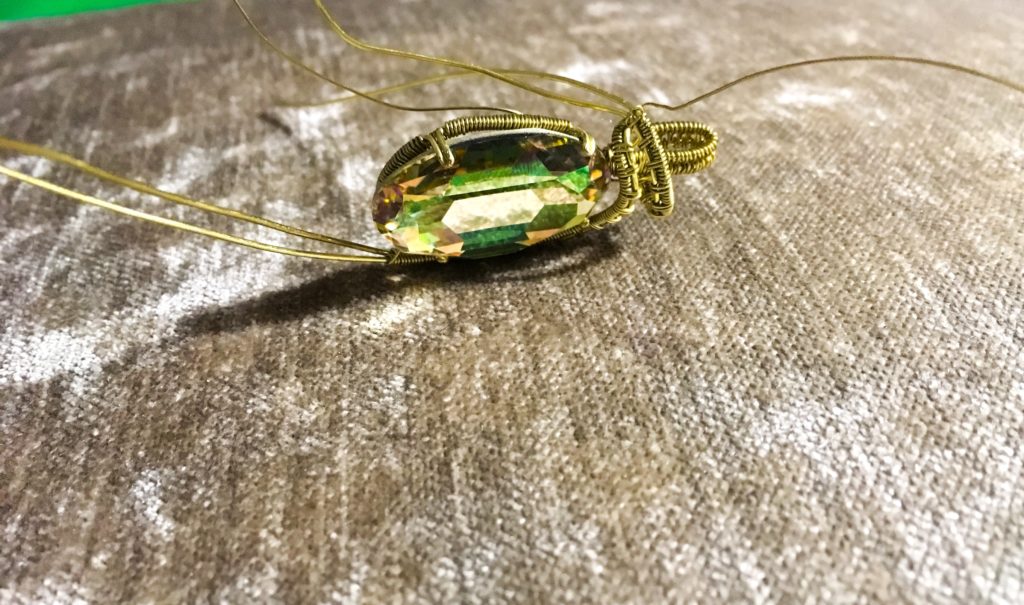
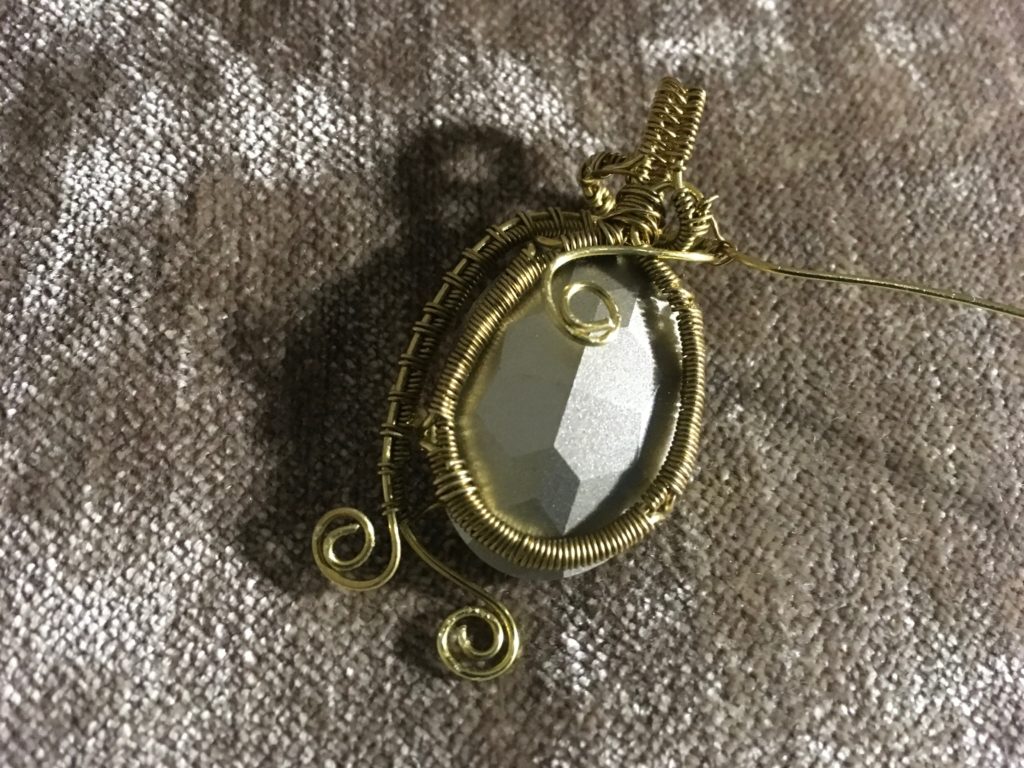
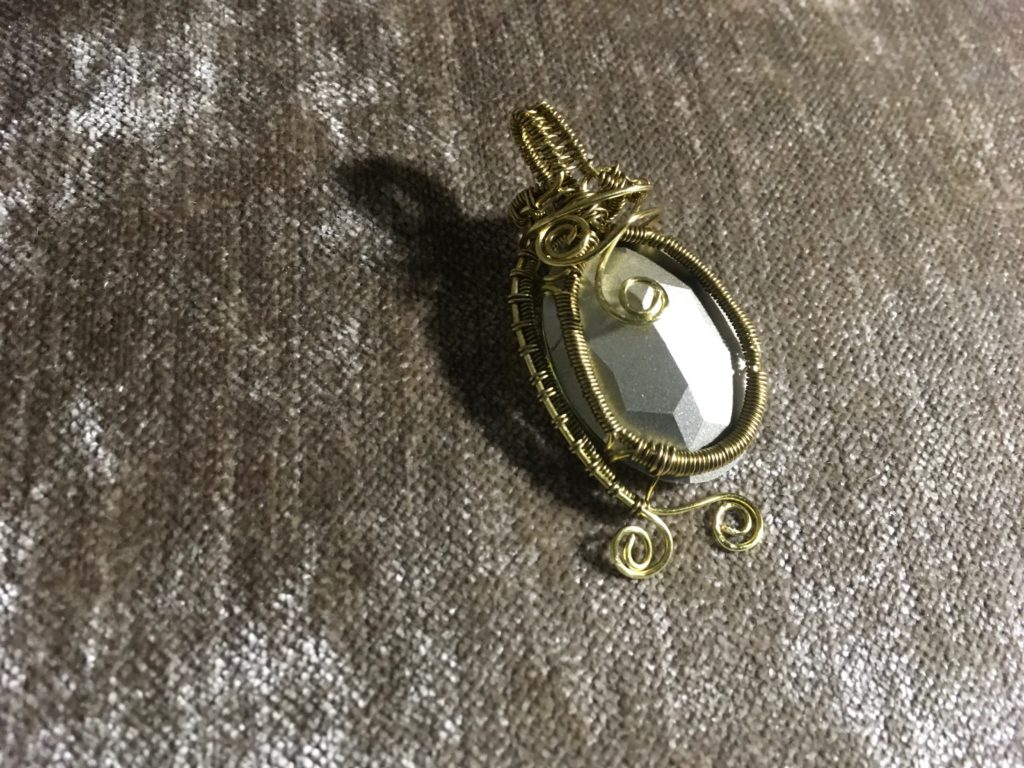
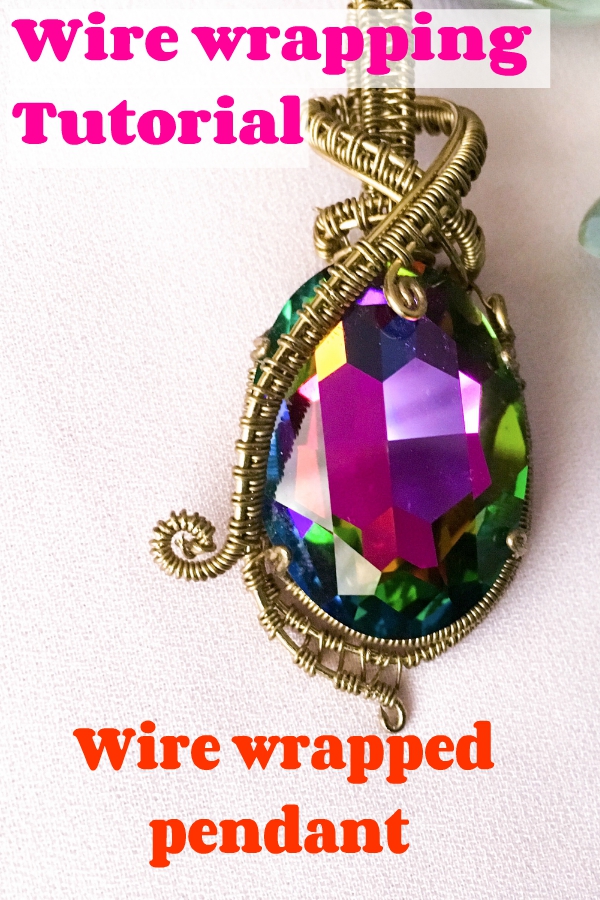
Cut of the excess on the remaining wires and use your round nose pliers to make spirals. There you have a beautiful pendant.
