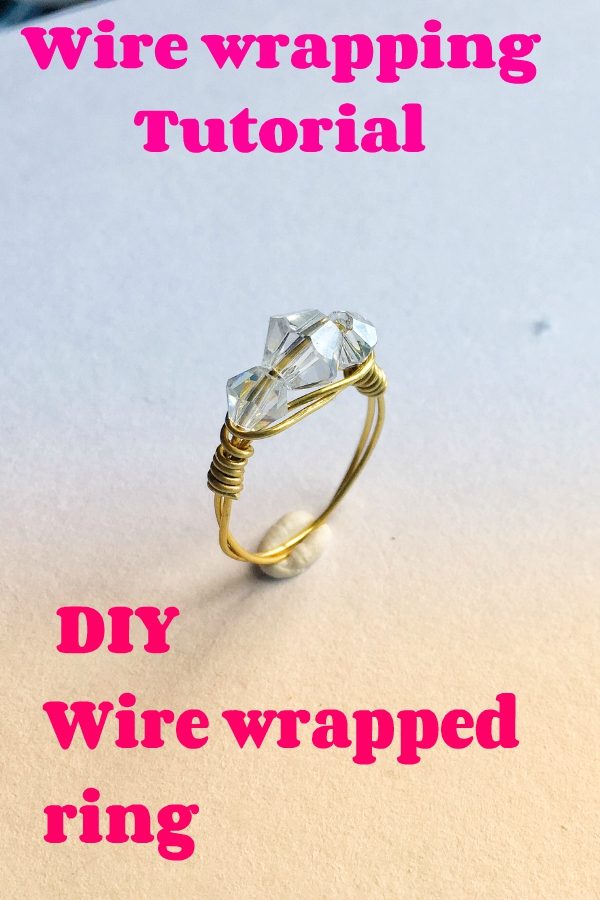
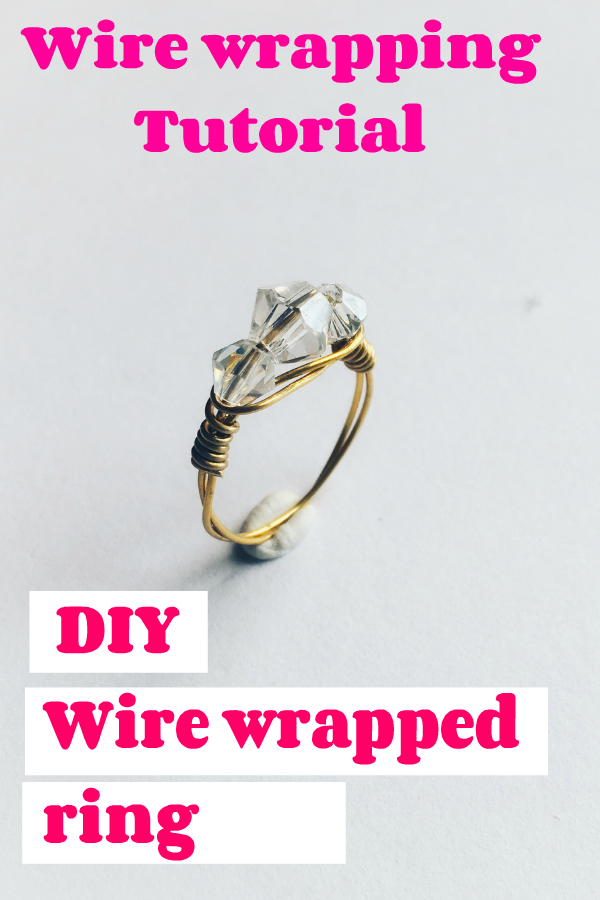
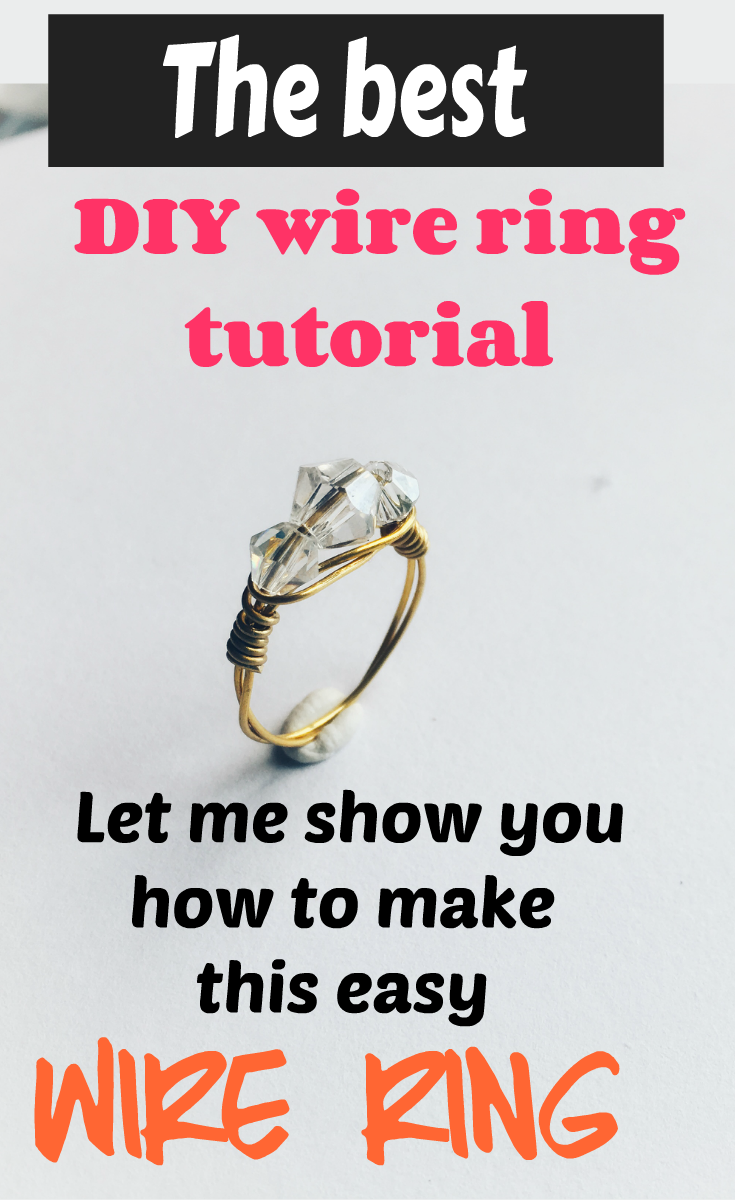
Wire wrapped ring tutorial | Diamond Trilogy ring
Good day, I am back with another beautiful project, a wire wrapped ring DIY.
This one will be one of three of my wire wrapped ring tutorial series. The series features some variation of the same wire wrapped ring technique and wire wrapped ring pattern.
I made this ring after I saw a diamond ring with three stones. It had a gold band too. I just thought that it was beautiful so I tried to recreate that beauty.
 https://mailchi.mp/90f14b6fc754/thewirefanatic
I used Swarovski clear bi-cones for this ring, Swarovski shines beautifully. Two 4mm bicones and one 6mm bicone where used.
You can use other beads in other sizes. I would suggest crystal beads for that glimmer effect. You can even use Swarovski beads with finishes on them as they tend to shine best.
Other wire wrapped ring tutorials:
This is the seventh wire wrapped ring tutorial that I have written.
The first was a wire wrapped stone ring that I made by using a Swarovski Rivoli stones. It was a prong set ring tutorial. Go here to learn how to make it.
The second was a rose ring, also using a Swarovski bicone bead. You can find that here.
The Third was made using a Cushion cut Swarovski stone. Go to this page to find this tutorial.
And the third was made with just wire. It was a failed project. I had intended to make a prong set ring using a Swarovski octagon pendant. To see this, click here.
The last was a snake wire ring. Click here for the tutorial.
I am starting to see a pattern here. I just love crystals.
Materials needed for this wire wrapped ring tutorial:
30cm -40cm 6mm 22 gauge Gold wire
6mm Swarovski clear bicone
Ring mandrel
Wire wrapping tools needed:
Flush wire cutters (recommended)
How to make this DIY wire ring.
Written tutorial. Scroll down for the video tutorial.
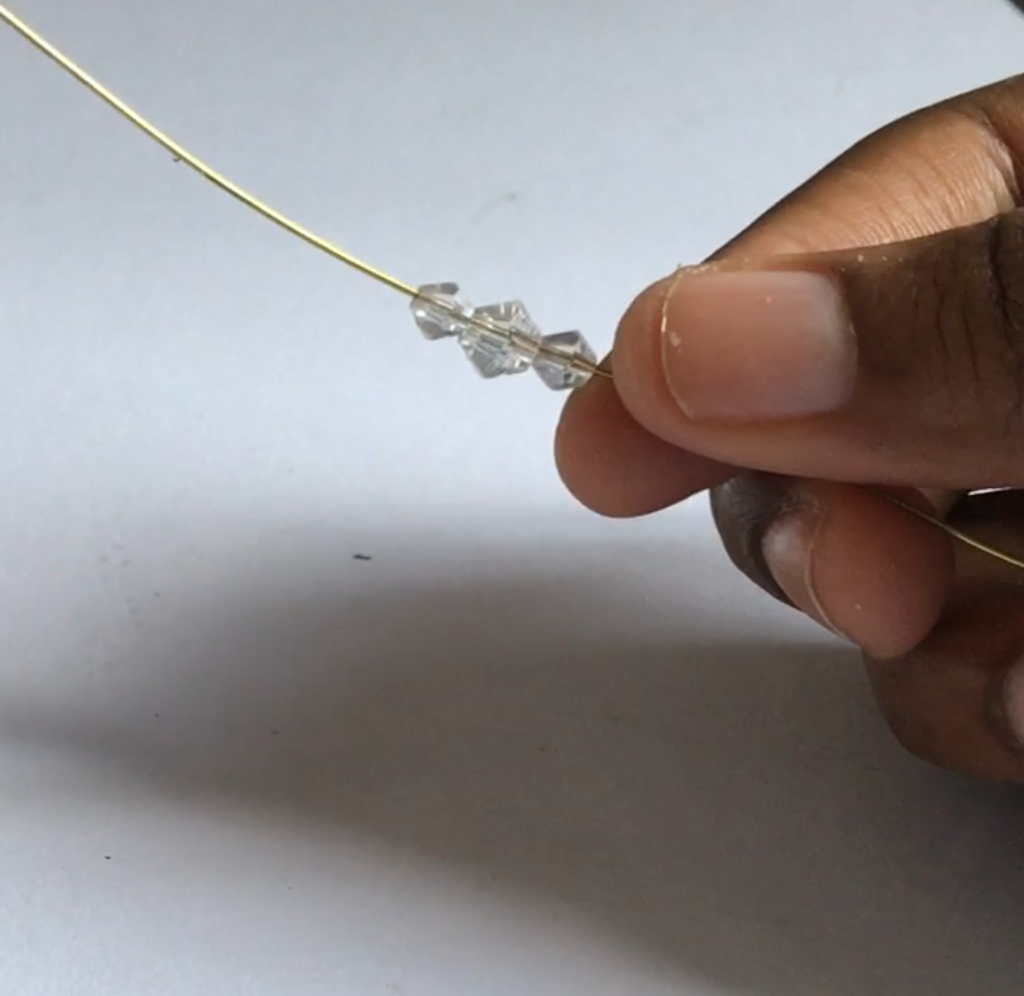
Take your beads and string them through the wire. Put the 6mm in the middle with the 4mm beads on either side.
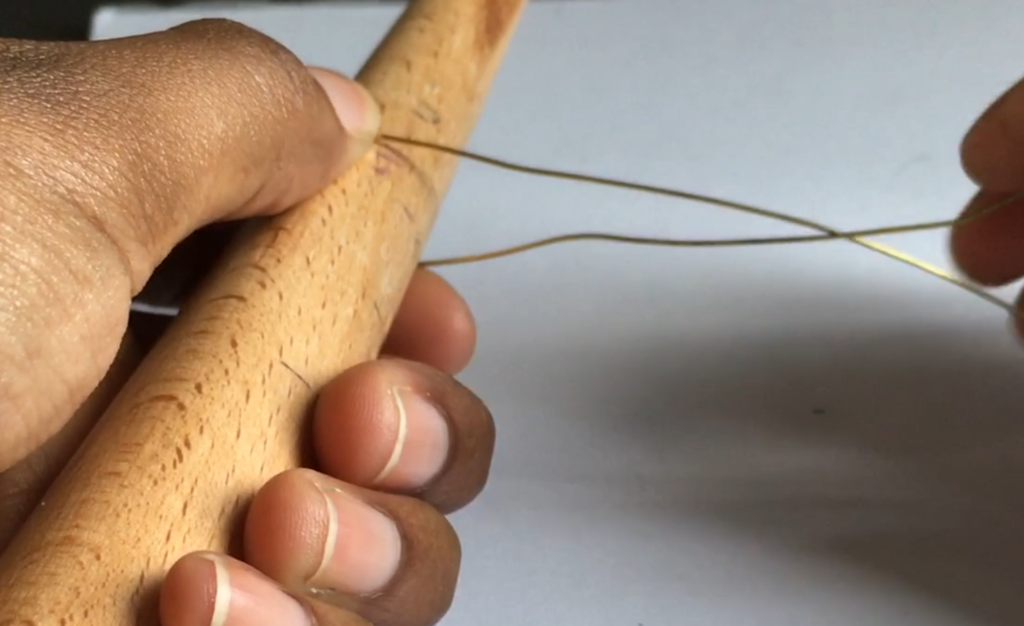
Wrap the wire around the ring mandrel once so that it comes up on either side of the stone. Now, wrap one of the wires around the ring mandrel again. You should have two bands now.
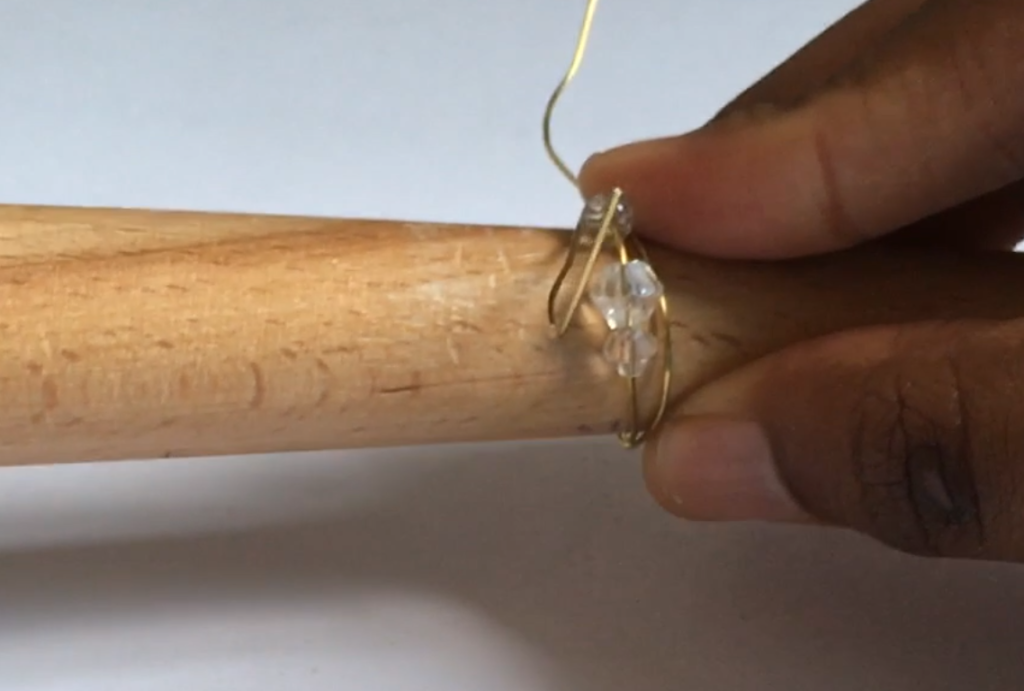
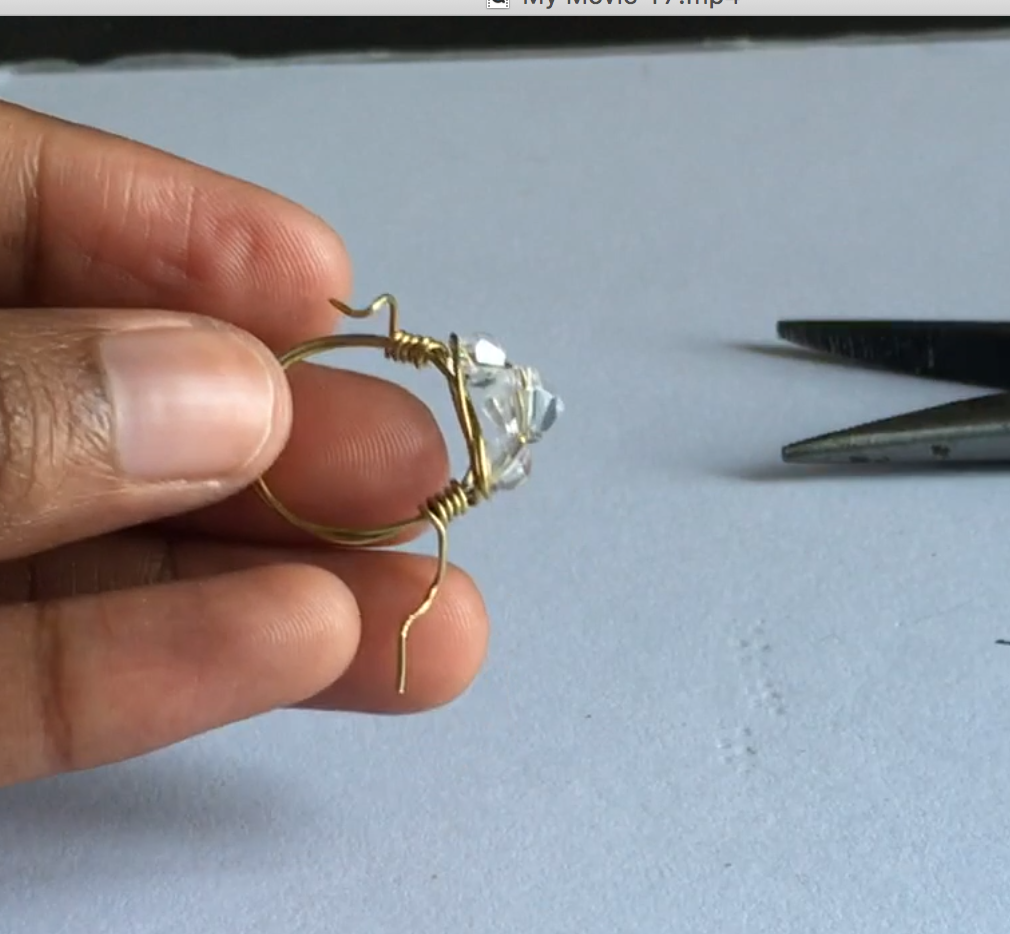
Take one of the wires. Move it to the opposite side and wrap it around the beads. Do the same to the other side. Take the ring off of the mandrel. Be careful to not distort the shape.
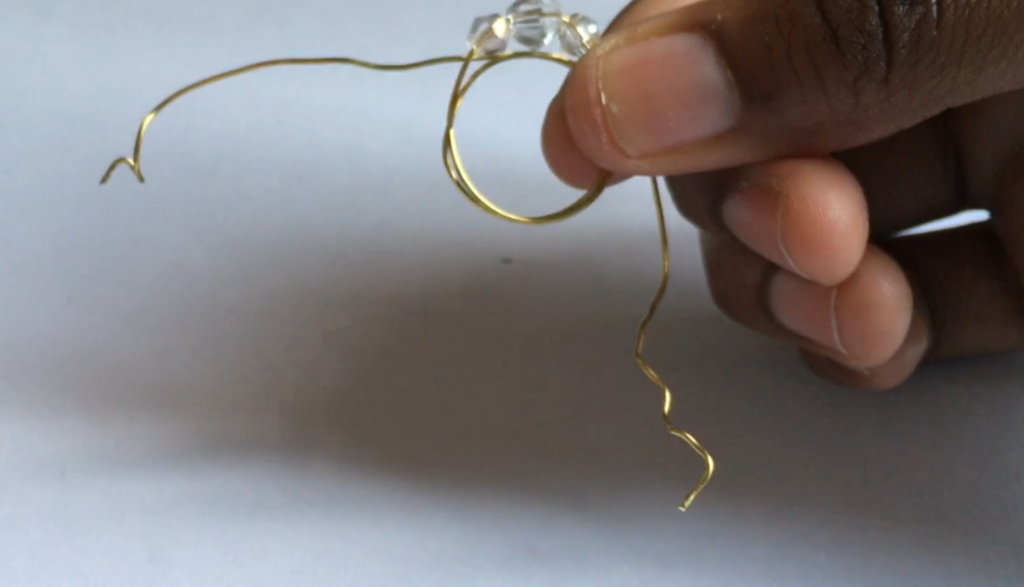
Now take the same wire that you started with and wrap it around the ring band. Again, do the same with the other. Use your chain nose pliers to tighten the loop you just made it you need to. I wrapped it around the band about four times.
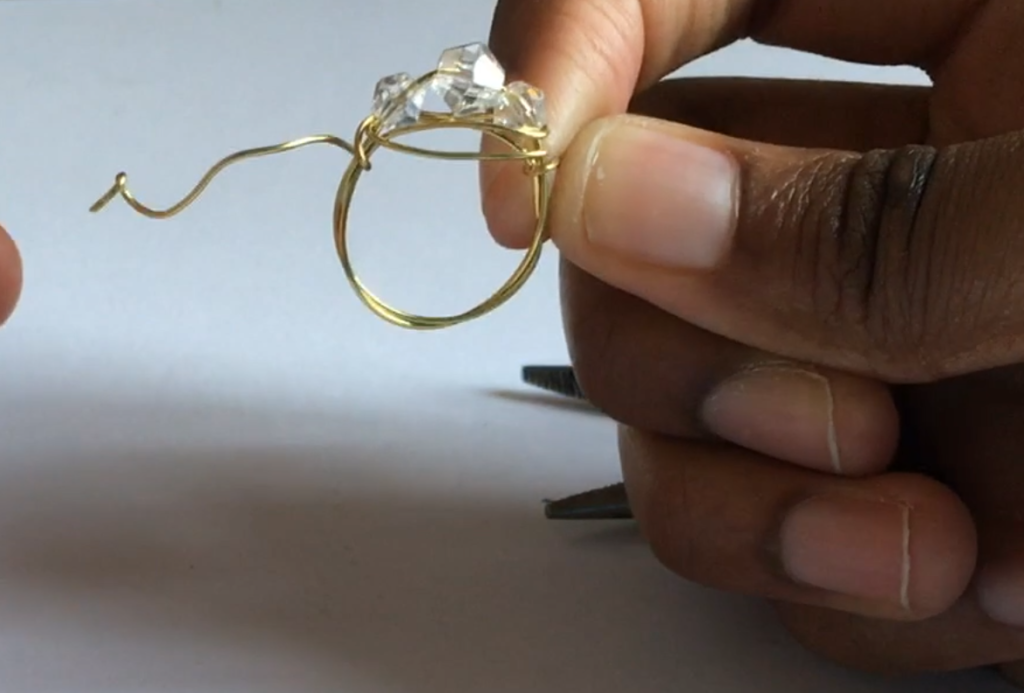
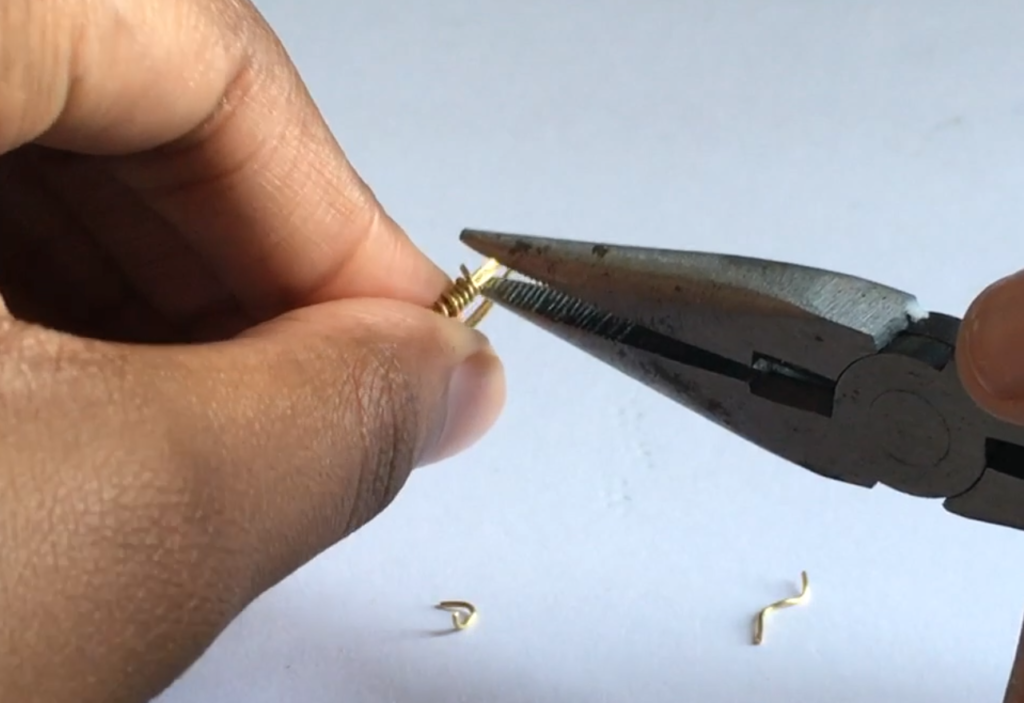
Take your wire cutters and cut off the excess wire using your wire cutters. Take your chain nose pliers and push the ends down. Make sure that they are flush against the ring.
Notes:
I used chain nose pliers with teeth. Try to not do this. I have become accustomed to my pliers and can now use them without t damaging the wire. These are great for grip but they can tear. The wire easily.
My pliers are also thick. This can make it harder to get in those small spaces especially when weaving. Use thinner pliers.
I also used memory wire cutters. I do not suggest doing this. I left my wire cutters at my mother’s house and I have not gotten around to buying new ones.
The best wire cutters are flush cutters. They are small and can be used in tight spaces.
Side cutters can work for a while cut they are wide. This make s them hard to work with. Save your self the trouble and get flush wire cutters.
Mandisa is a participant in the Amazon Services LLC Associates Program, an affiliate advertising program designed to provide a means for sites to earn advertising fees by advertising and linking to Amazon.com.


