Wire wrapped prong set Swarovski crystal rivoli ring
I really wanted to make a ring with the Swarovski Rivoli that I bought a year ago. It has been sitting on my desk for about a month while I was trying to get inspiration for it. It is a 10.5mm Swarovski Rivoli so trying to come up with ideas for it was hard.
I considered making a pendant, but I felt that it would be a waste to use this stone in a pendant. Then I considered trying to turn it into a bangle or bracelet, but I rejected that idea for the same reason as the pendant idea.
I briefly considered making a ring, but prong set wire wrapped rings are difficult to make, especially when the stone has a pointed back, and they usually require square wire, which is a little bit more expensive than round wire and this blog is for beginners.
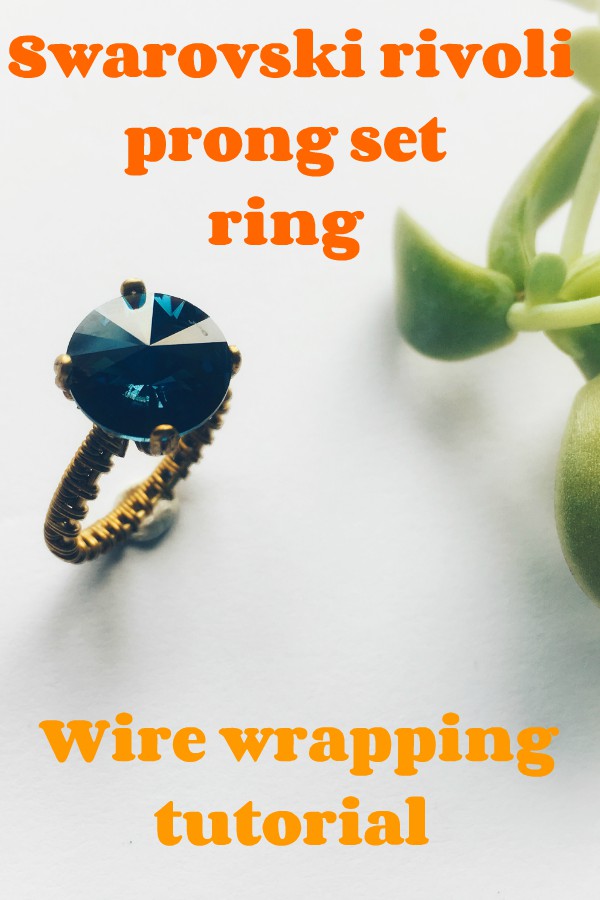
This is why the Rivoli sat on my desk for a month until I decided to make a simple prong set ring using a wire weaving technique. So I made a wire wrapped prong set Swarovski crystal Rivoli ring.
This would be a simple ring, only slightly adjusted to accommodate a pointed back stone. The hardest part of this project was setting the stone. I had to find a way to keep the prongs sturdy enough to hold the rivoli in place.
I have other Swarovski ring tutorials.
Click here for one I made using a cushion cut Swarovski stone
Here is one made using the Swarovski Bicone beads
Disclaimer: Please note that this post contains affiliate links
Tools needed:
20 Gauge (0.8 mm) regular round wire (you can use 18 gauge if you want but it becomes a bit harder to manipulate after the wire weaving)
26 Gauge (0.4 mm) regular round wire or thinner
10.5mm Swarovski rivoli (I used a Montana colored stone)
A pair of Nylon jaw pliers (optional)
A pair of Flush wire cutters
A pair of Round nose pliers
A pair of Chain nose pliers
A pair of Bent nose pliers (optional)
How to make the ring band:
I used a simple wire weave.
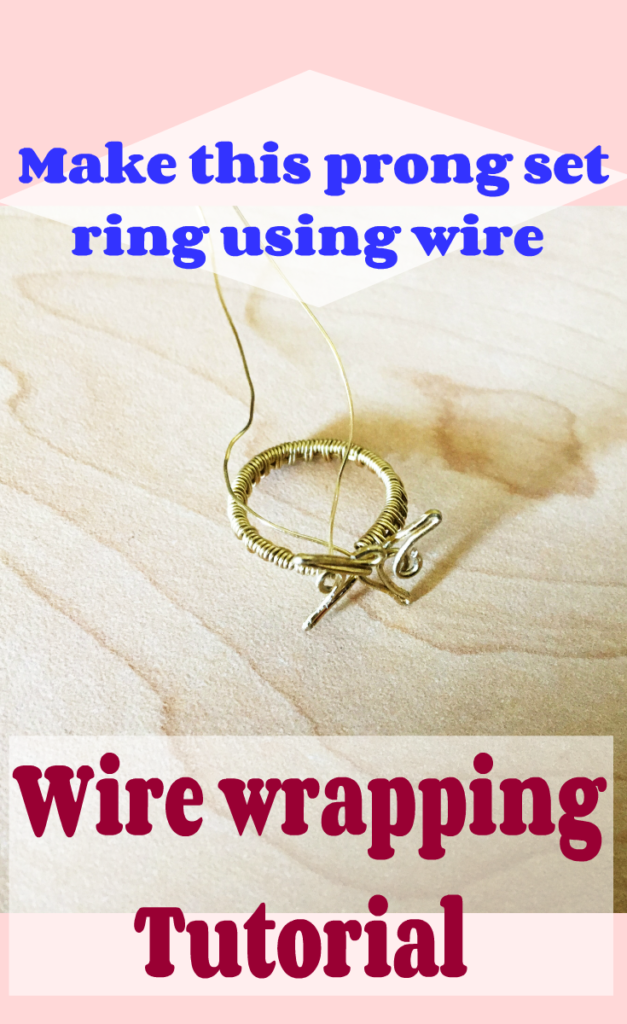
Take your ring mandrel and measure your ring size. Cut two pieces of the 20 gauge wire that the length of your ring size plus 5 inches long. You can make these longer if you want. Straighten them out using the nylon jaw pliers.
Take your 26 gauge and wrap it around one of the wires twice, make sure to leave a tail.
Take your second 20 gauge wire and lay it parallel to the first. Take your 26 gauge wire and wrap it over both the 20 gauge wires twice.
Then wrap it around the first wire (the one that you started with) twice, going in between the two.
When you make this weave pattern, the coils formed will be slightly skewed towards the direction of the weave. Use your fingers or bent nose pliers to straighten them.
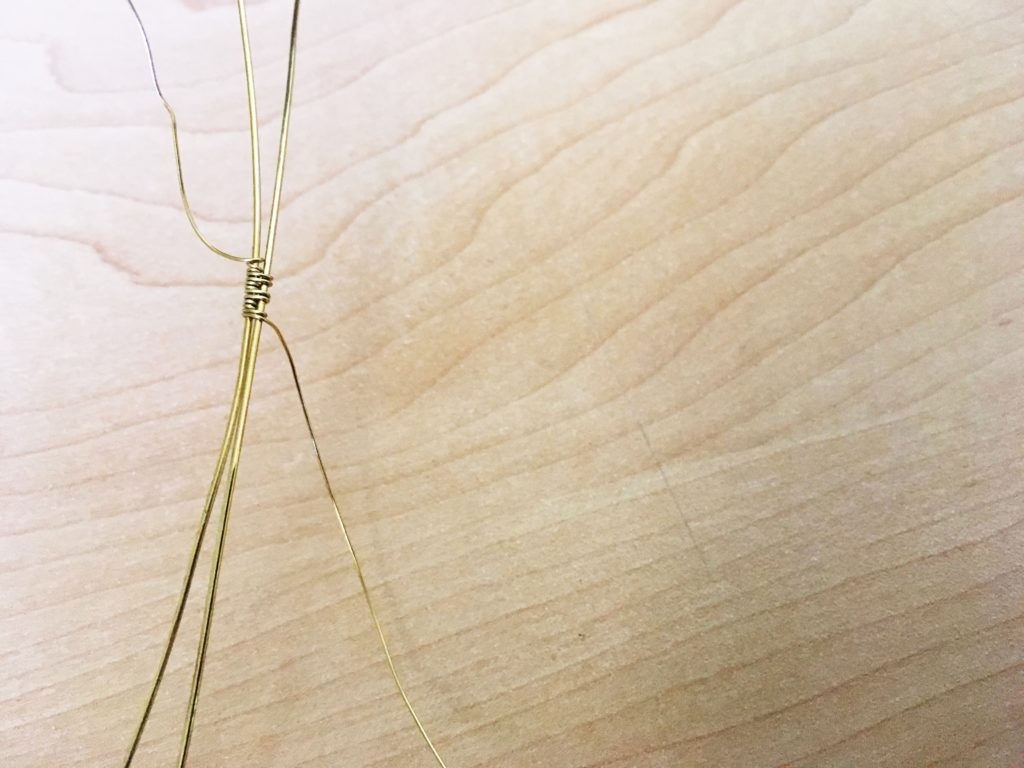
Keep on making this pattern until it is your ring size (remember to take your bones into consideration)
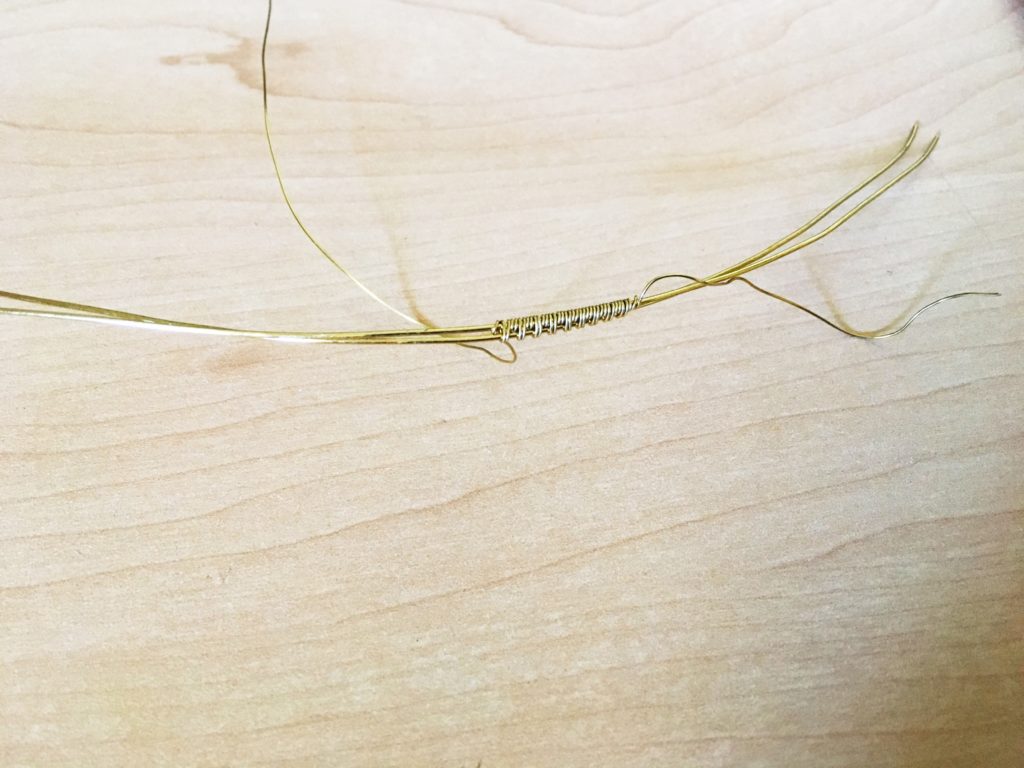
Forming the prongs:
So this is where it becomes a little harder.
First, use your ring mandrel to shape the ring.
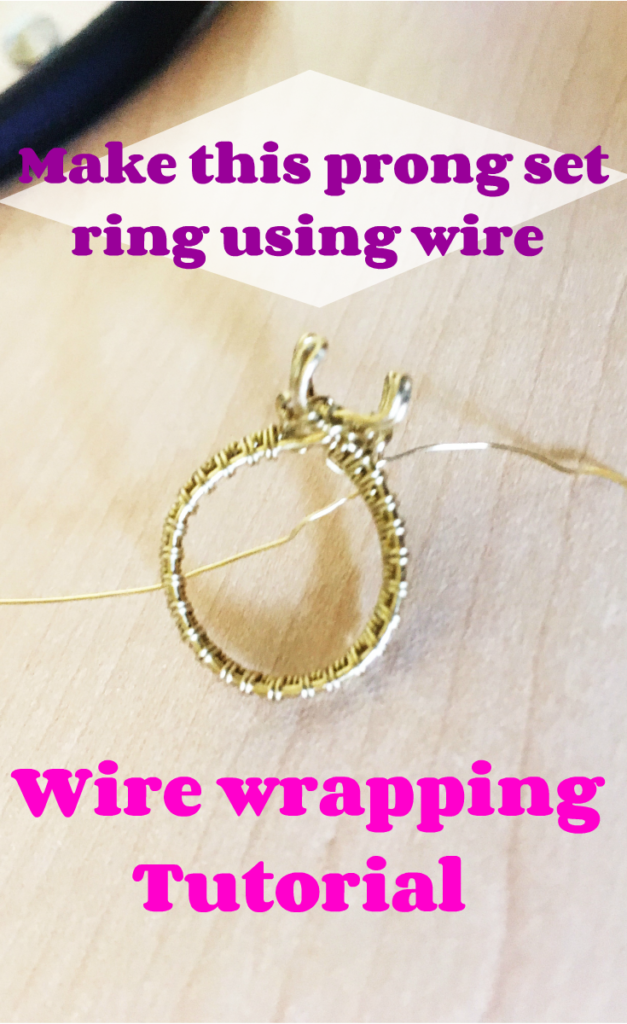
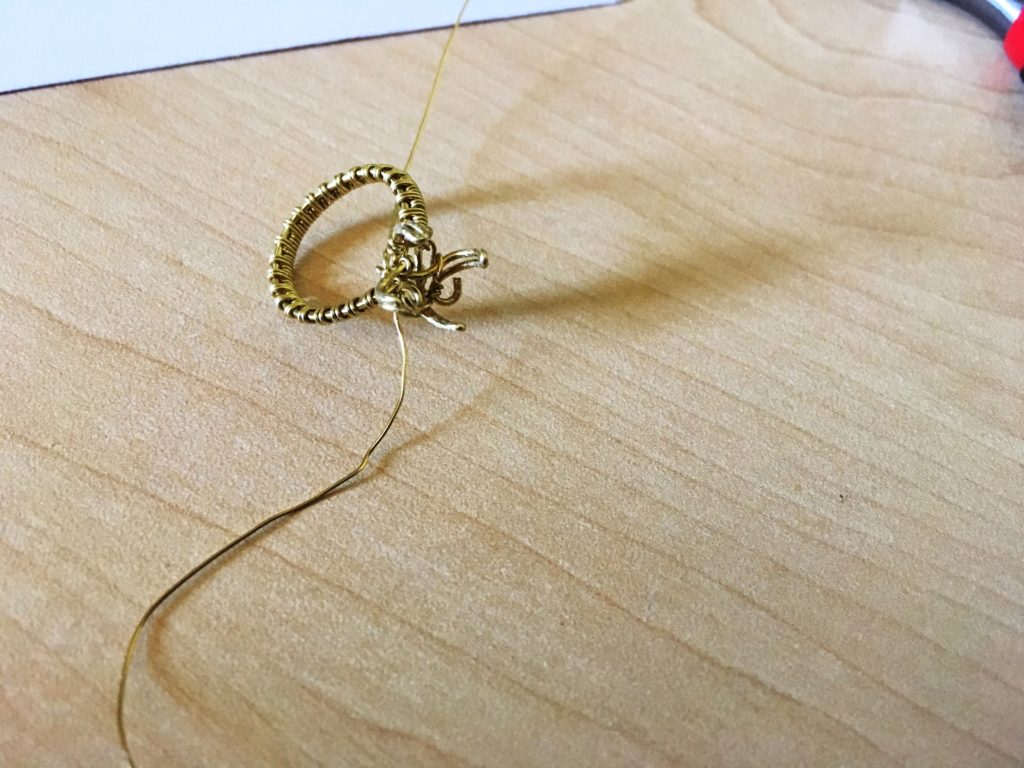
Keeping it on the mandrel, take the four wires and pull them so that they cross each other.
Use your wrapping wire to weave around them to keep the ring shape.
Make sure to alternate the four wires so that your ring forms a nice circle shape.
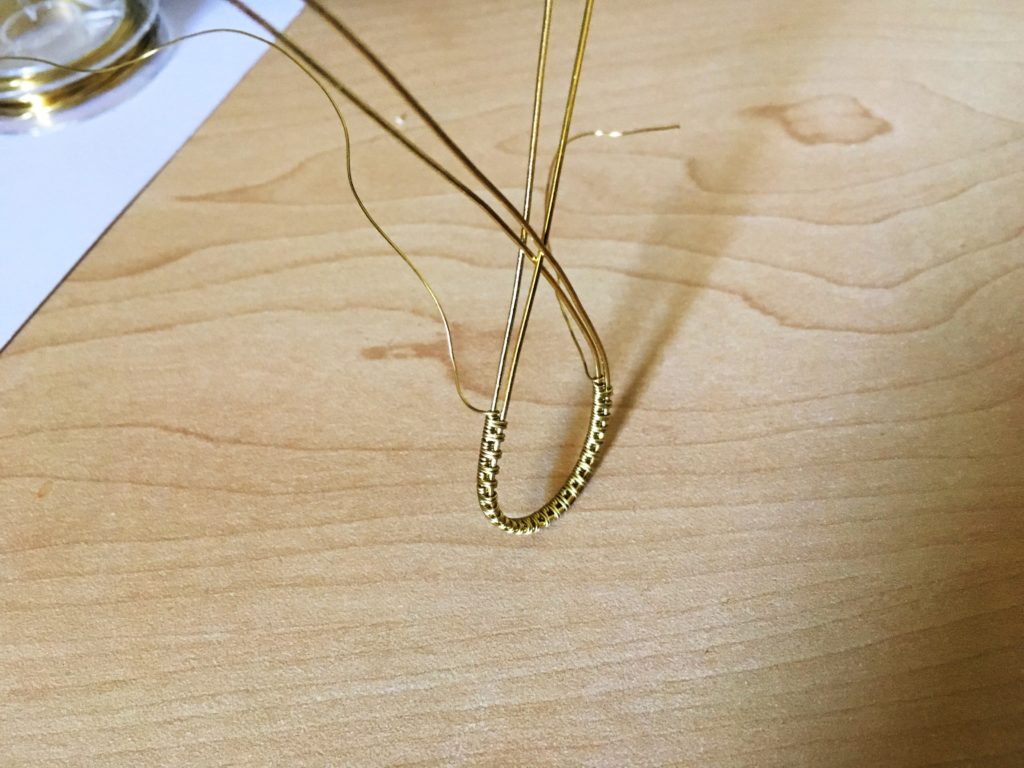
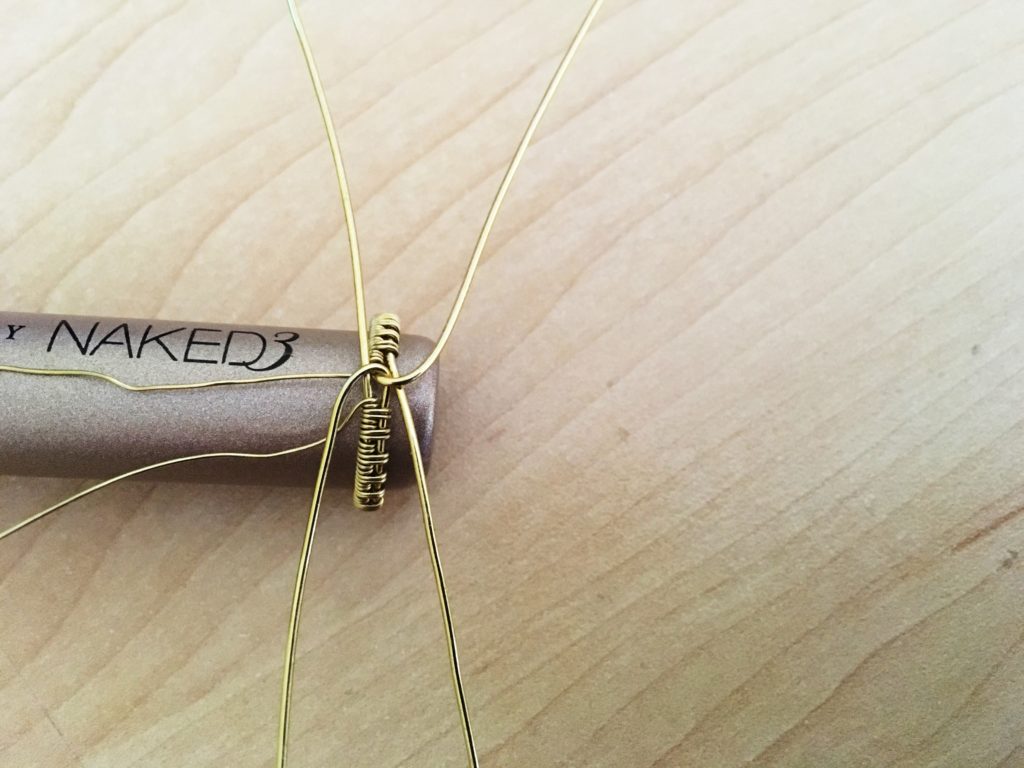
Take your rivoli and put it close to you.
You will have to guess (estimate, guesstimate?) how long your prong should be.
Using your chain nose pliers, bend the wire to the side and then back down to form a prong.
What I did to prevent waste was to make practice prongs using leftover wire from previous projects.
I made a “prong”, then I put it next to my Rivoli to guess the length.
Do the same with all the other four wires make sure that you bend them in the same direction (clockwise or anticlockwise)

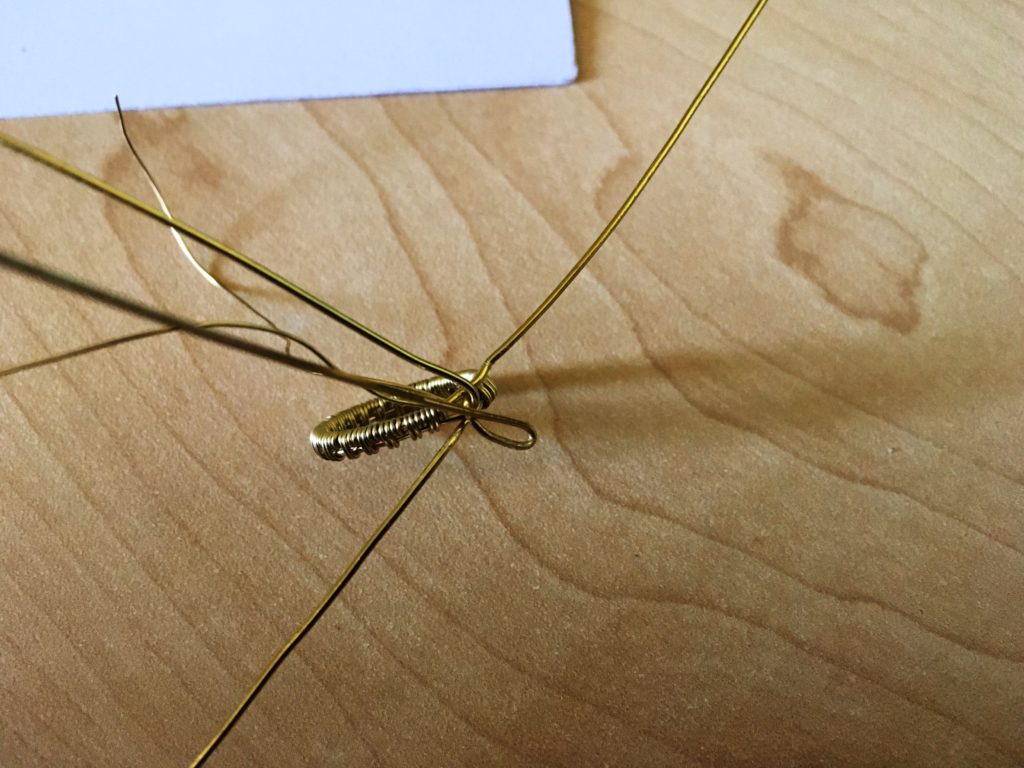
Take your flush cutters and cut the excess wire, leaving a short tail in each
Take your round nose pliers and make small loops like this with your prong wires.
Make sure to not pull the prongs apart and that the loops are alternating, you will need them to anchor and strengthen the prongs.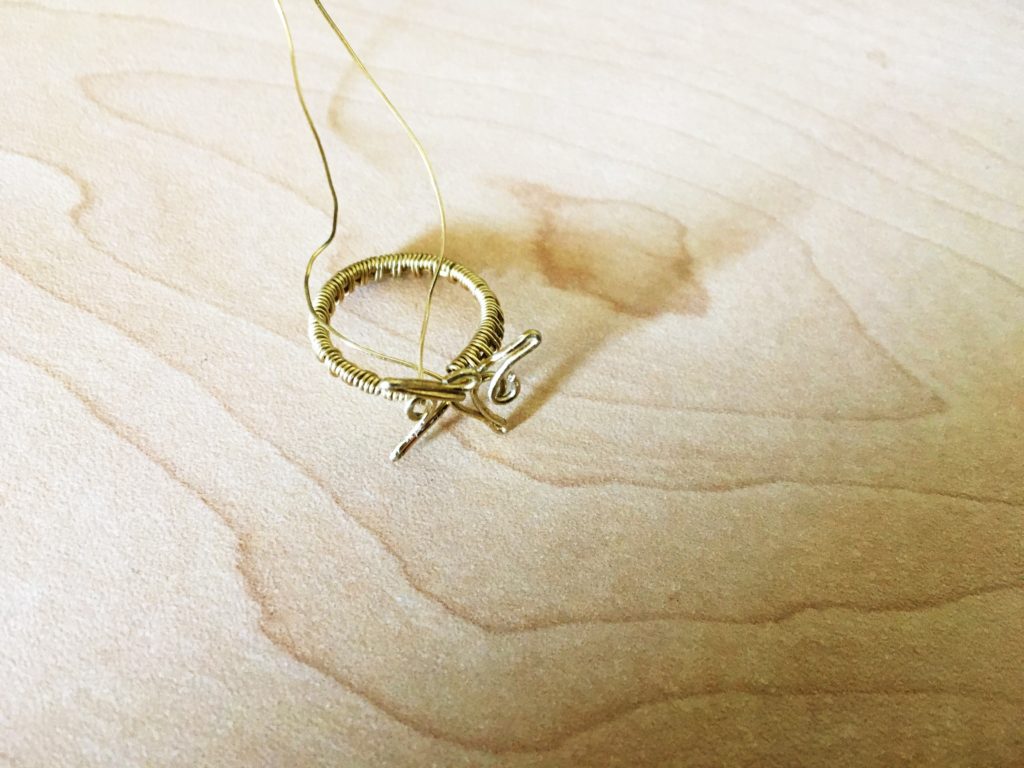
Make a wrap connecting the loop to its prong, this will keep the prong steady.
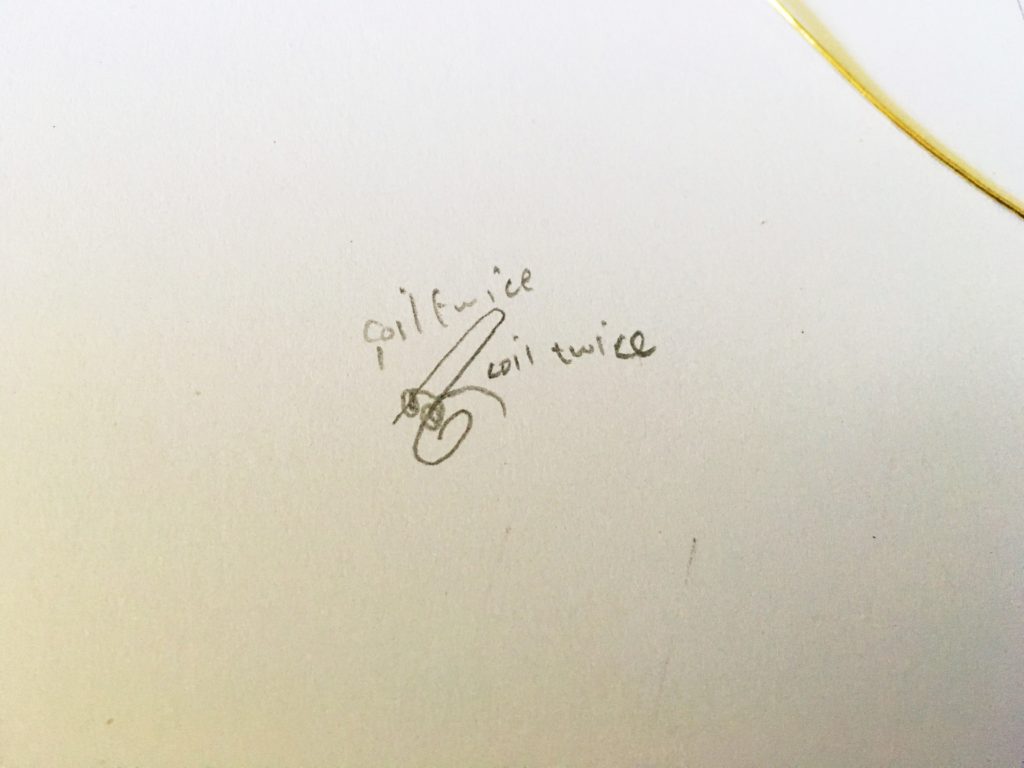
Setting the stone:
Now, take your chain nose pliers and bend each prong upwards.
Take your rivoli and fit it to the setting. Take note of where it is sitting.
Adjust the prongs until your stone sits evenly on the surface.
Take your chain nose pliers again and make a slight bend at the top of each prong.
Take your 20 gauge wire and wrapped it twice around each prong, pulling them towards each other.
Push your Rivoli in and test whether it sits firmly by moving it with your finger.
If it is loose or your prongs are skew, take it out and adjust it. Keep doing it until you are happy with it.
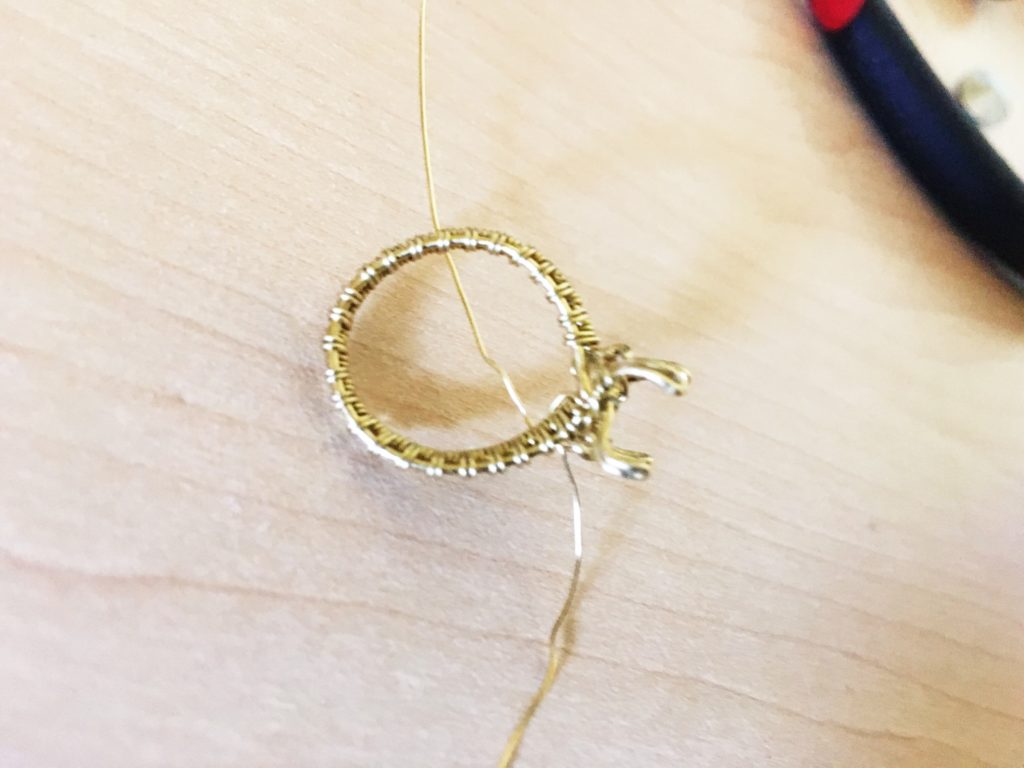
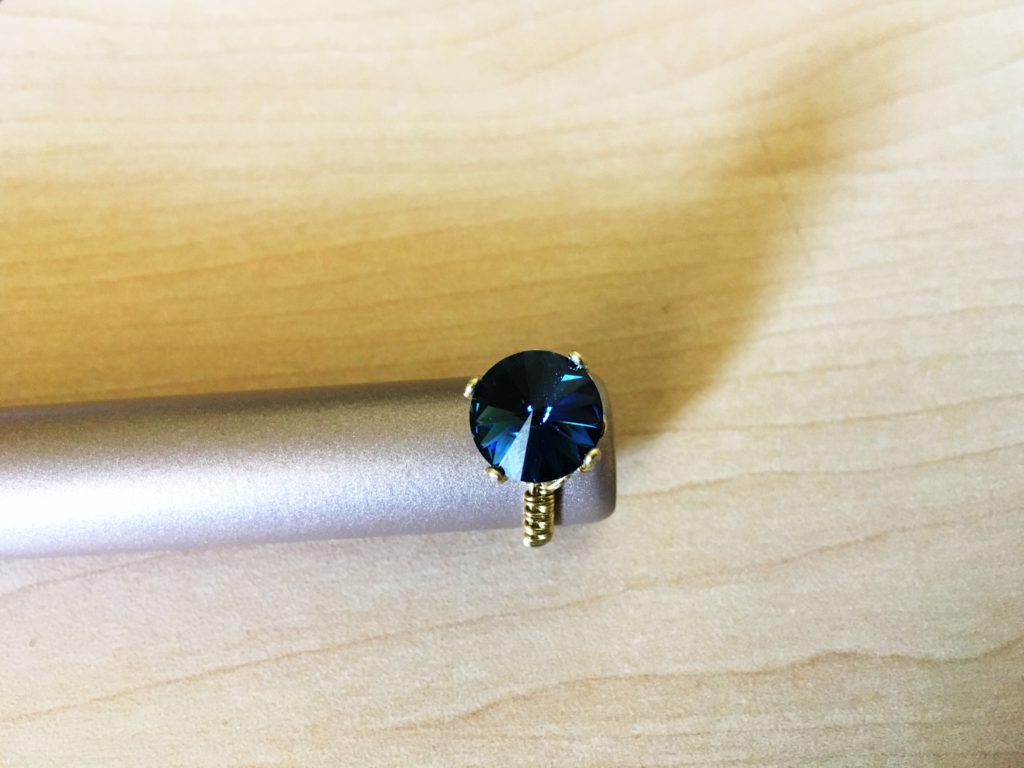
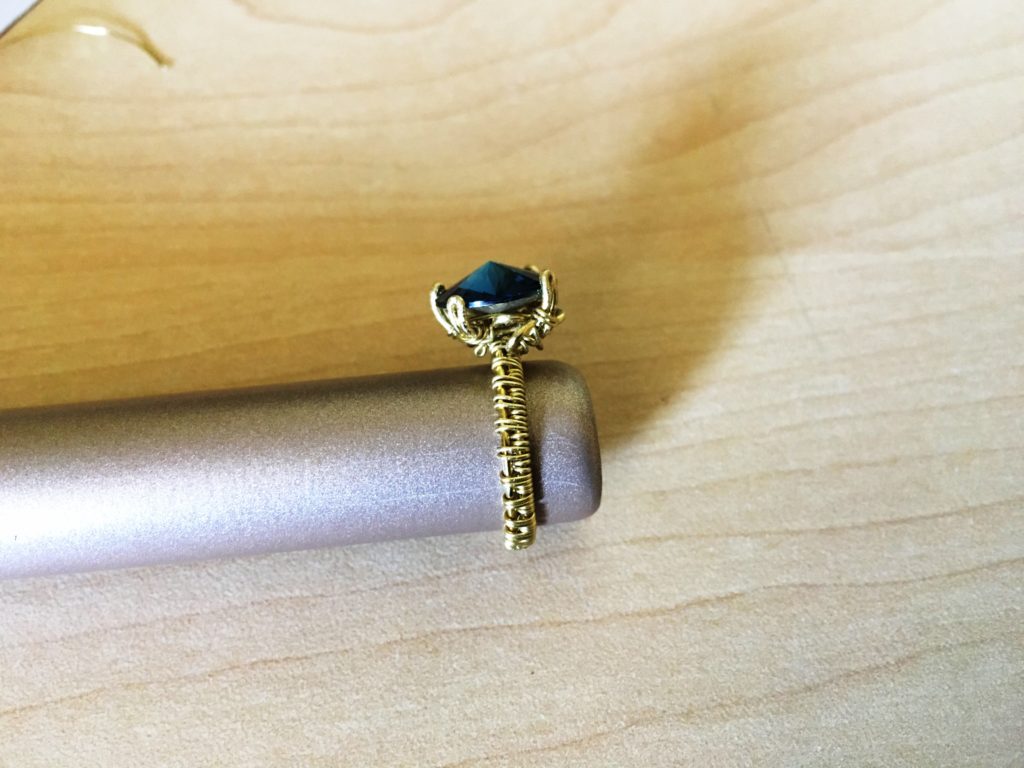
Cut off the excess wire using your wire cutters and make sure that no wire is sticking out.
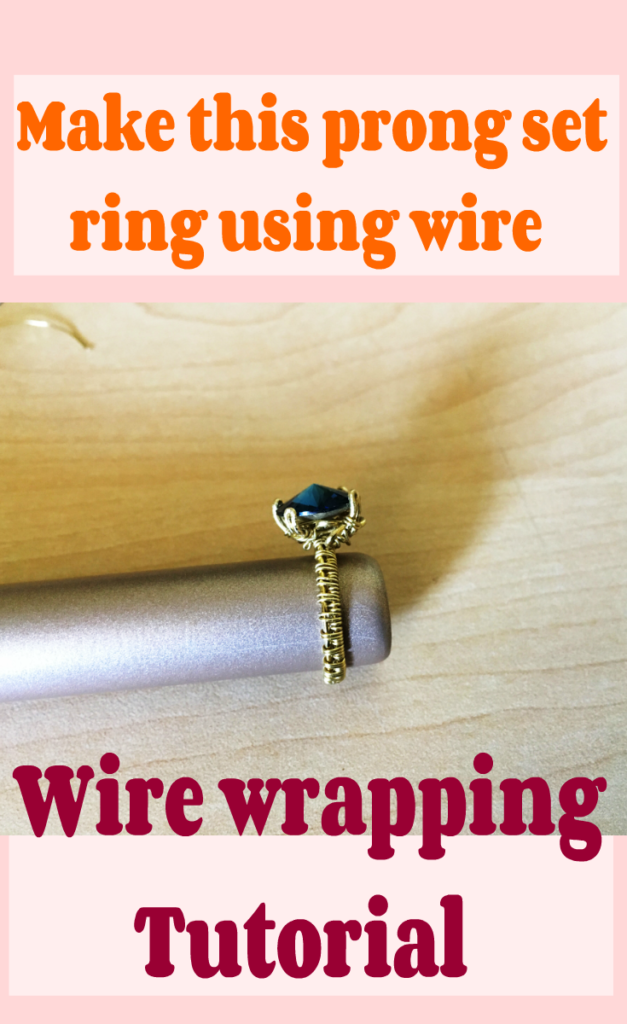
Here you have it, your wire wrapped prong set Swarovski crystal rivoli ring.\
Mandisa is a participant in the Amazon Services LLC Associates Program, an affiliate advertising program designed to provide a means for sites to earn advertising fees by advertising and linking to Amazon.com.
