Wire wrapped rose ring tutorial

I was sitting at my desk making little wire wrapped rose to add detail to one of my pendants, then I realized (after slipping one onto my finger) that these could be easily turned into rings. So that’s exactly what I did, turn it into a ring (let’s just forget the fact that it took me this long to realize this). #This post contains affiliate links.
Tools needed:
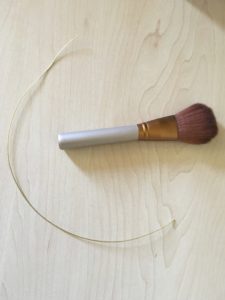
Ring mandrel (I used a make-up brush because I left my mandrel back home)
20 Gauge deadsoft wire, which you can get here Sterling silver or Craft wire (you can use thicker but I found it difficult to work with this one, any thinner will not have enough strength to form a ring)
A pair of wire cutters
A ruler
Instructions:
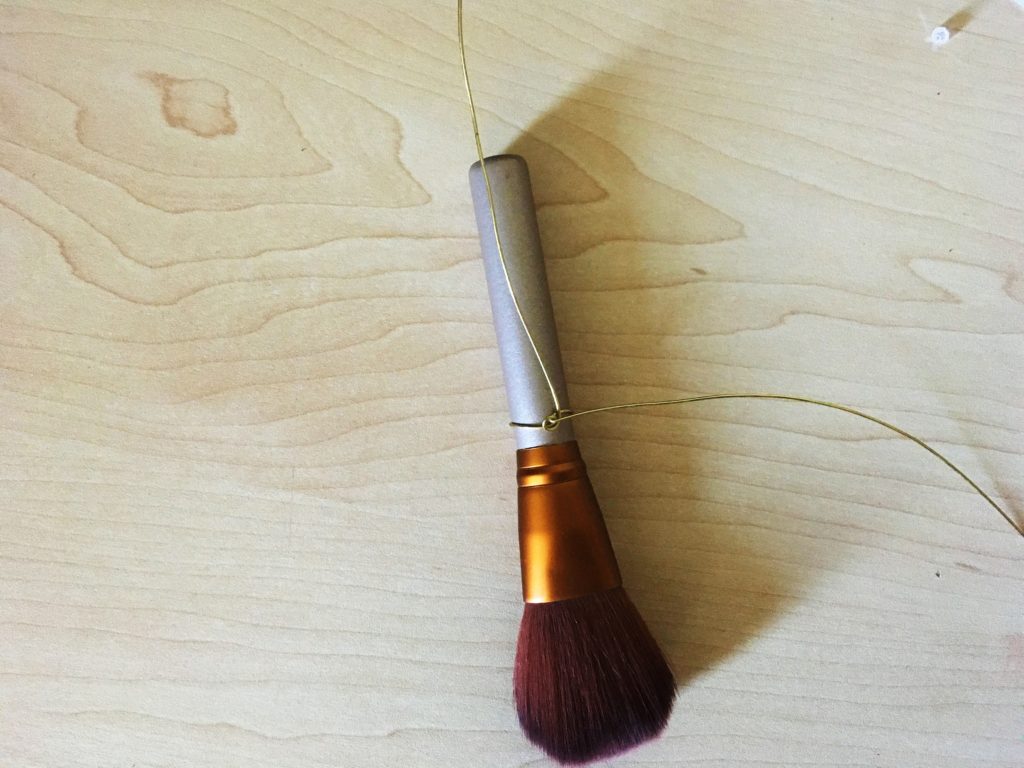
Cut out about 15 cm of wire. Wrap it around the ring mandrel, make sure that it is positioned at your ring size. Pull the two ends towards each other and twist the ring closed using your thumb and index finger, make two twists.


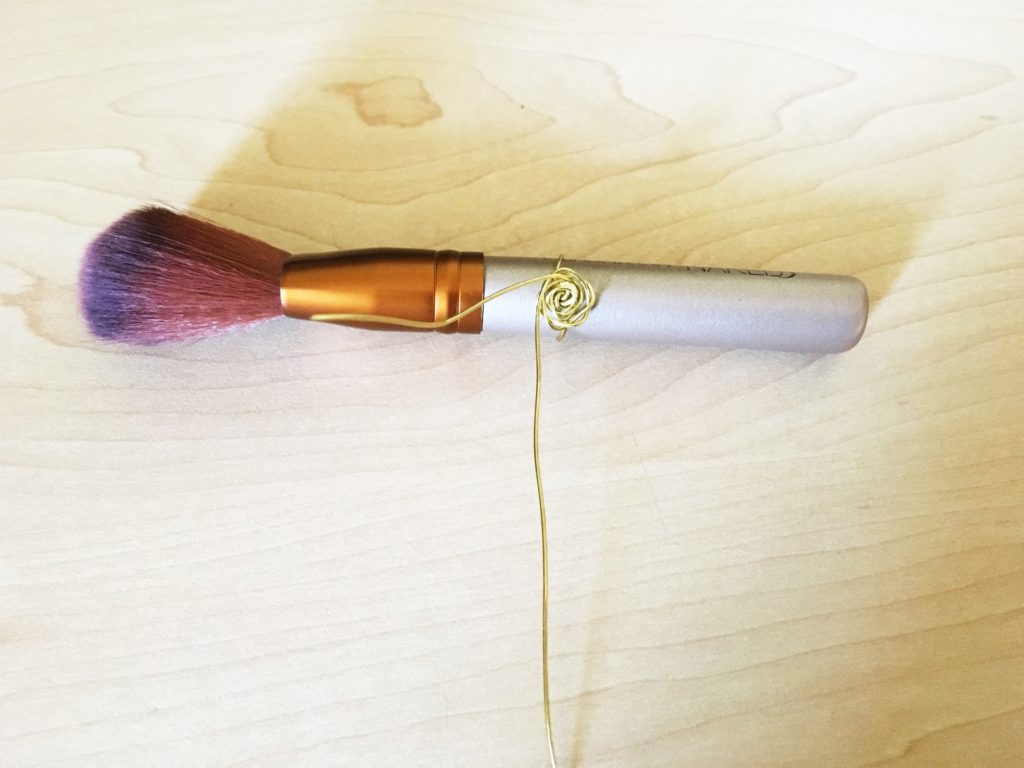
Take one end of the wire and wrap it under the base of the other wire, after it goes under pull it slightly upwards to form a petal. Wrap the second wire under the first one and repeat the motions. It will look as if you are twisting the wires and wrapping them around the center but this method prevents any jutting out and keeps the coil close to the center.

When your rose is the size you want it to be, take the wire that is going under and wrap it around the base of the rose (between the rose and ring) two to three times. Cut off the excess with your pliers. Do the same with the second wire and make sure to end the wrap facing a bit upwards to prevent any cuts on your finger when you wear it.

Yes, this tutorial is that easy and that fast. The next wire rose ring I will show will take more time and will involve more wrapping and detail.
*Some Items needed for project*
_____________________________________________________________________________
_____________________________________________________________________________


