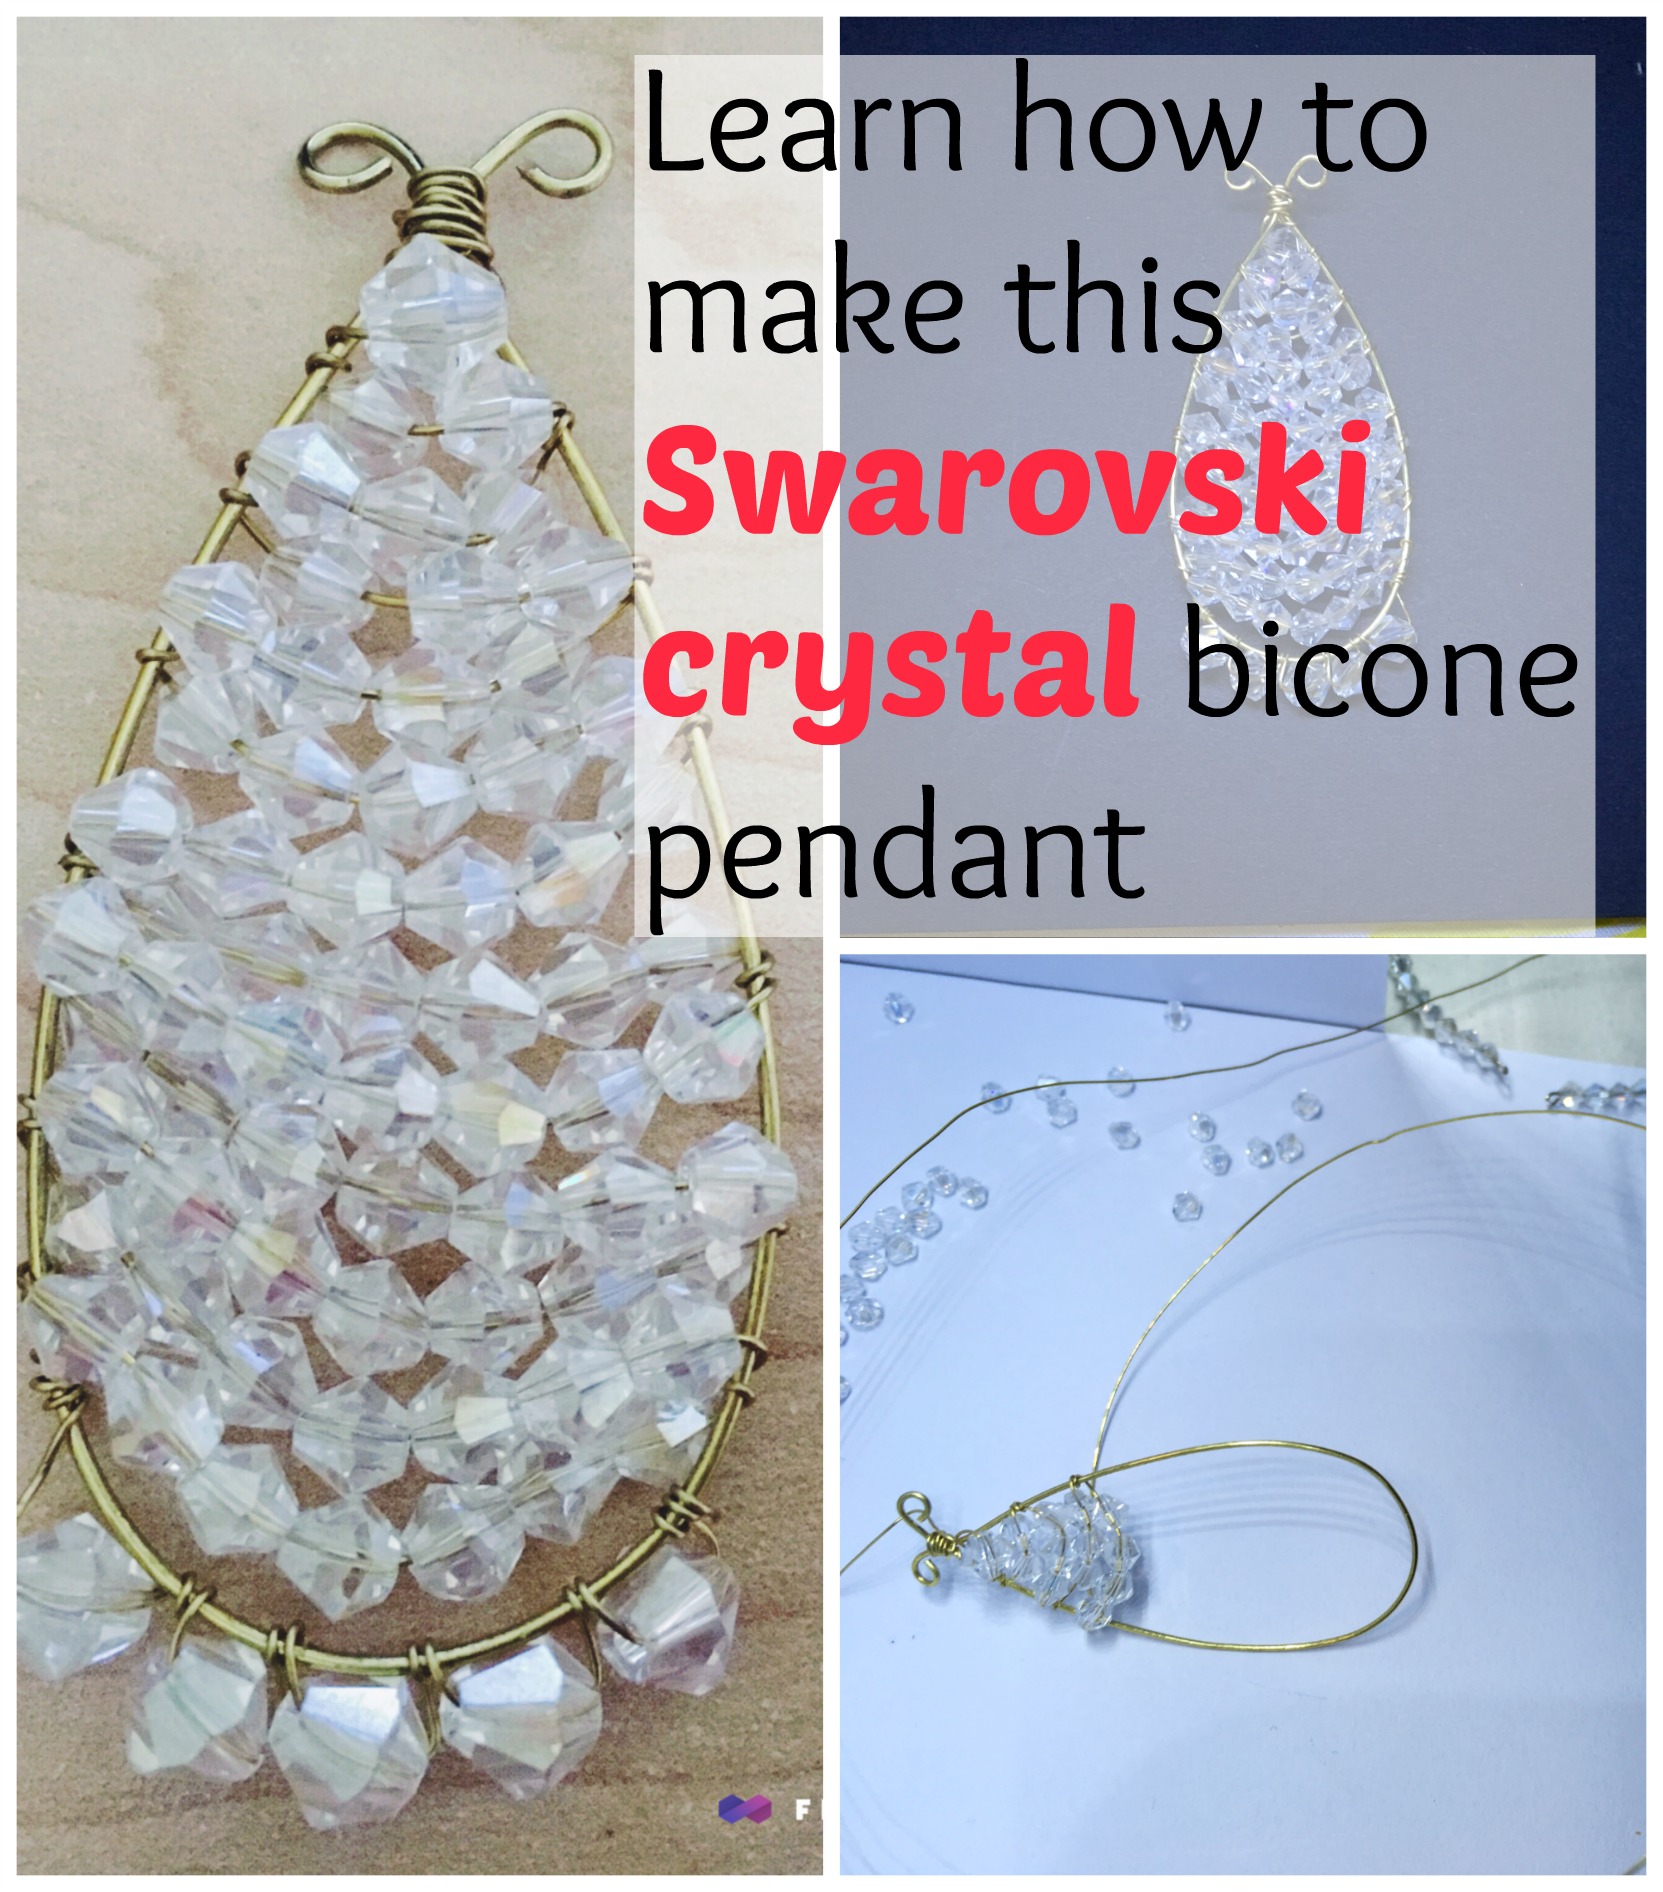
Swarovski crystal bicone bead wire wrapped pendant
So I decided to start and complete three wire projects in one day. Crazy, I know. Well you might be asking yourself, now why would she do something like that? There is a one word answer for that: procrastination. Yes, I am procrastinating by doing something that I love instead of something that I should be doing, which is studying. Now don’t get me wrong, I love the subjects that I am studying, but there are some days where I feel like reading even one sentence in a textbook would be the most horrible thing to do to myself, and those days usually fall after a test, like today. I console myself by telling myself that I’ve earned a break, a break that lasts a week after studying (cramming) for 10 hours. University life is great, isn’t it?
Well I decided to make something with extra sparkle this time, a pendant made with Swarovski bicones. I love using beads in my wire working because I feel that beads allow for more creativity and flexibility. This particular pendant is very simple, but the bicones add elegance to it and make it look like it is encrusted with diamonds. It is great for a night out or a cocktail party, but its simplicity makes it easy to wear during the day too. So here is my wire wrapped Swarovski bicone pendant
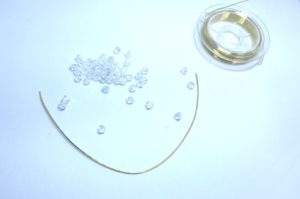
Tools needed:
A pair of round nose pliers
4mm Swarovski crystal bicone beads, I used one 6mm bead at the apex
10-15 cm (4 – 6 inches) 0.8mm/ 1mm or 20/ 18 gauge round sterling silver wire for base. It depends on how big you want your pendant to be
About 40 cm / 16 inches or more (preferably more) 0.4mm (26 gauge) round sterling silver wire for weaving
Four 6 mm bicone beads (optional) for added detail
How to make the pendant
Step 1:
Take your base wire and straighten it out by running it through your fingers a few times, make sure to not bend it, it does not need tp be bone straight but you need to be able to shape it the way you want to.
Step 2:
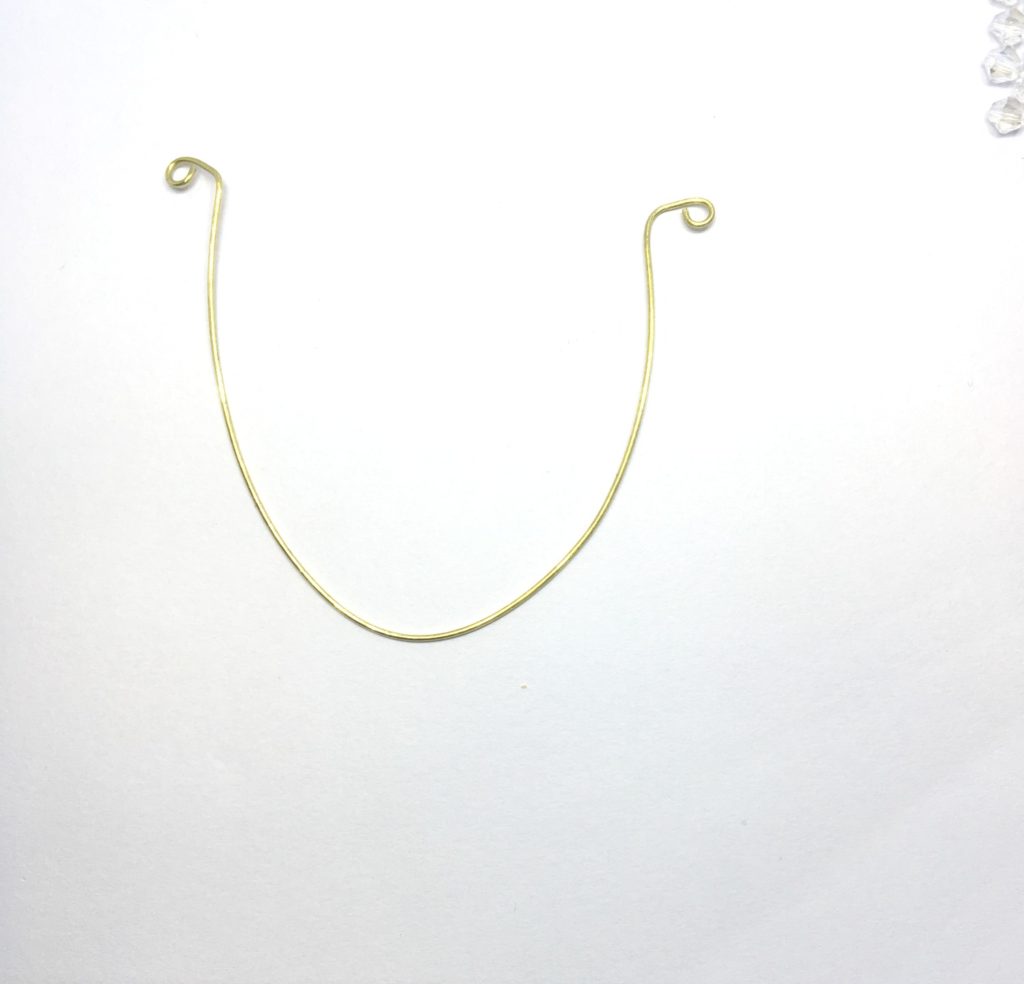
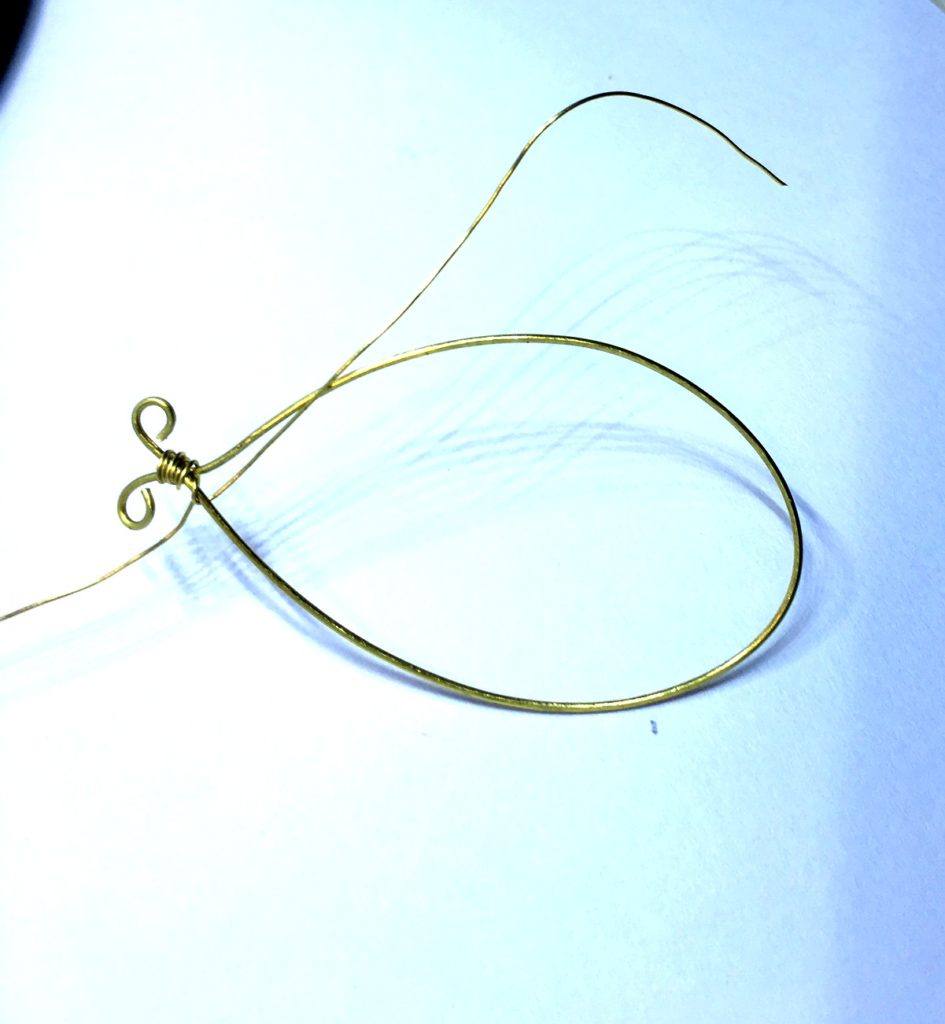
Start shaping your pendant, I used a cylindrical object to form a half circle shape then I created swirls using my round nose pliers. Then push the two ends together to form a pear shape.
Step 3:
Take your weaving wire (26 guage) and start weaving bytwisting it over both the coiled ends across the ‘neck’. Weave from top to bottom.
Step 4:
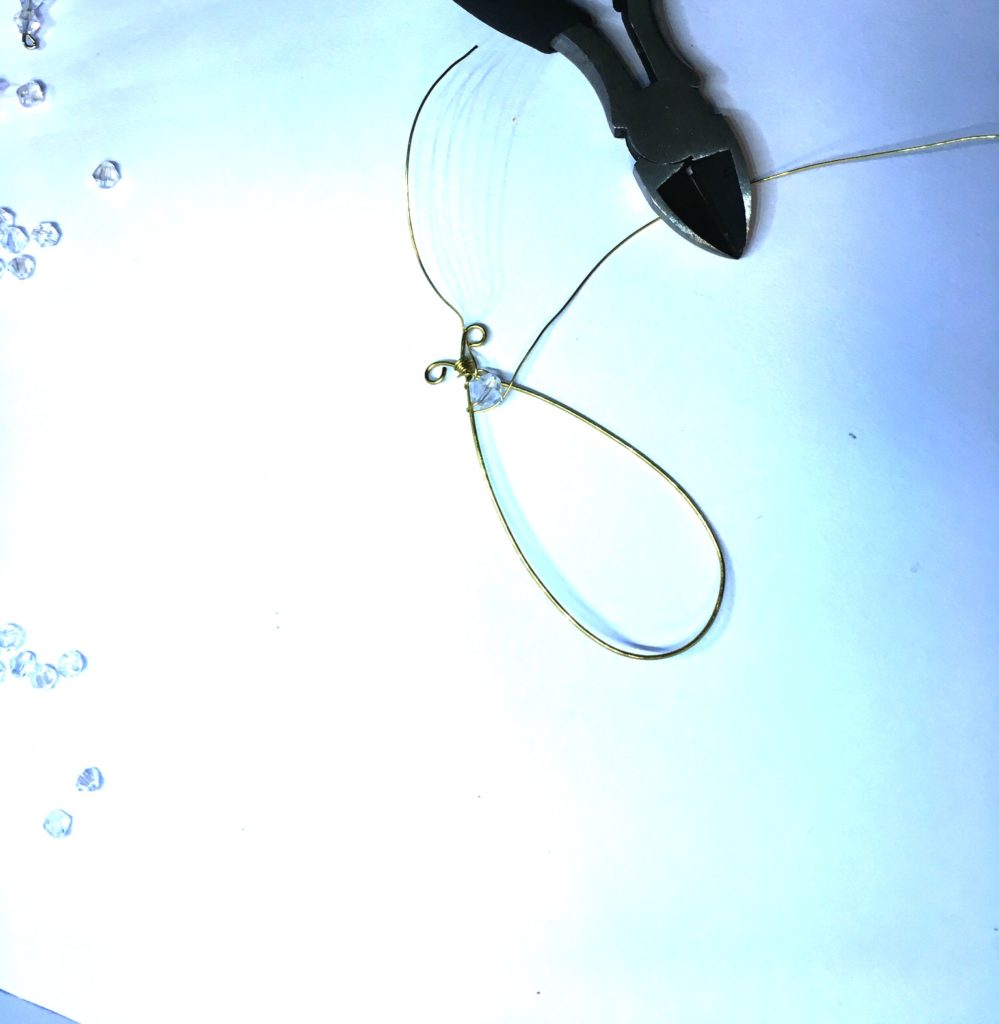
String a bead on your weaving wire, pull it to the bottom of your wire then take your wire across to the other side. Make two coils around your base wire to secure it to the opposite end then string two beads (or more if the width of you shape is longer) and repeat the step.
I like to play around with my work, so I always weaved my beads across to the opposite side, If the wire came from the bottom of the base wire, I pulled it through the frame of the pendant and attached it from the top of the opposite side of the base wire, if there were no beads you would be able to see the number eight from the top view of the pendant. Carry on stringing beads and coiling to secure them.

Step 5 (Optional):
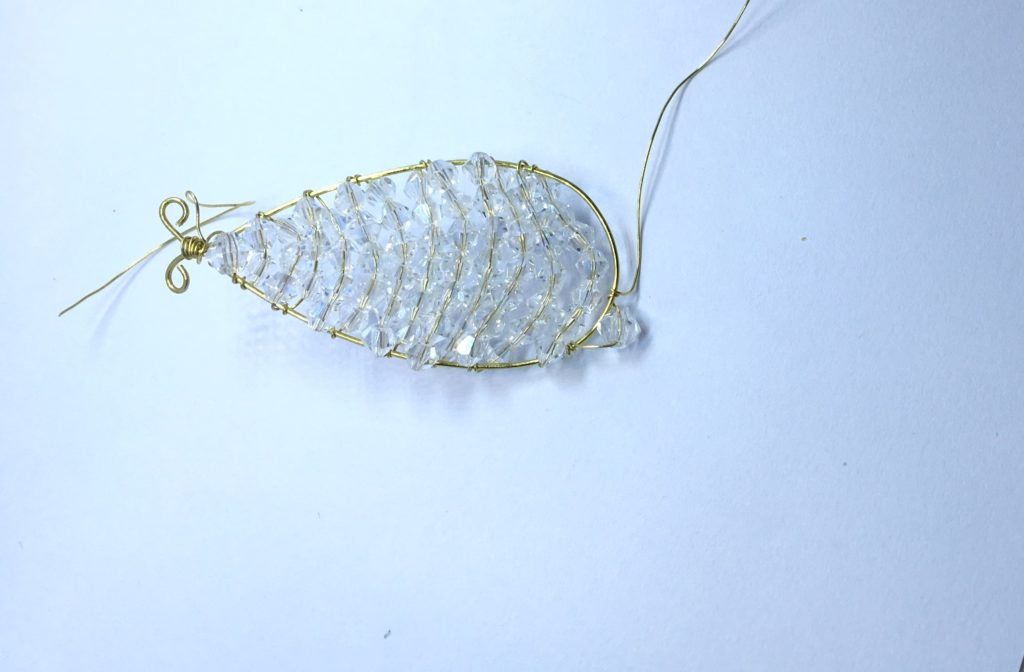
Once you have reached the end of the drop, string another 6mm bead. This time instead of taking it to the other side, wrap around the base wire right next to where the bead ends, make sure to use your fingers to keep the bead in place. Repeat this step with all the beads. When you get to the last bead, make three coils then cut the weaving wire. Make sure that it is facing towards the front so that it cannot snag on your clothes and use your chain nose pliers to make it lie flat. Do the same to the tail that was left when you started weaving.
*Some Items needed for project*
_____________________________________________________________________________
_____________________________________________________________________________
Mandisa is a participant in the Amazon Services LLC Associates Program, an affiliate advertising program designed to provide a means for sites to earn advertising fees by advertising and linking to Amazon.com.

