*Please note that this post contains some affiliate links. This means that I receive a commission if you choose to purchase thorugh a link on this page.
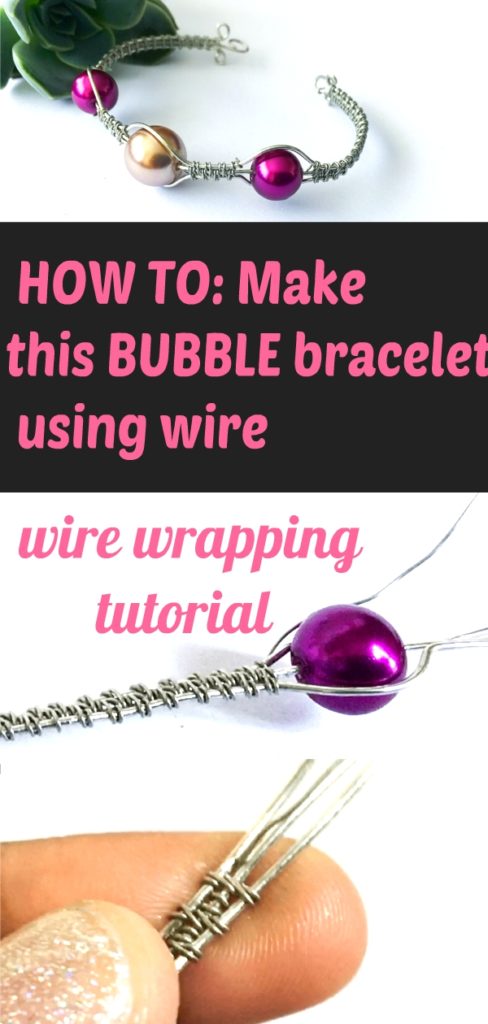
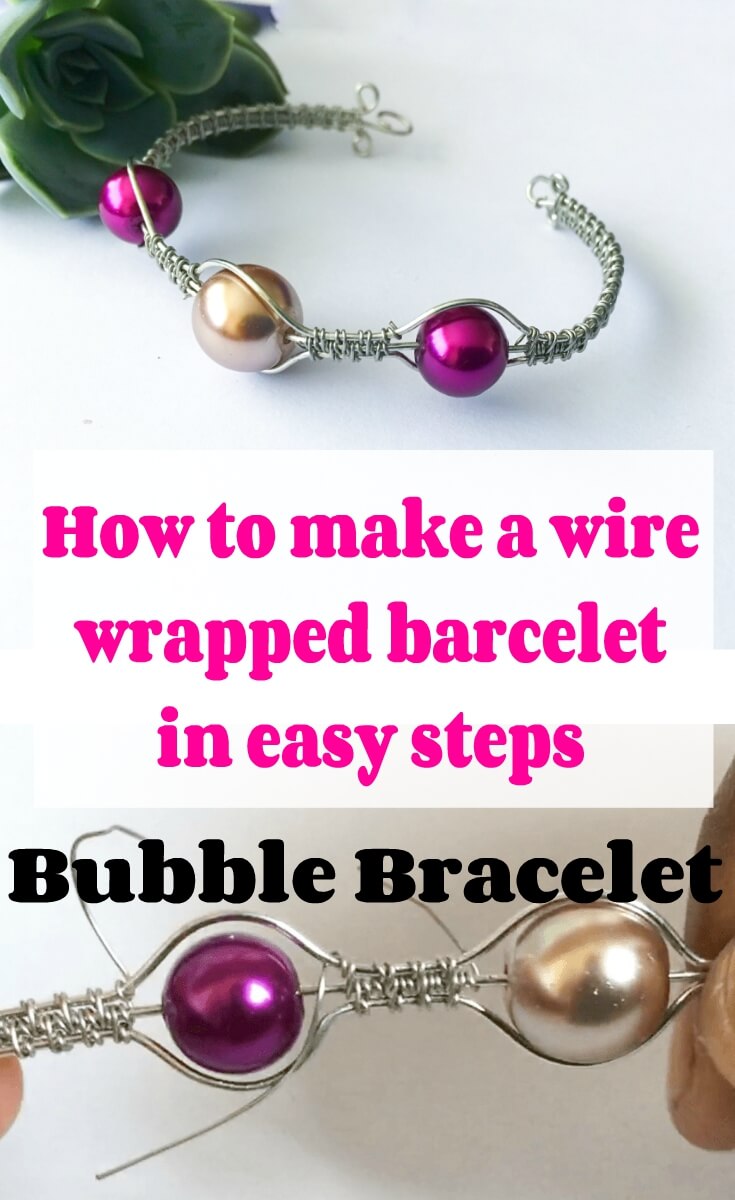
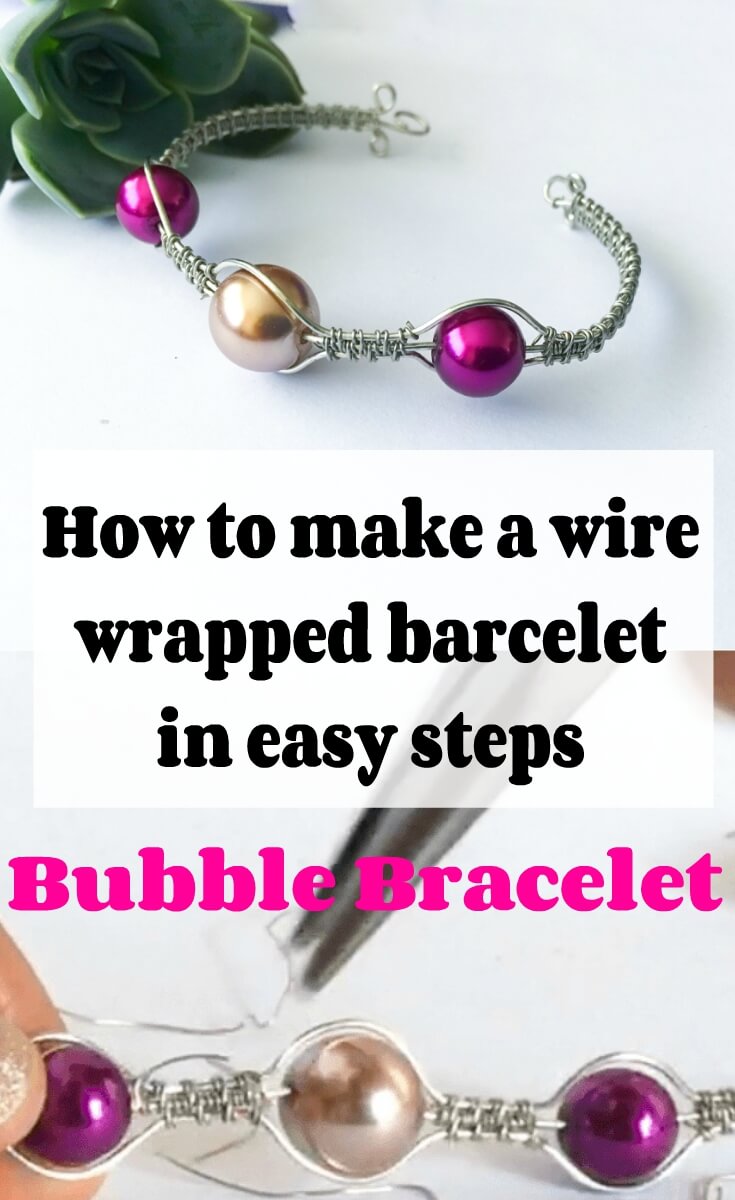
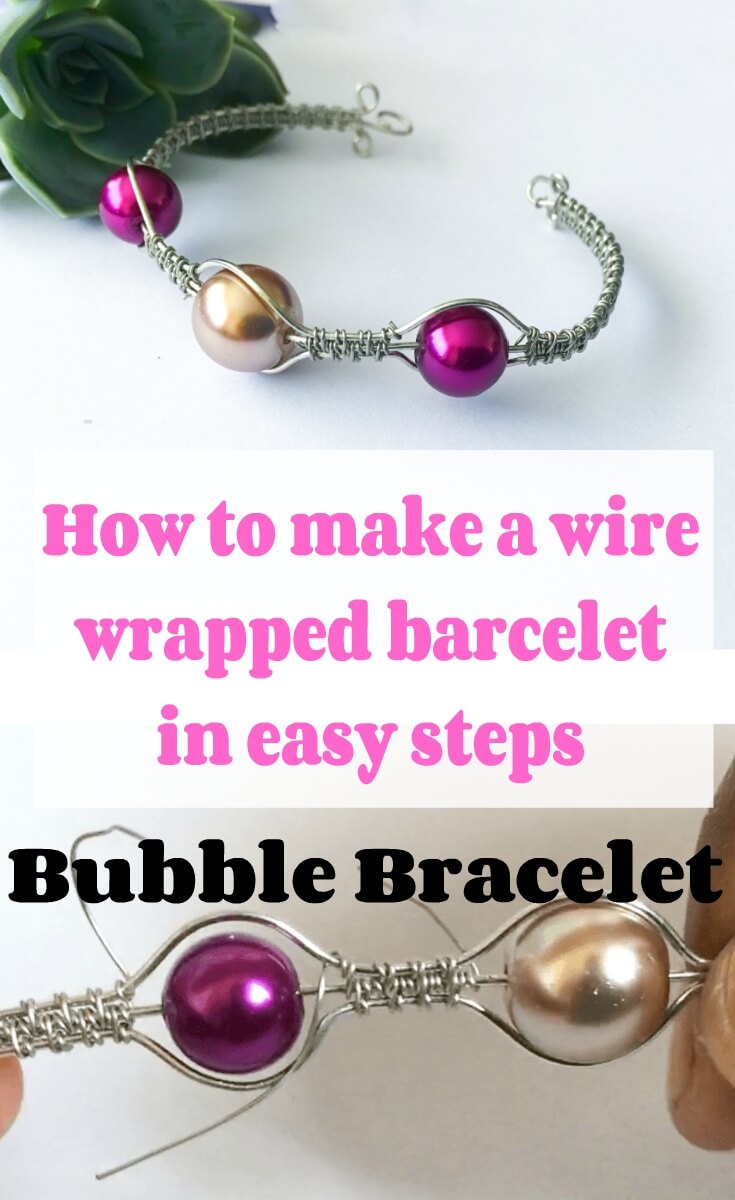
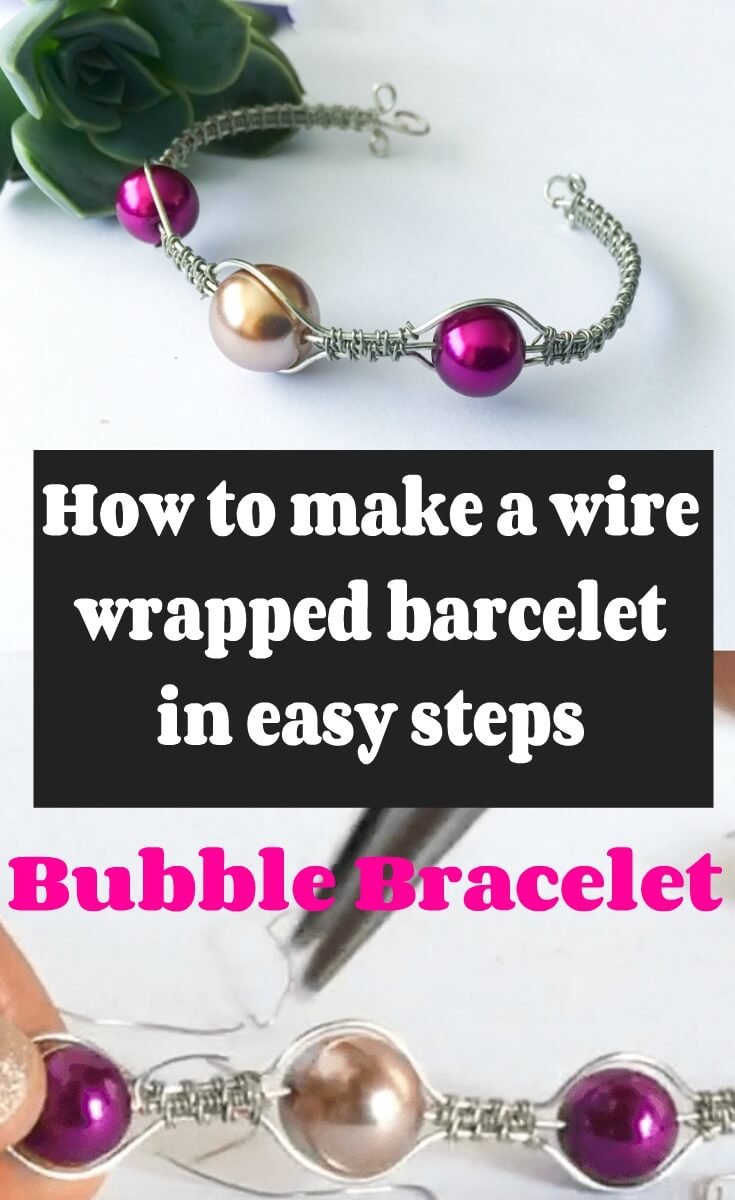
Hello. I am back with another bracelet/bangle tutorial. I think that the correct term is bangle, but very few people use that word. So, I will call it a Bubble bracelet. This is a wire wrapped Bubble bracelet tutorial.
You will see later on that I ran into some trouble while making this bracelet. I would suggest reading until the end before you attempt to make it.
There is a video tutorial of this bracelet already posted on Youtube. Those of you who are subscribers have had this tutorial for over a month now. If you are not a subscriber, click here to become one. I usually post the videos first because I need to embed them onto the WordPress page. This tutorial is the written version for those who prefer those.
Materials needed to make my wire wrapped Bubble bracelet:
3 Pearl beads
Tools needed for bracelet:
Video tutorial (scroll down for written instructions)
https://www.youtube.com/watch?v=beHV5uMNuM0
Making the weave
You will need three 0.8mm base wires. You will need to decide on the size of your bracelet. If you want a seven-inch bracelet, measure out one 8 inch piece of 0.8mm wire (this will go in the middle) and two pieces that are 10 inches long. Add about an inch or so for each bead. Adjust the measurements for a nine-inch bracelet.
Starting an inch in, take one of the longer wires and wrap the 0.4mm weaving wire three times to make three coils.
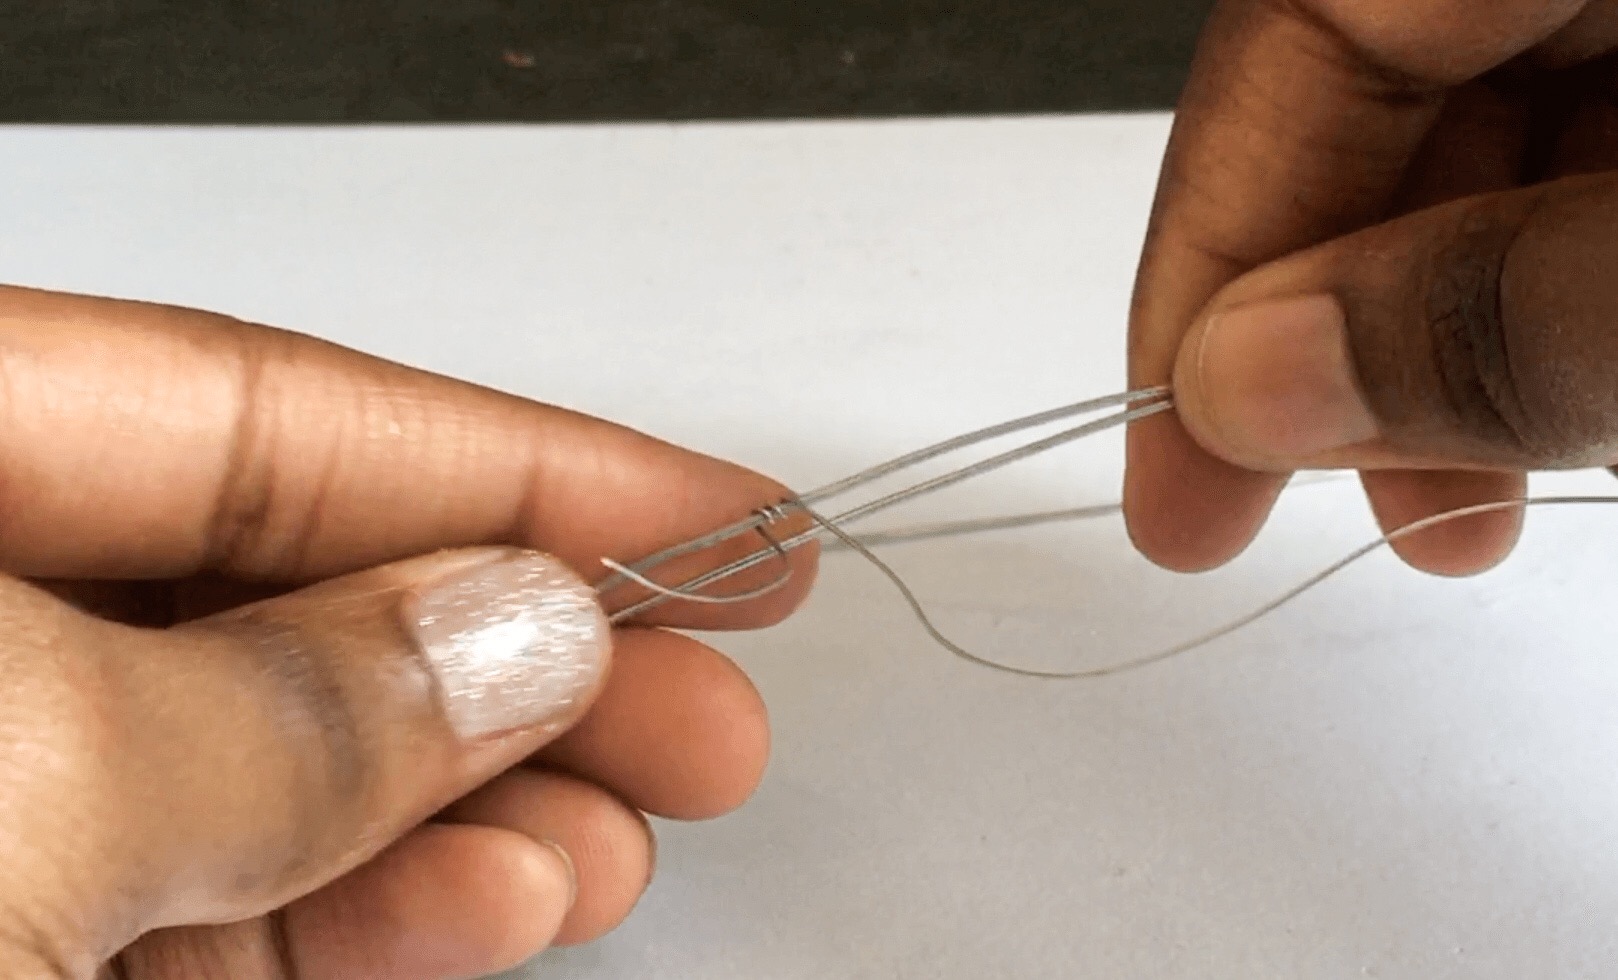
Add the short middle wire under it. Take your weaving wire over the two wires so that you’ve wrapped around both of them. Wrap around the top and middle wire (make one coil around both of them). Come in between the two wires to secure the wrap.
Add the bottom wire. Wrap around the middle and bottom wire. Come in between the two wires and wrap once around the bottom wire.
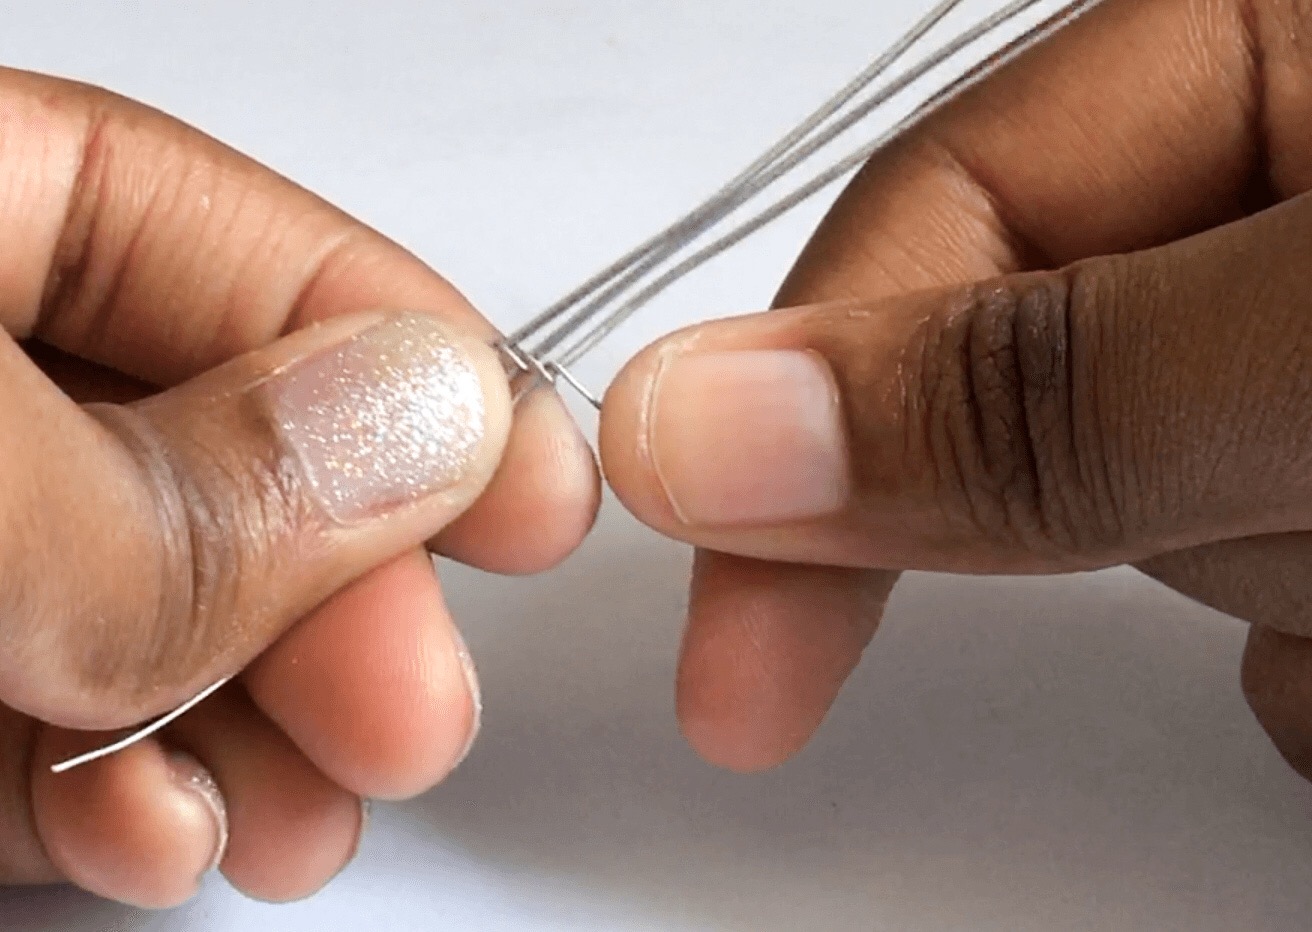
Take your weaving wire behind the base wires and bring it in-between the top and middle wires.
Wrap around the middle wire twice.


Bring your weaving wire up from behind the base wires. Wrap once around the top wire.

You are now back at the beginning of your pattern. You will wrap around the top and middle wires again etc.

Notes:
You can add multiple coils when wrapping around the top and bottom wires to add some personalization to your bracelet. Just make sure that you stay
After you have wrapped about 2 inches, you will add your first bead. I suggest that you measure your wrist and make marks where you want to place the beads.
Add the bead to the middle wire. Take the two wires and bend them around the bead. Then, when you reach the second hole of the bead, bend them so that they lay on the sides of the middle wire.
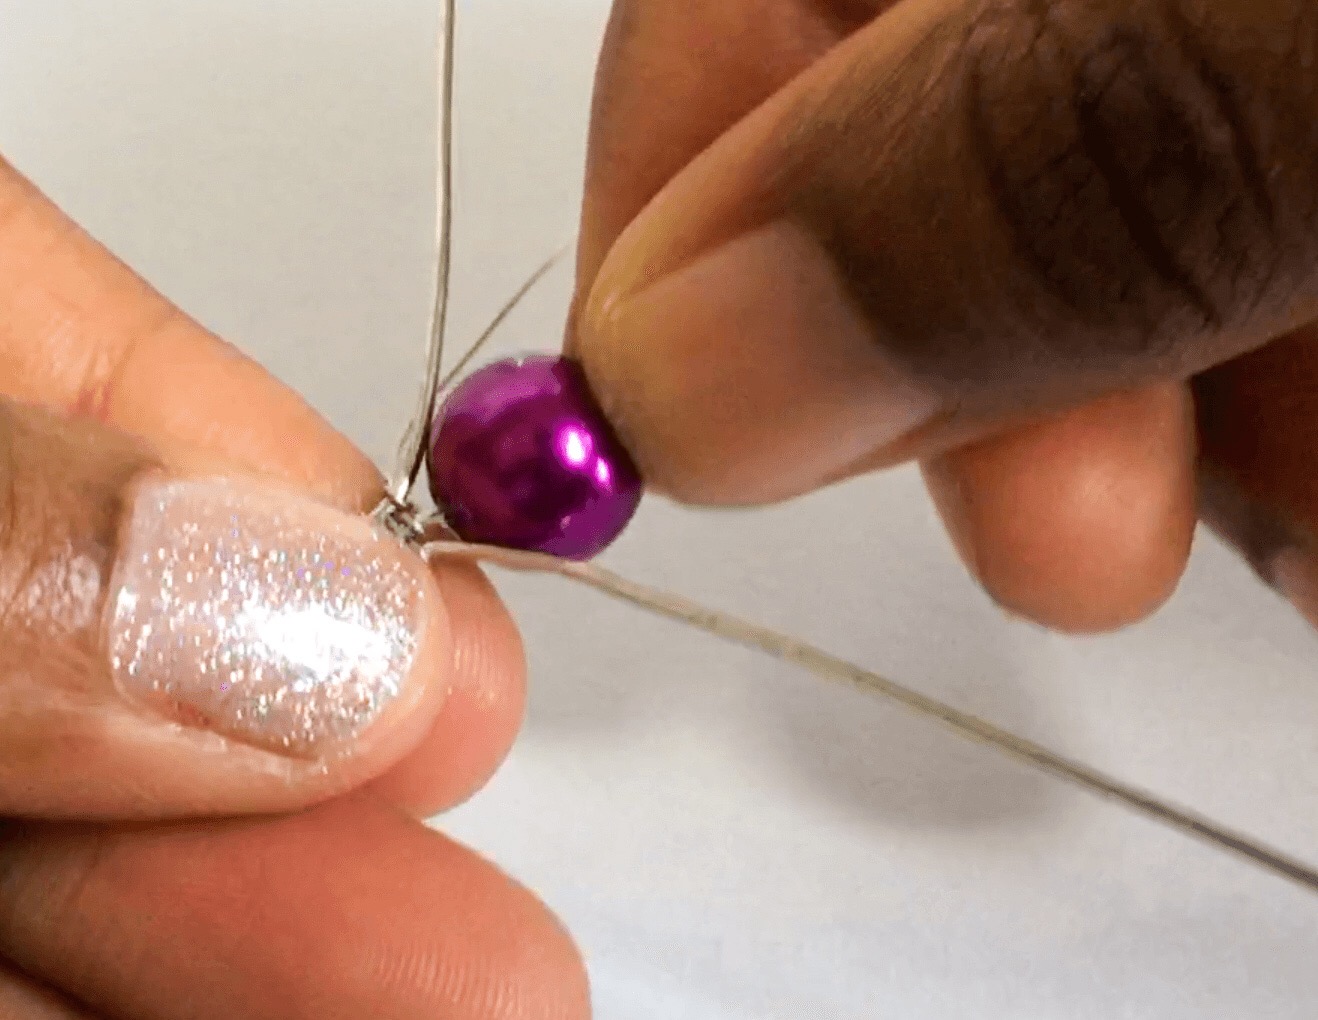


Now, begin with your weave again.
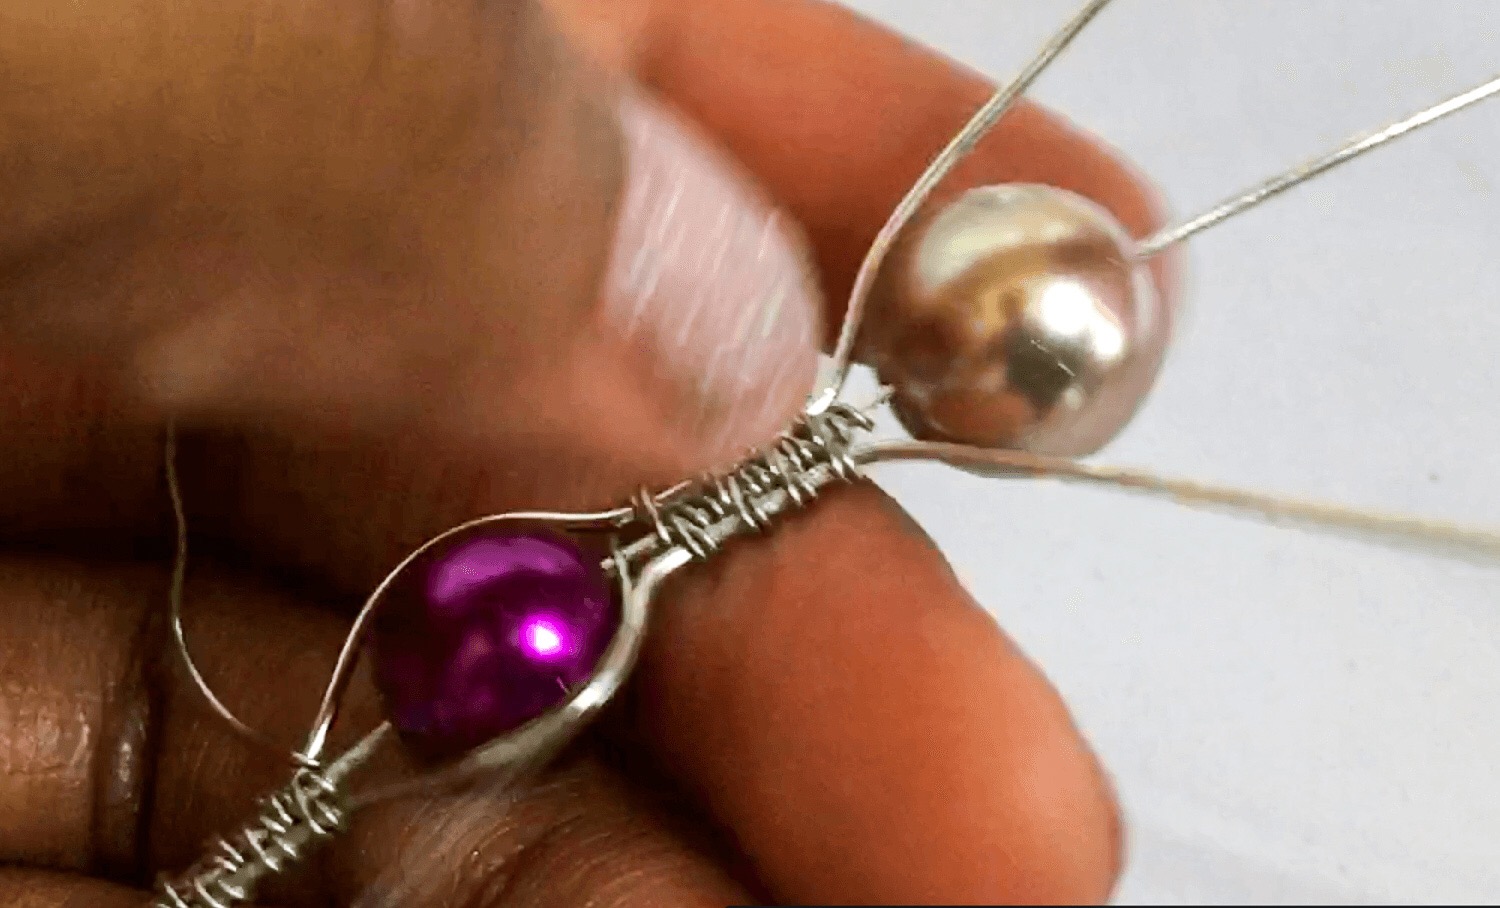
Add each bead this way.
After you have added your final bead, begin your weave and carry on for four inches.


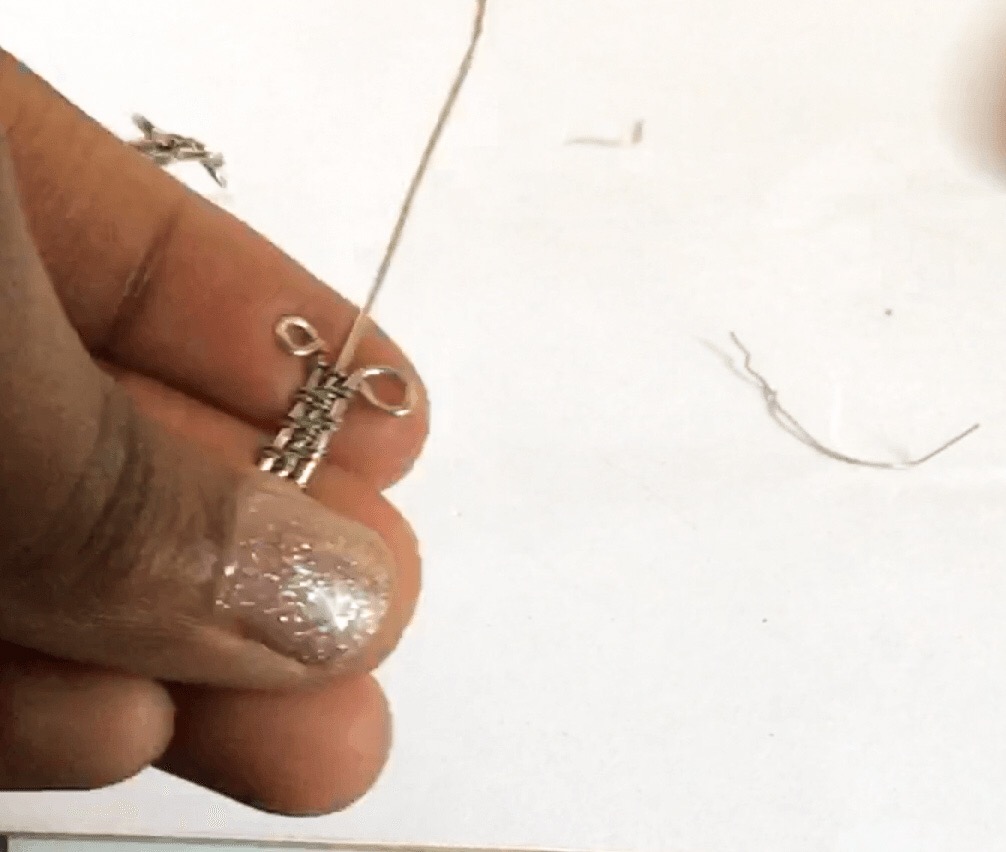
You can finish the bracelet off in the same way as the Diamond Bangle. I tried to make a hook, but it did not come out the way I wanted it to, so you can follow the video if you want a hook.
Problems I encountered while making this bracelet:
I had a hard time with the measurements. I would suggest adding a few inches of wire to the total length and playing around with it.
This is only my second wire wrapped bracelet (the other is here) and I need to become accustomed to measurements.
The second problem I encountered while adding the beads. It was a little difficult to get the smoothness that I wanted because I used chain nose pliers. I decided to use my hands later on.
The third problem was adding a clasp to the bracelet. I managed to make it work, as you will see in the video tutorial, but I would suggest that you use ready made clasps.
Mandisa is a participant in the Amazon Services LLC Associates Program, an affiliate advertising program designed to provide a means for sites to earn advertising fees by advertising and linking to Amazon.com.


